Editing Images
If you're looking to annotate images, this is part of Image Annotation & Sketching. It is possible to crop and rotate images in the Gallery after they've been uploaded to RSpace. Select an image, the…
If you're looking to annotate images, this is part of Image Annotation & Sketching.
It is possible to crop and rotate images in the Gallery after they've been uploaded to RSpace.
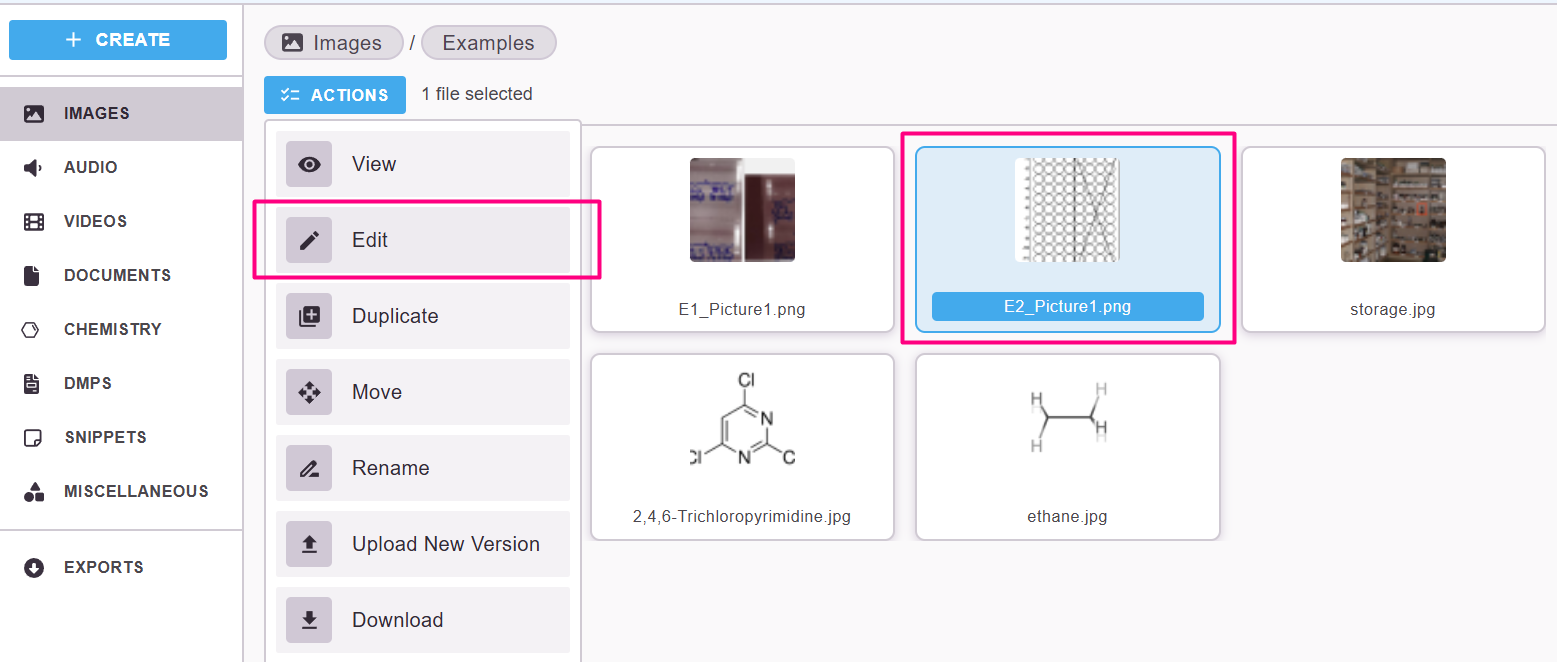
Select an image, then choose Actions -> Edit:
This will open the image editor:

- You can crop the image by dragging the edges
- You can rotate the image using the icons in the bottom-left
Clicking on Save as new image will save an edited version as a separate image, with "_edited" appended to the filename. The original image remains unchanged.
Since JPEGs do not support transparency, saving a rotated JPEG might add a black background to the image. If this is problematic, you might wish to convert your images to PNG first before uploading them to RSpace.
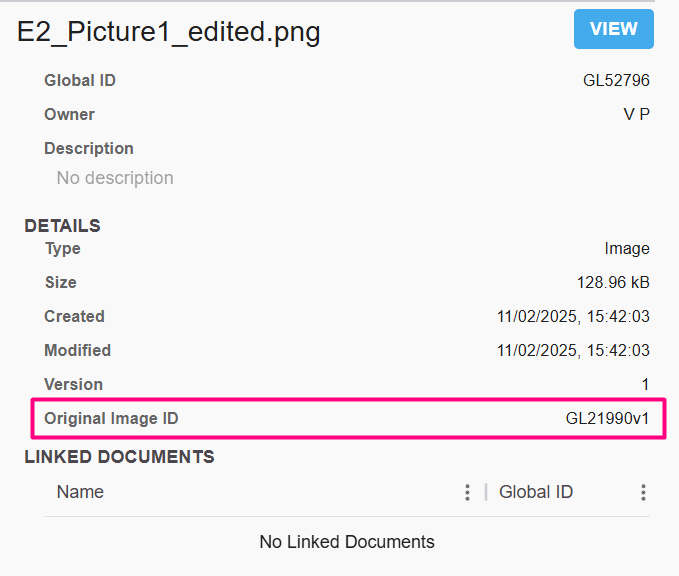
Reference to the original image
RSpace retains a link to the Original Image Global ID in the info panel of an edited or duplicated image.
How did we do?
Image Annotation