Table of Contents
Edit an Inventory Item 🧪
Various actions can be performed on samples and containers, such as: edit, delete, duplicate, split, move, and info.
Overview
You can perform various actions on inventory items, depending on item type and user permissions.
These actions are :
- info
- edit
- batch edit (currently unavailable for instruments and instrument templates)
- create
- create new subsamples (for samples only)
- create an item inside (for containers only)
- create template (from samples and instruments only)
- create sample (from templates only)
- split (subsamples, and samples with one subsample only)
- duplicate
- move
- transfer
- print barcode
- add to basket
- remove from basket
- trash
- restore (for items in trash only)
- add a file attachment (in edit mode)
Actions can be accessed right below the title of an item in view mode:

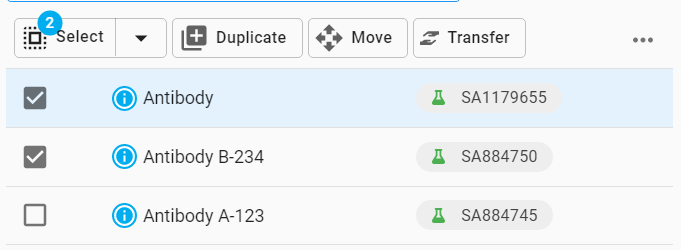
Actions are also available within a context menu that appears wherever item checkboxes can be selected, which allows for bulk actions:
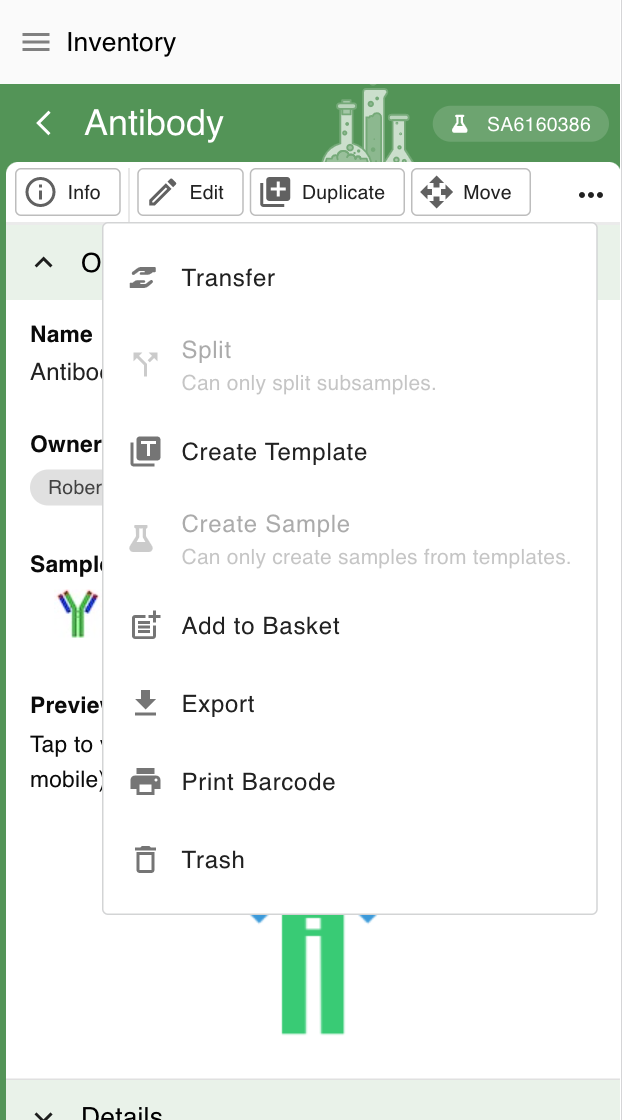
On smaller screens, all context actions might not be visible: use the More actions icon to access all the other actions.
Info
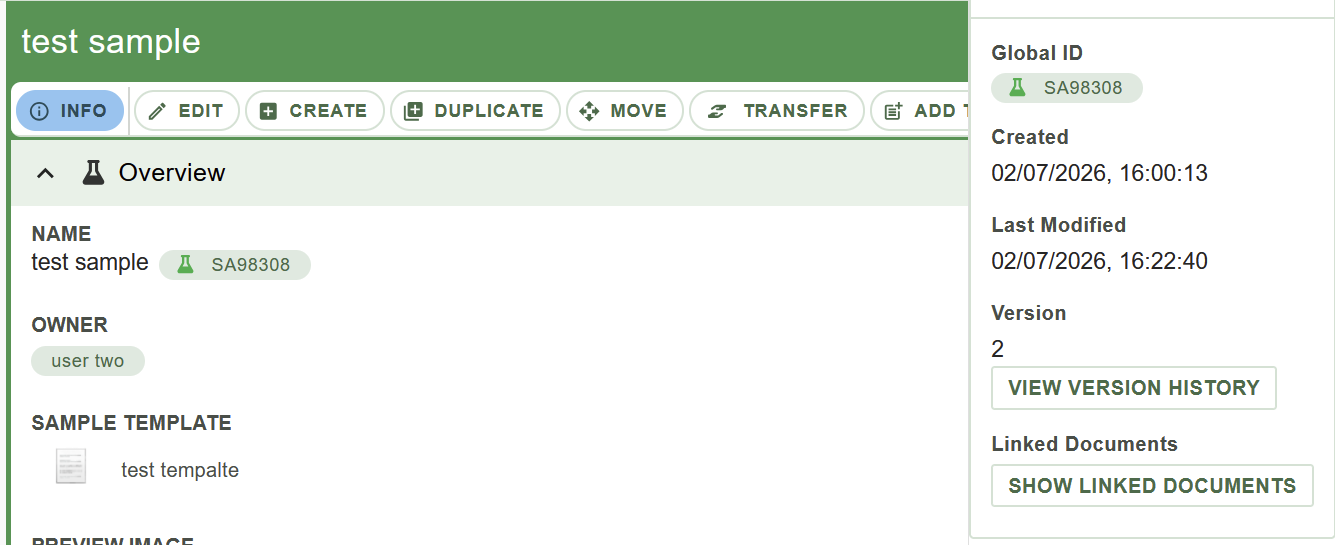
Click on Info to view information about the item, such as the version history, linked documents, and date created and modified. Click on the arrow at the top of the panel to close it.
Edit
To edit a sample, subsample, container or instrument:
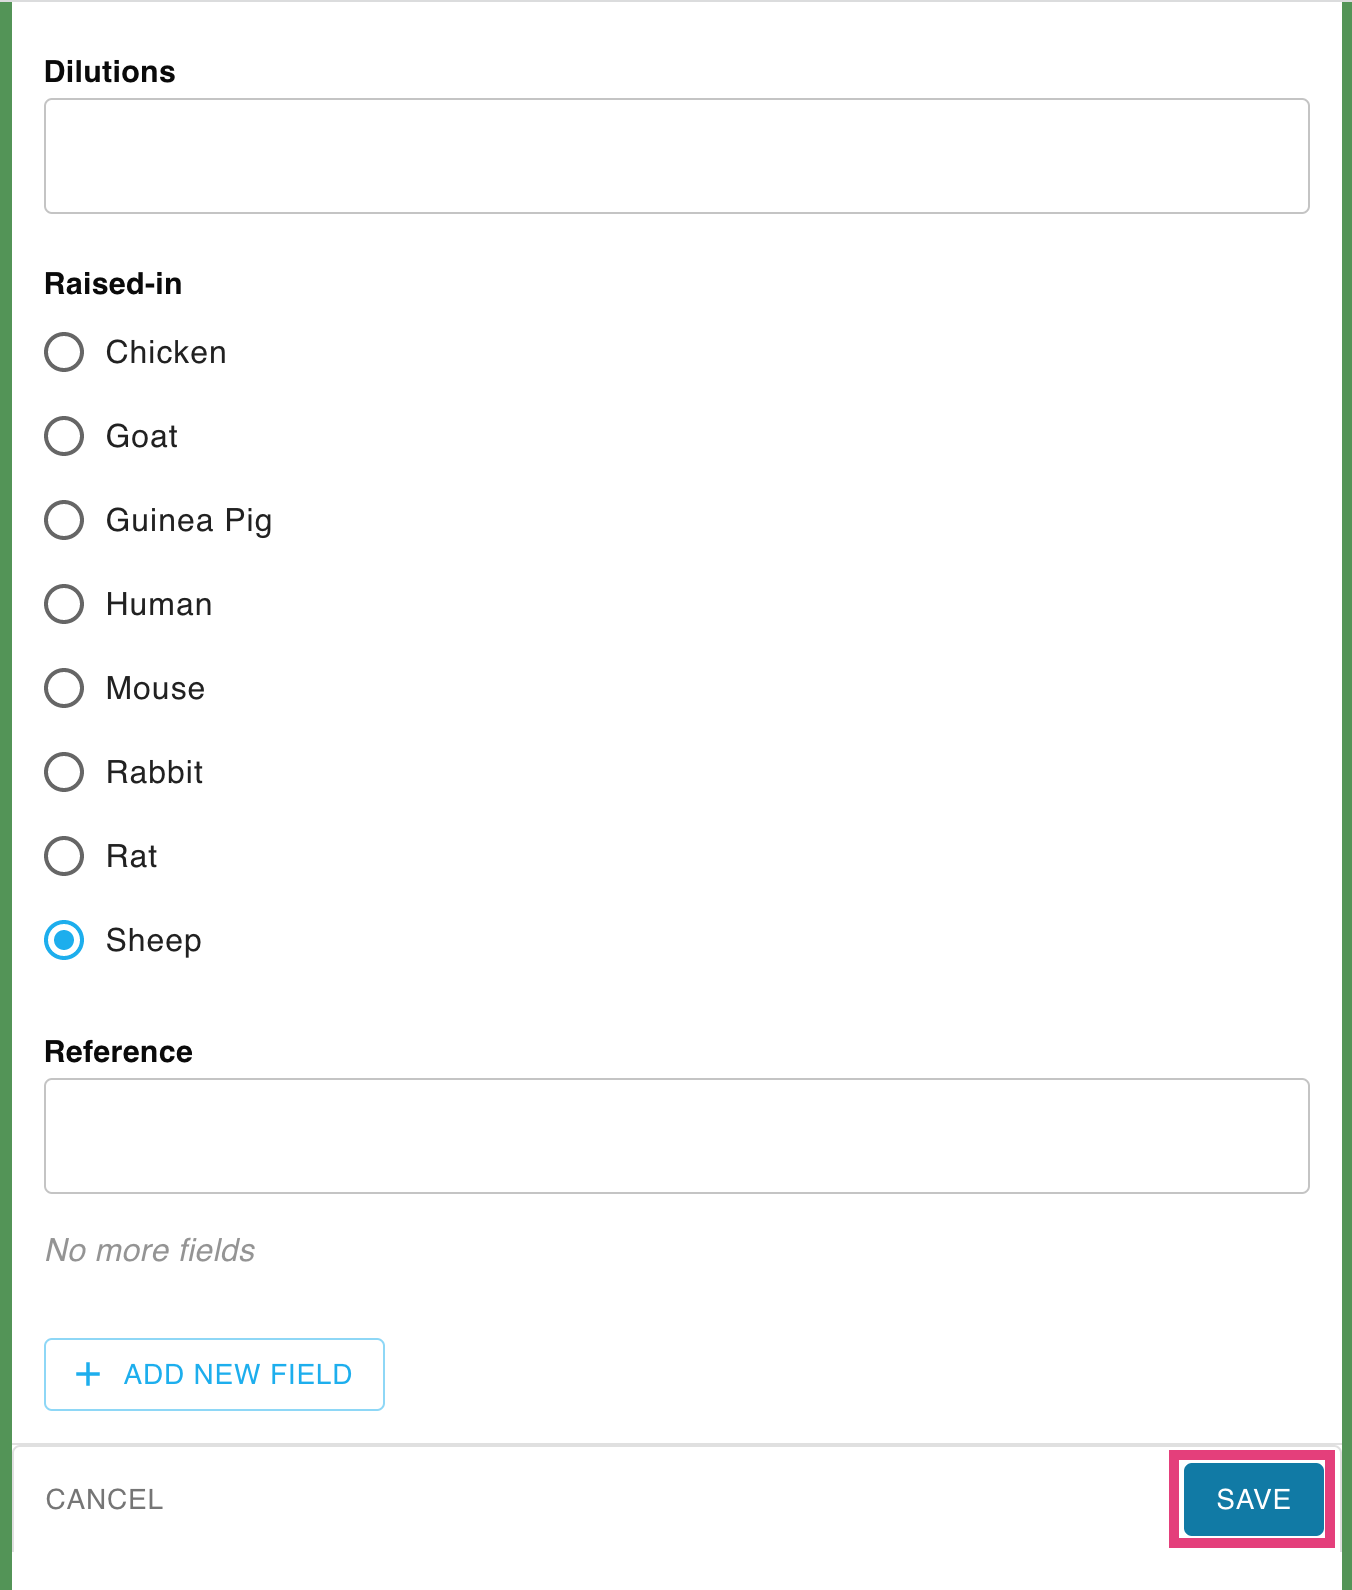
- When viewing the item, click on the Edit icon.

- You can now make edits to the fields. Some fields, such as the container type, cannot be changed after creation. Click on Save when done to confirm the changes.
Batch Edit
To edit multiple items (of the same type) at the same time:
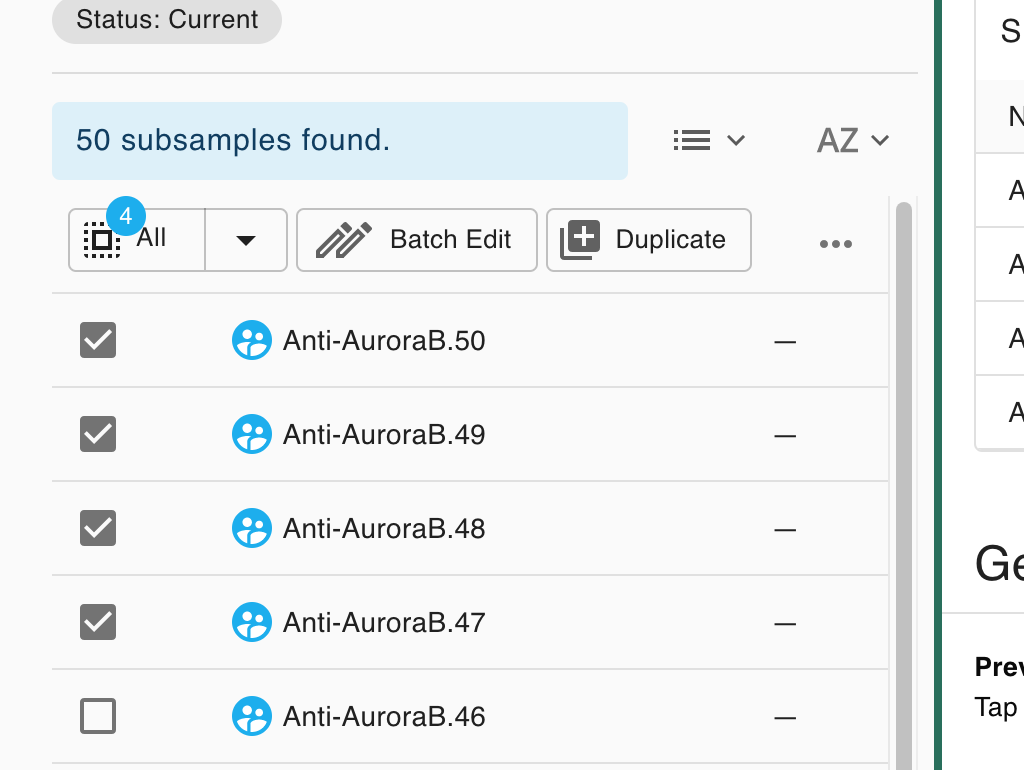
- Select some search results, and click "Batch Edit".
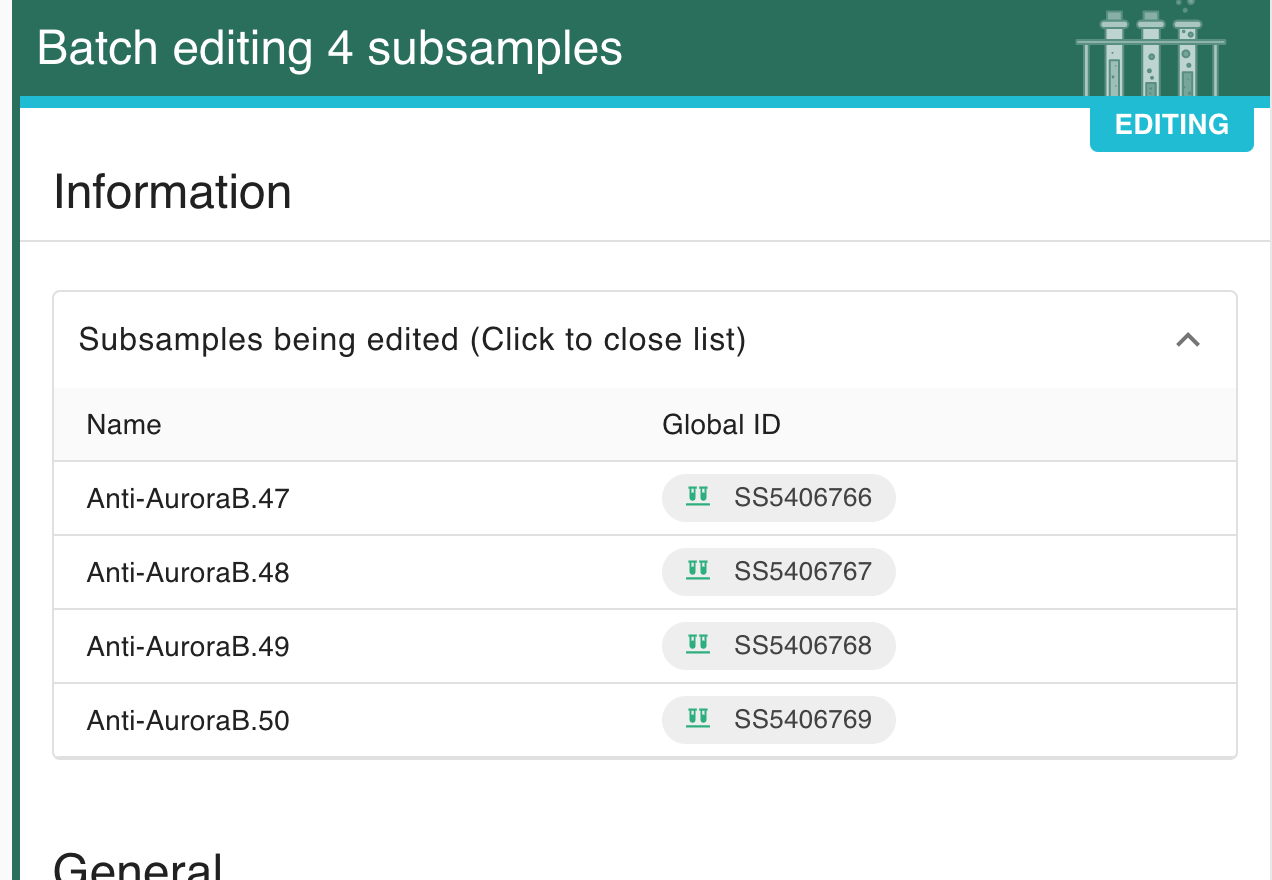
- The selected items can be seen in the table at the top. Tap the toggle to open and close.
- You can now make edits to the fields, with the changes applied to all of the items. Enable the field by tapping its checkbox and then enter a new value.
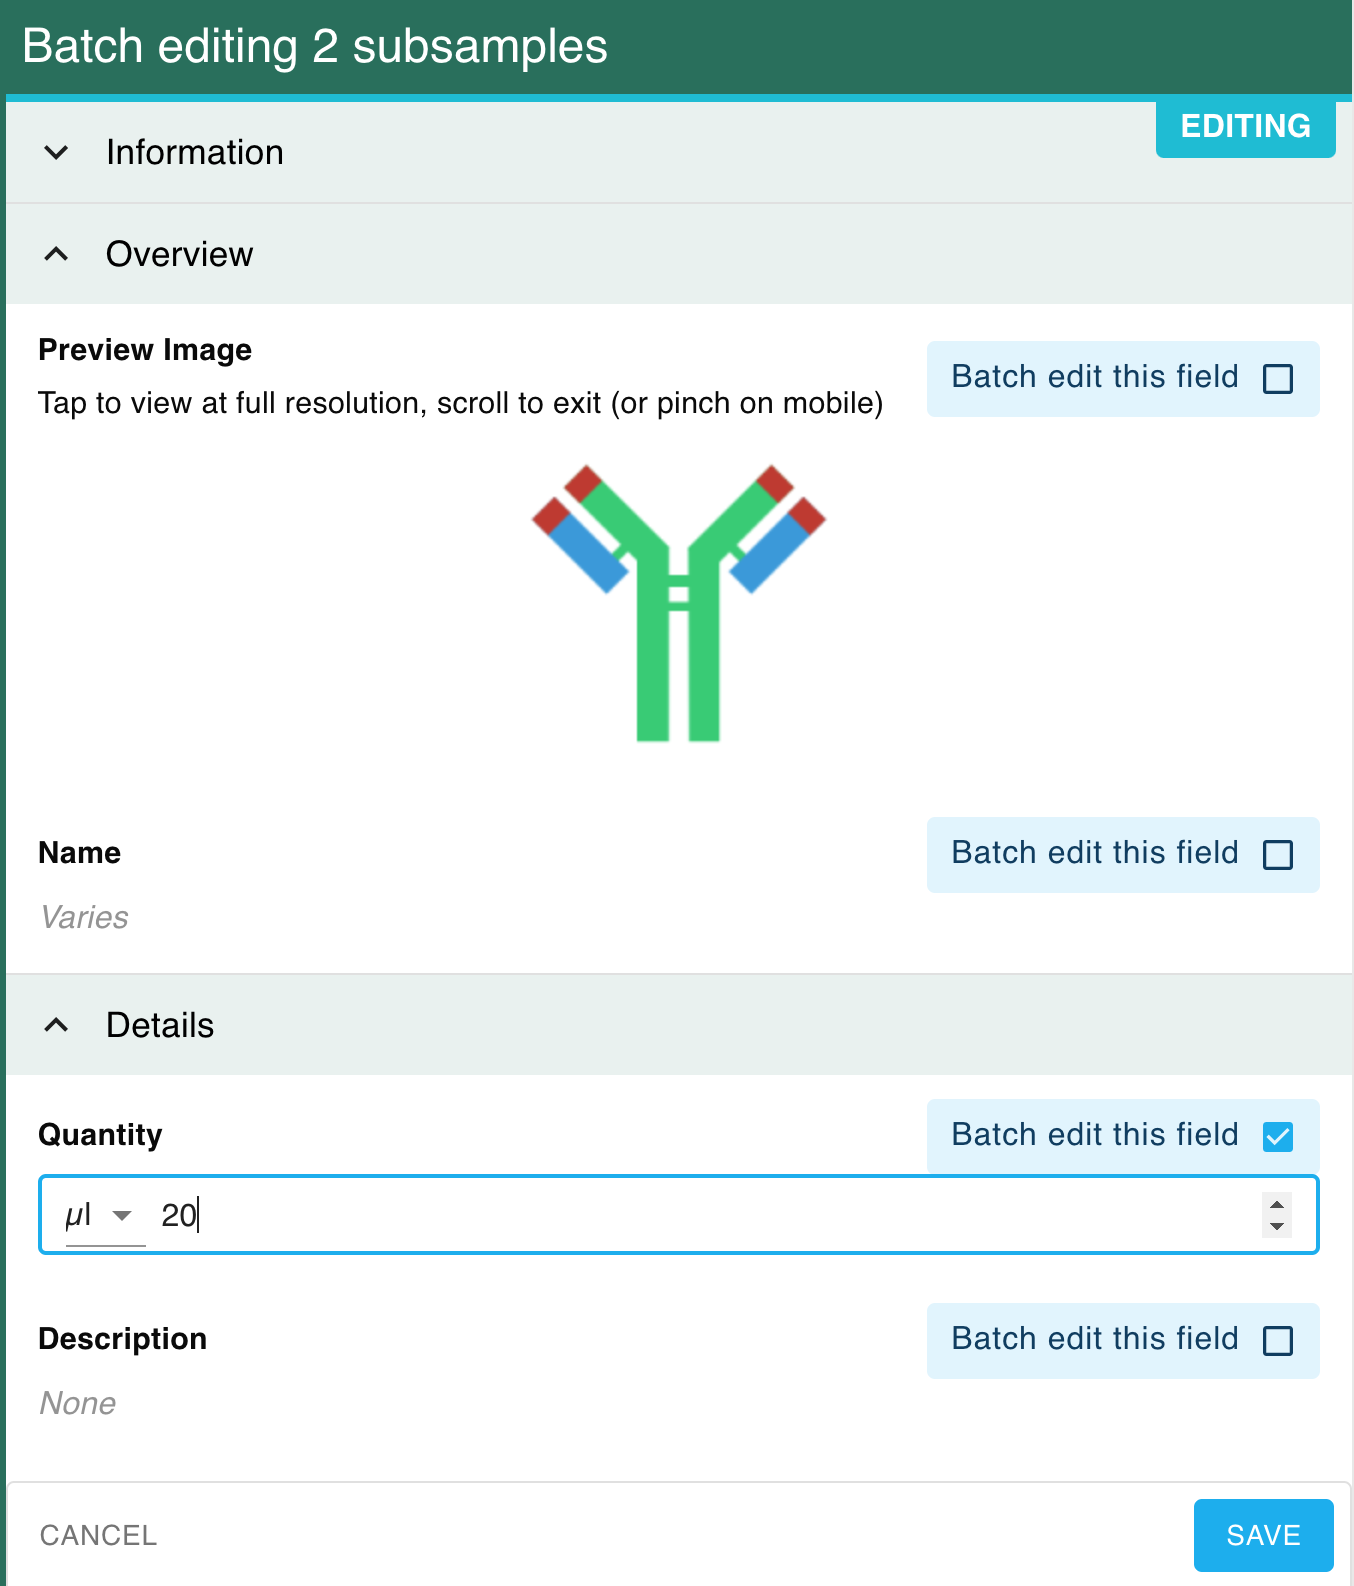 The Preview Image cannot be edited when more than 25 items are selected.
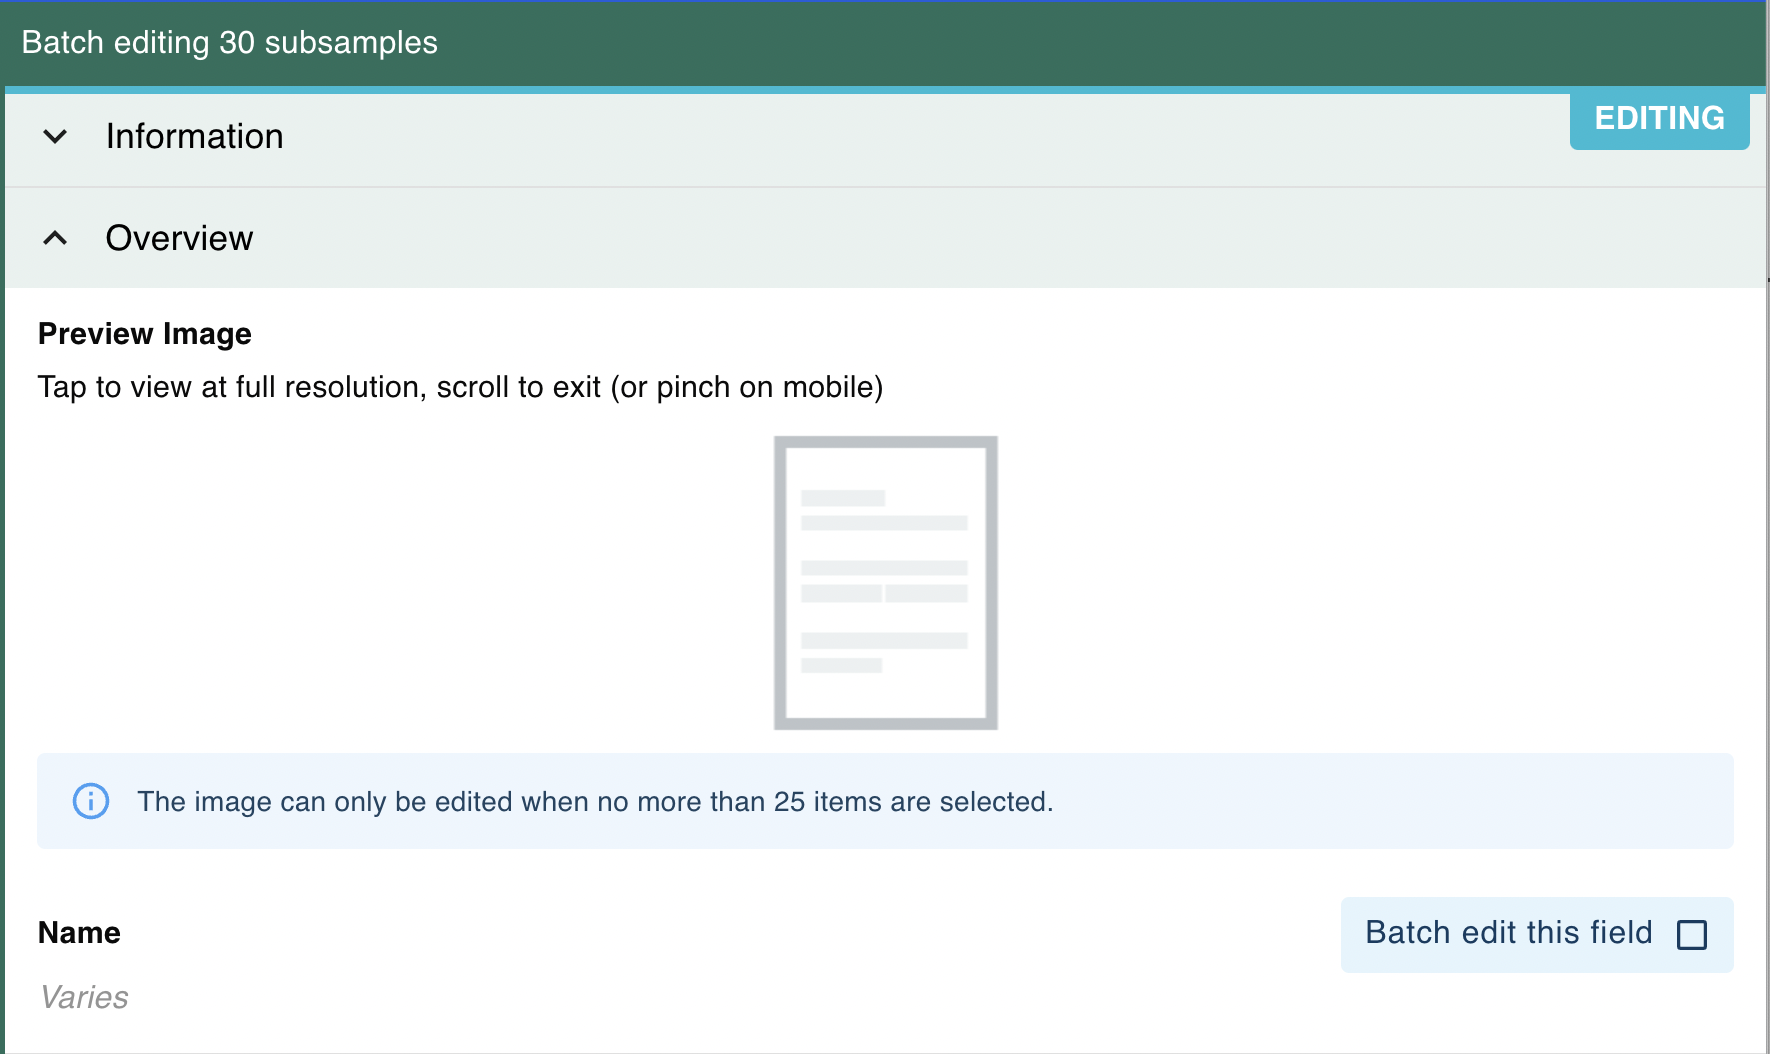
- Finally, click on save to confirm the changes.
Create

Clicking on the Create button in the context menu, the 'create in context' dialog will open.
The available creation options are detailed below.
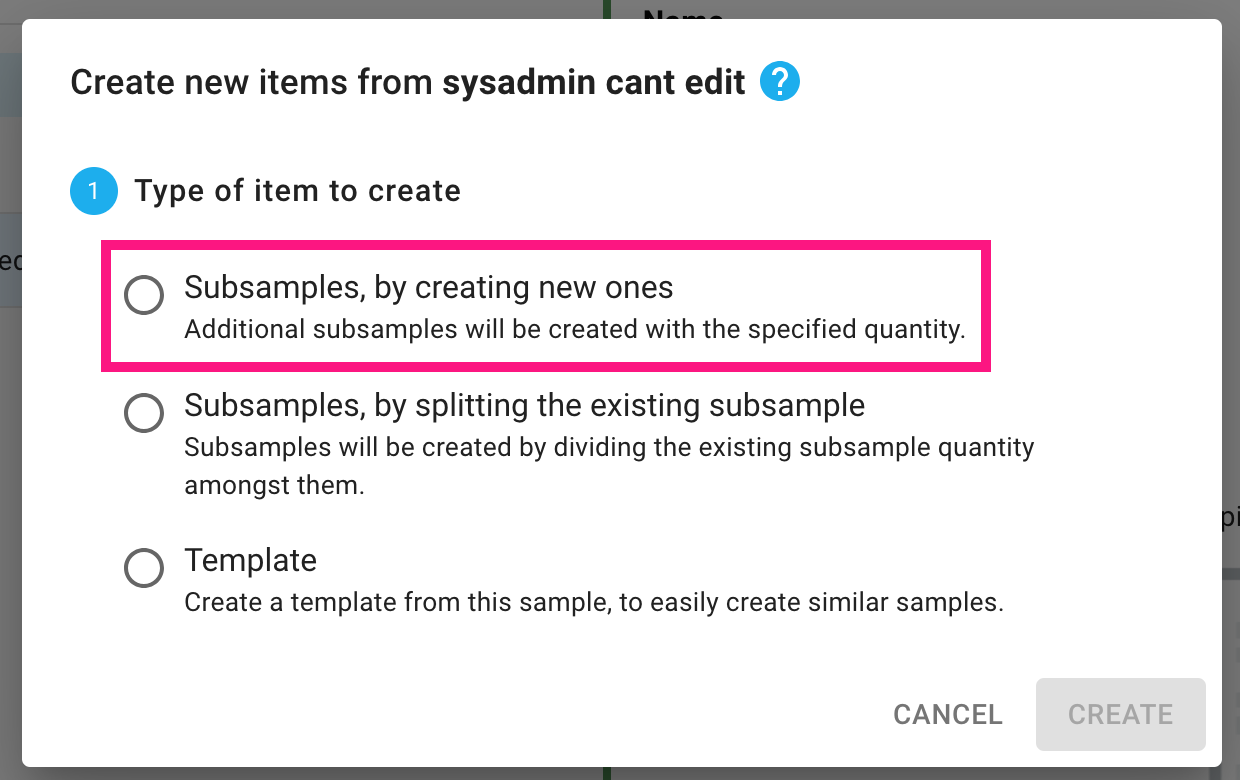
Create new subsamples
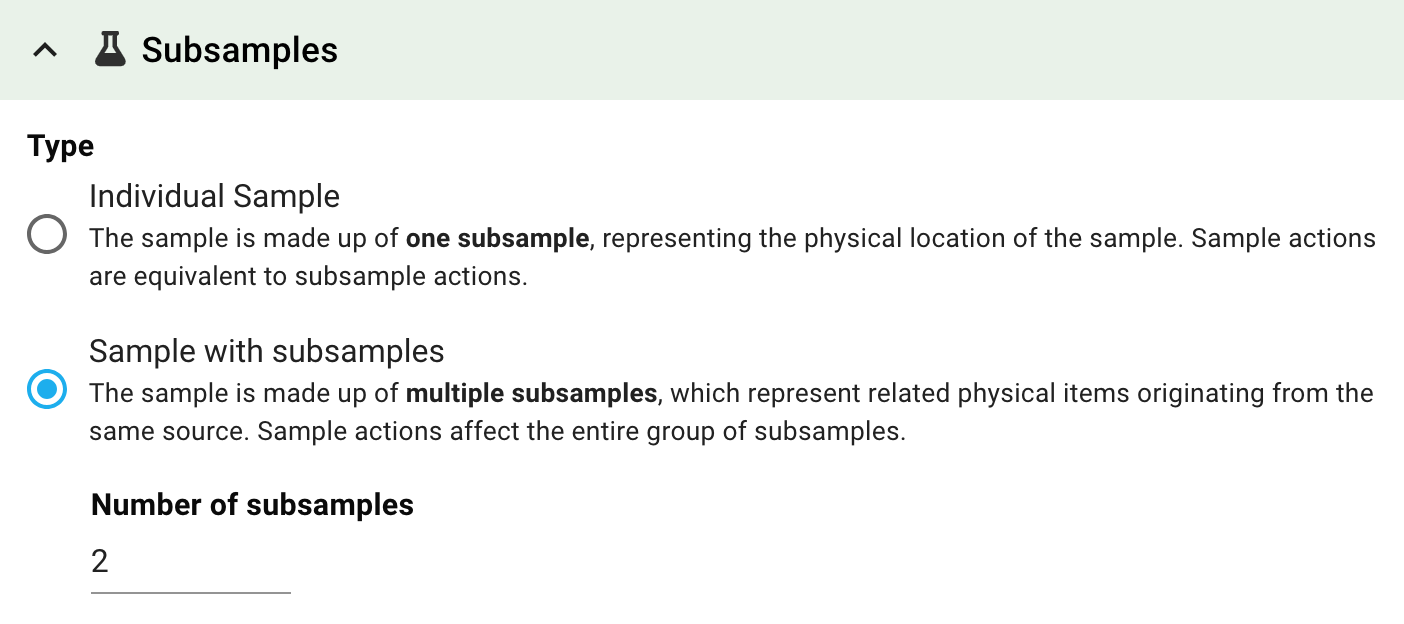
The easiest way to create new subsamples is to open the 'create in context' dialog from a sample. One of the options will always be to create more subsamples which will increase the total quantity of the sample.
The subsequent steps of the dialog will ask you for the number of new subsamples and the quantity that each should have. The units of the quantity are defined by the template from which the sample was originally created.
Tapping the "CREATE" button will then create these subsamples and place them on your bench.
Create an item inside a Container
To create an item inside an existing container:
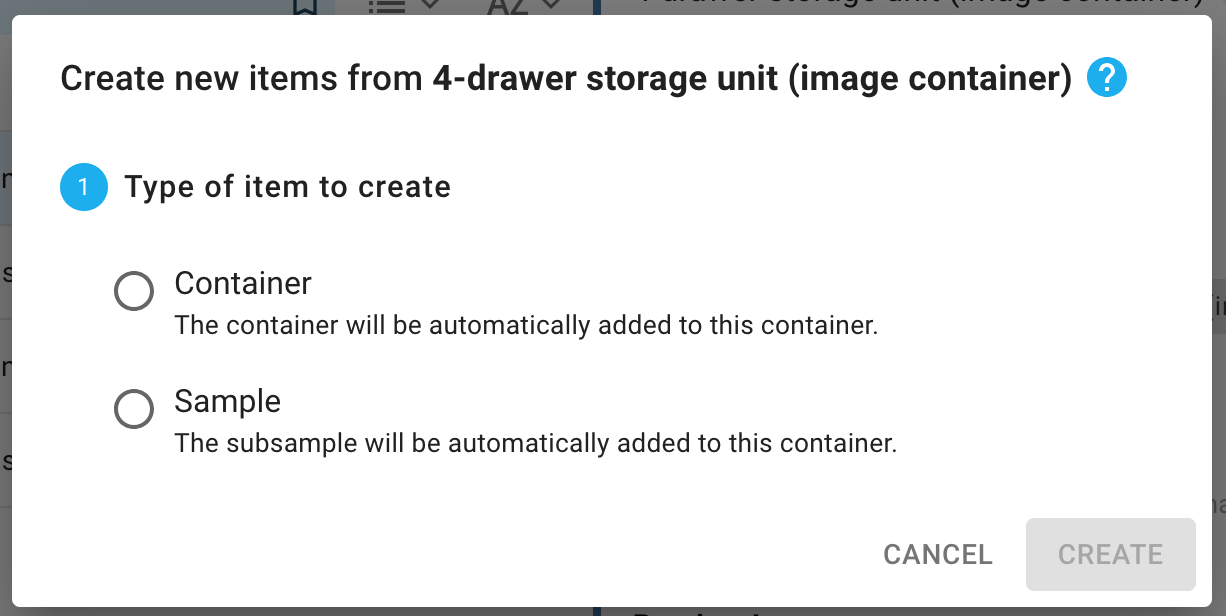
- Select or open a container and click Create in the context menu.
- Choose one of the available options for the new item (container or sample).
- Choose one of the available locations inside the container, where the new item will be placed. Locations can be selected either from the dropdown menu or clicking on an empty location.
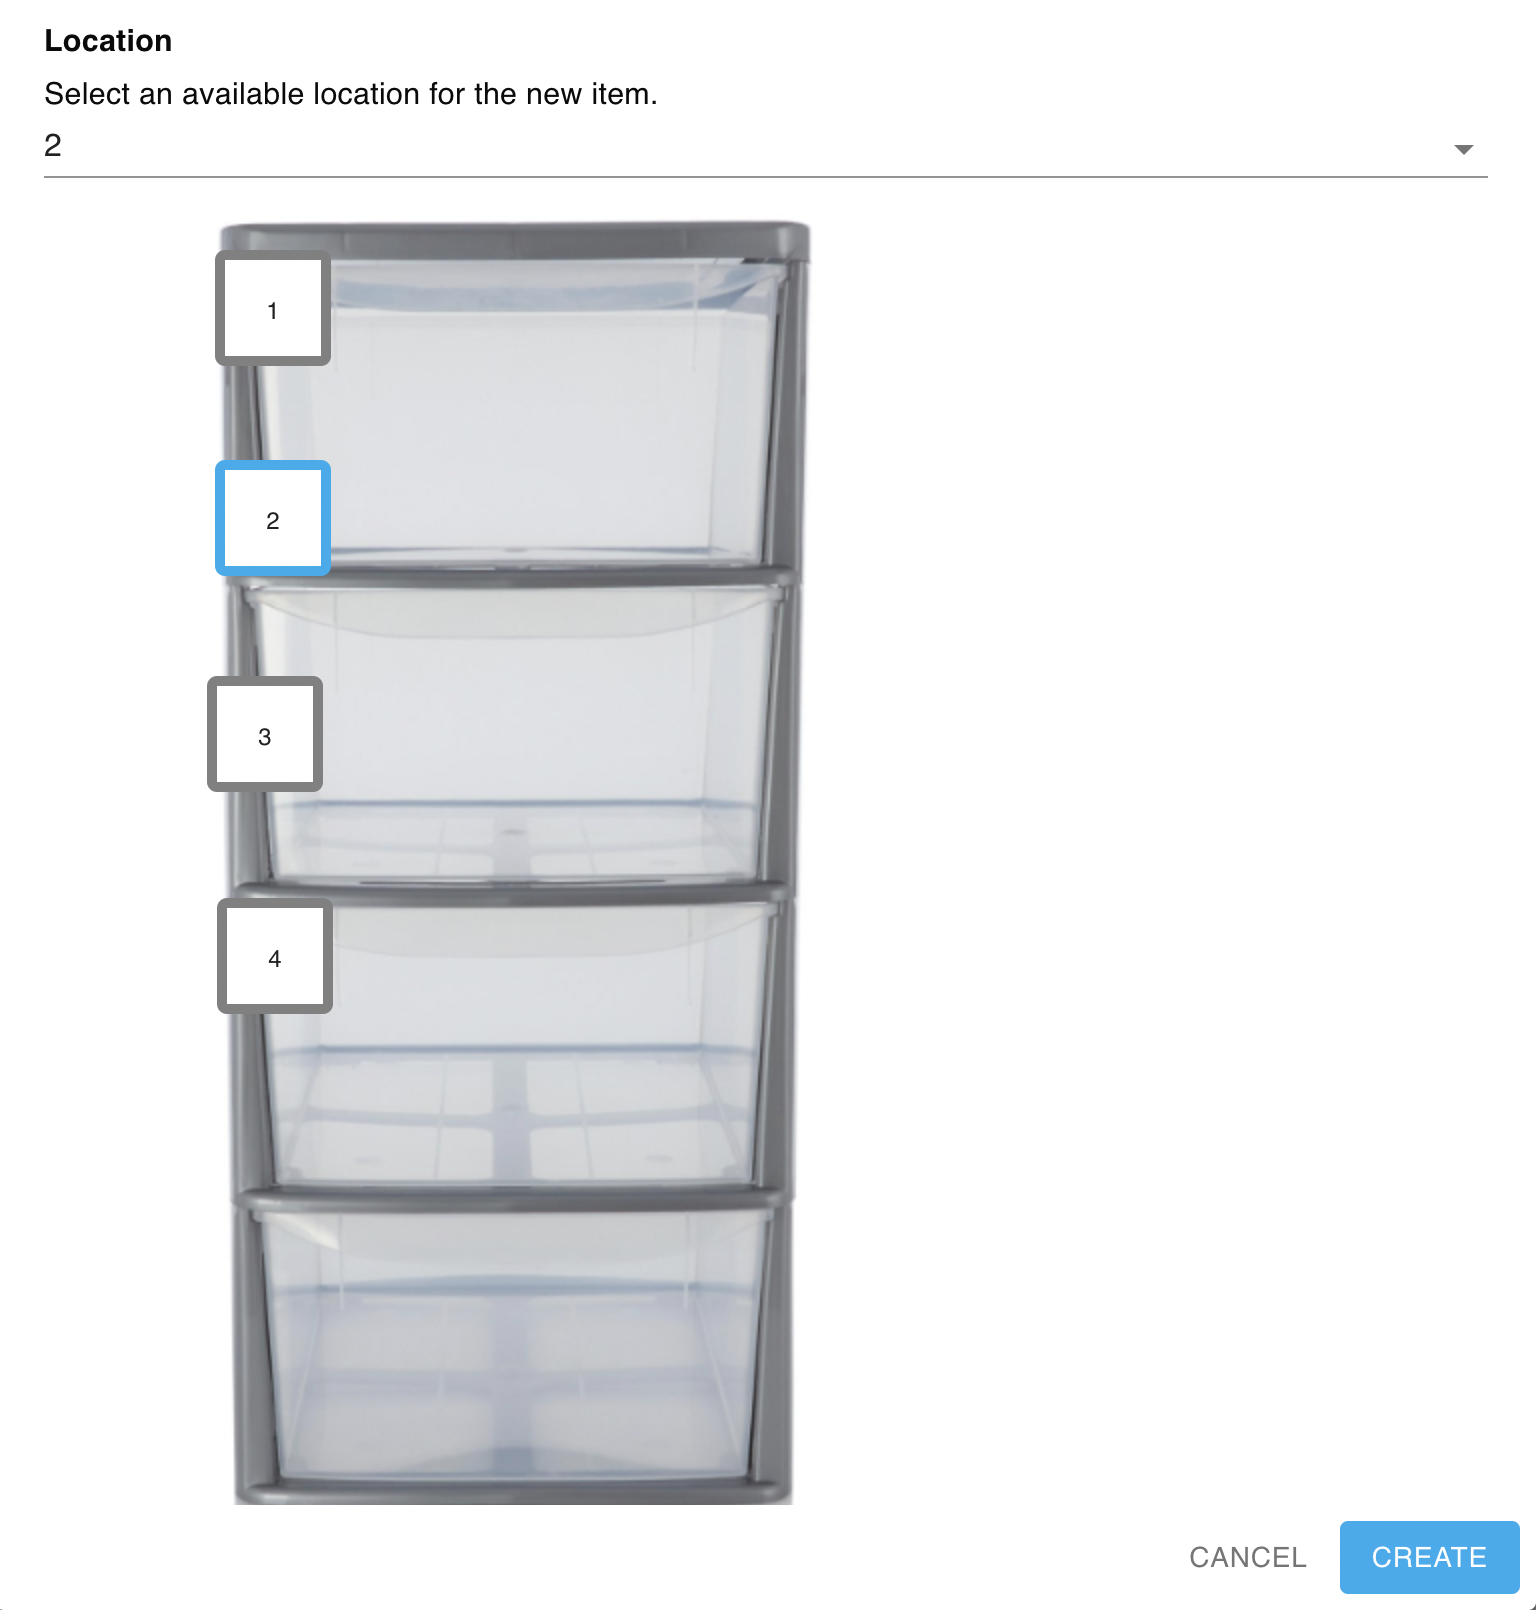 Only visual and grid containers require this step. For list containers, there is no need to select a location, as list containers have unlimited locations.
 - Click on the Create button.
- The new item wizard will open, where the new item name and its other attributes can be edited.
- If you are creating a Sample in a List Container, you can edit the number of its subsamples.
Otherwise, a sample with only 1 subsample will be created (in the selected location).
- Click Save.
Create Sample Template from Sample
To create a template from a sample:
- Select or open a sample and click Create in the context menu. The create dialog will open.

- Once Template is selected, in the next step a name for the new template is required.
- In the final step, all of the fields of the sample are listed. They will all be copied over to the new template but only those that are selected will have their values copied over too. This way, when new samples are created from this new template, they will already have some default values pre-populated. The default values can always been edited once the template is created.
- Click the Create button at the bottom of the dialog.
Creating templates is also documented in Create and Use Sample Templates.
Create Sample from Sample Template
To create a sample from a sample template:
- Select or open a template and click Create in the context menu. The create dialog will open.
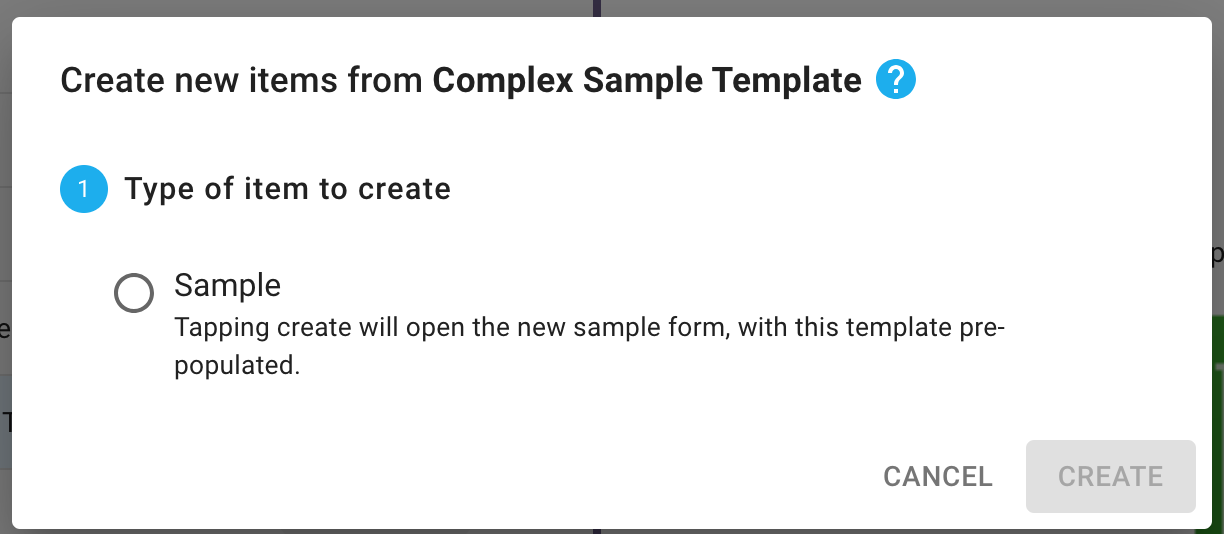
- Click the Create button at the bottom of the dialog.
- The new item wizard will open, where the new item name and its other attributes can be edited. Note that the source template is preselected.
- Click Save.
Split
To split a subsample or a sample that has a single subsample:
- When viewing a sample, scroll down and select the subsample using the checkbox, then choose Create from the context menu, or choose Create from the context menu when viewing a subsample.
- Once the dialog is open, input the total number of subsamples you want to split this subsample into, then click on the submit button.

- The quantity of the original subsample will be split among the resulting subsamples evenly.
If you wish to split a subsample into uneven quantities, you can duplicate the subsample and edit the quantities in the Quantity field to reflect the split.
Duplicate
You can duplicate items by clicking on Duplicate. If you are duplicating a subsample, the sample's total quantity will be increased to account for this additional subsample. The duplicated subsample or container will be placed on your Bench. If you are duplicate a sample then the subsamples will not be duplicated, with the new sample automatically getting just one subsample.

Move
Moving is documented in Move Samples and Containers.
Transfer
Transferring is documented in Permissions and Sharing in Inventory.
Print Barcode
Printing barcodes is documented in Scan, Use and Print Barcodes in Inventory.
Add to Basket / Remove from this Basket
Basket actions are documented in Creating and using Baskets.
Trash
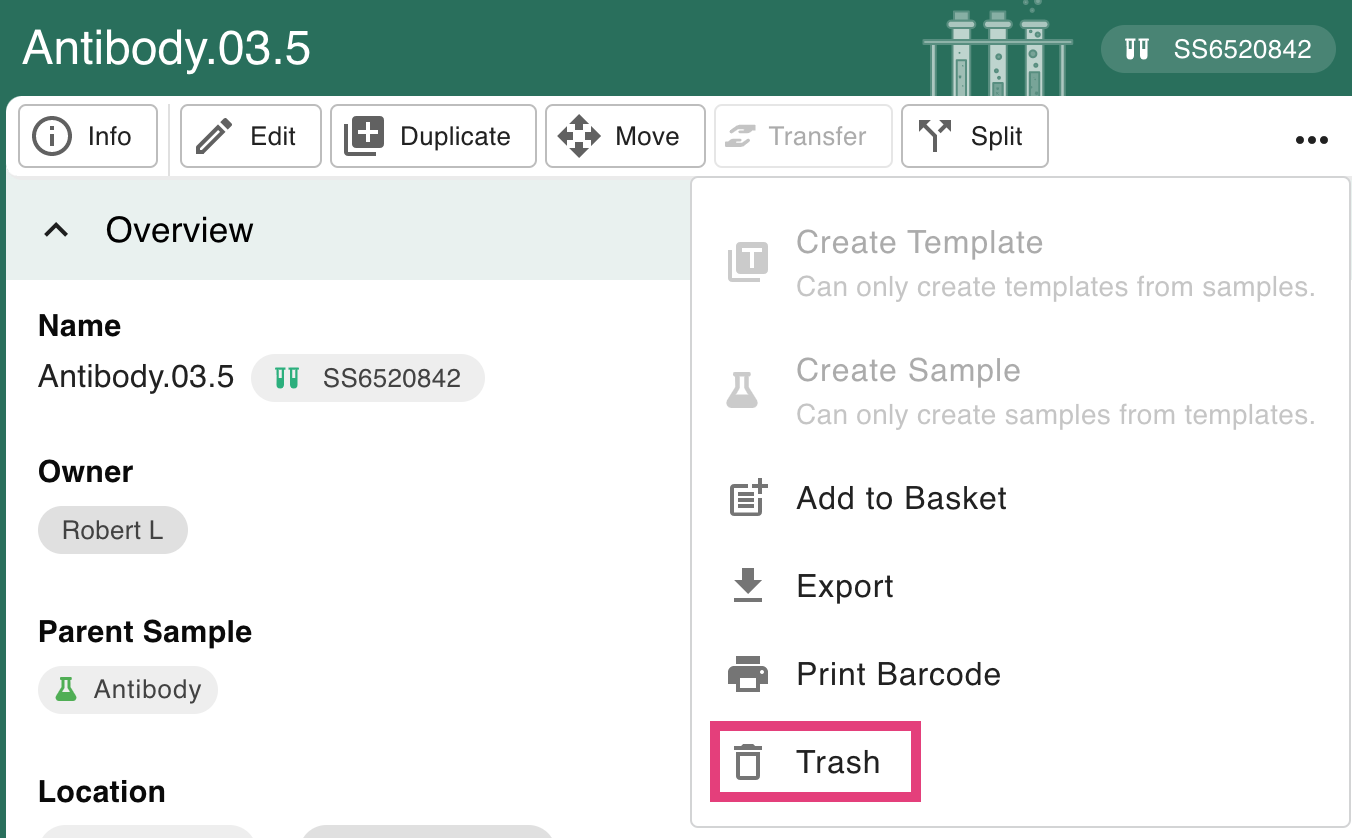
You can move items into the trash by clicking on the Trash button when viewing them. It is likely to appear in the More actions menu based on your screen size:
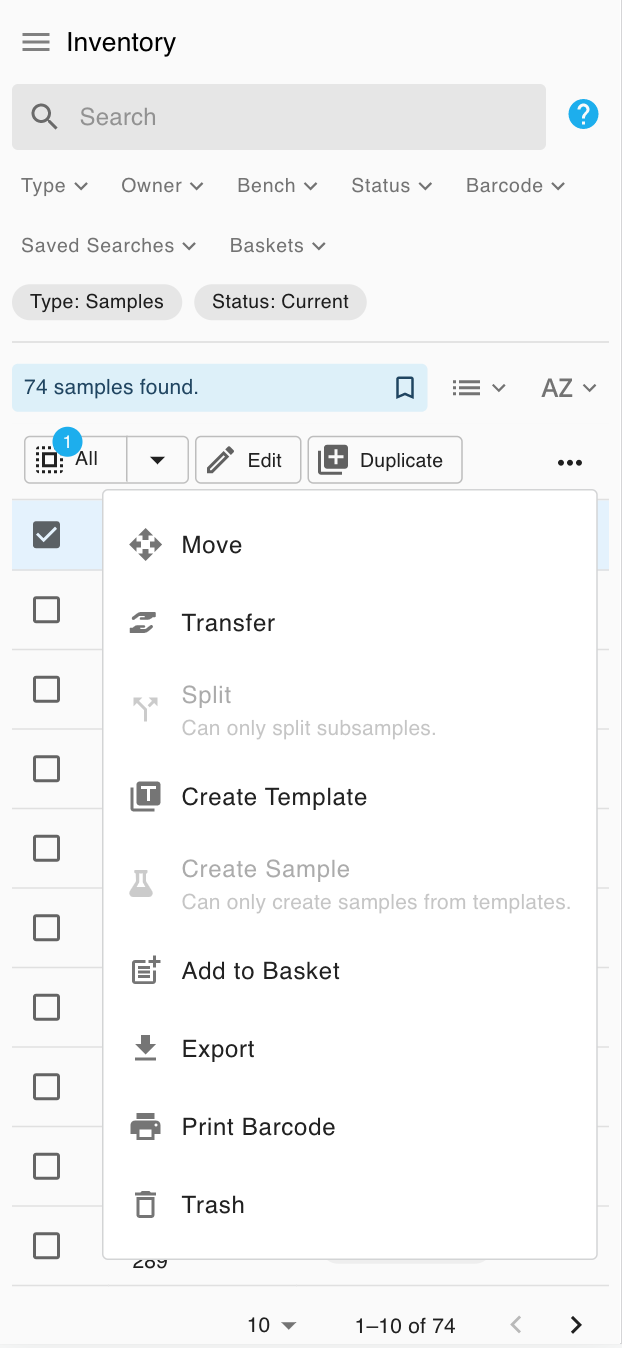
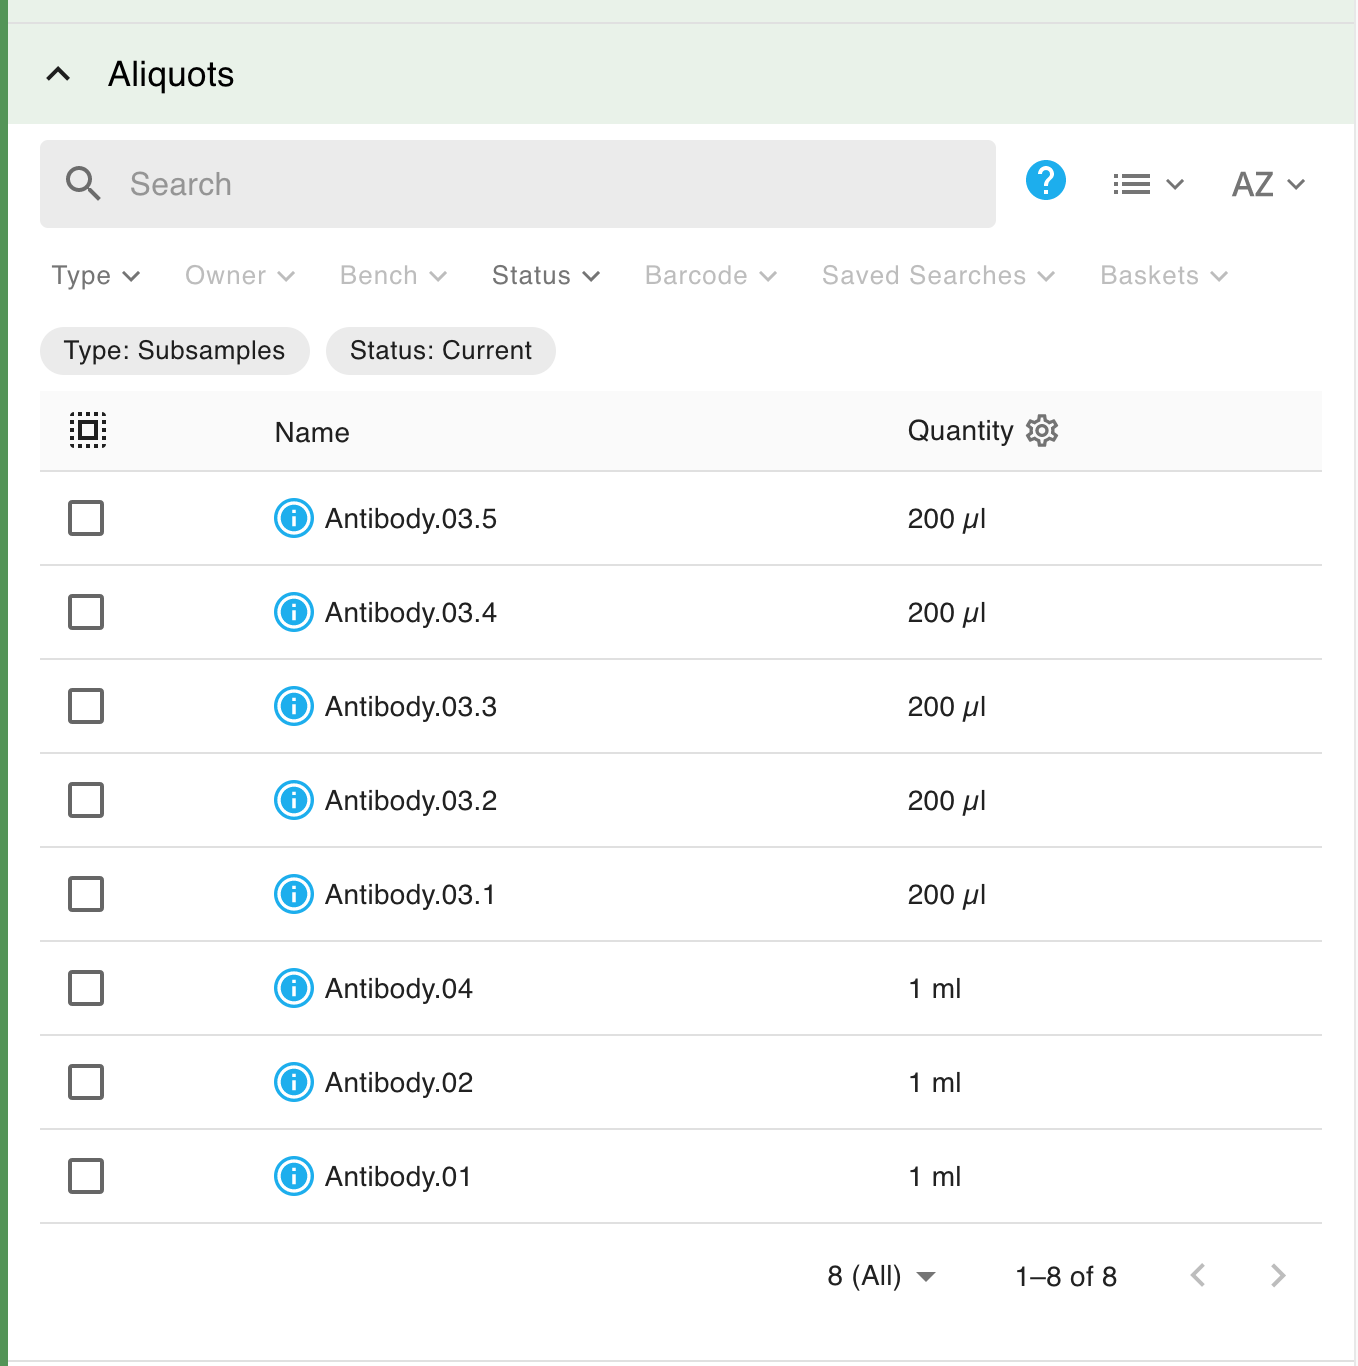
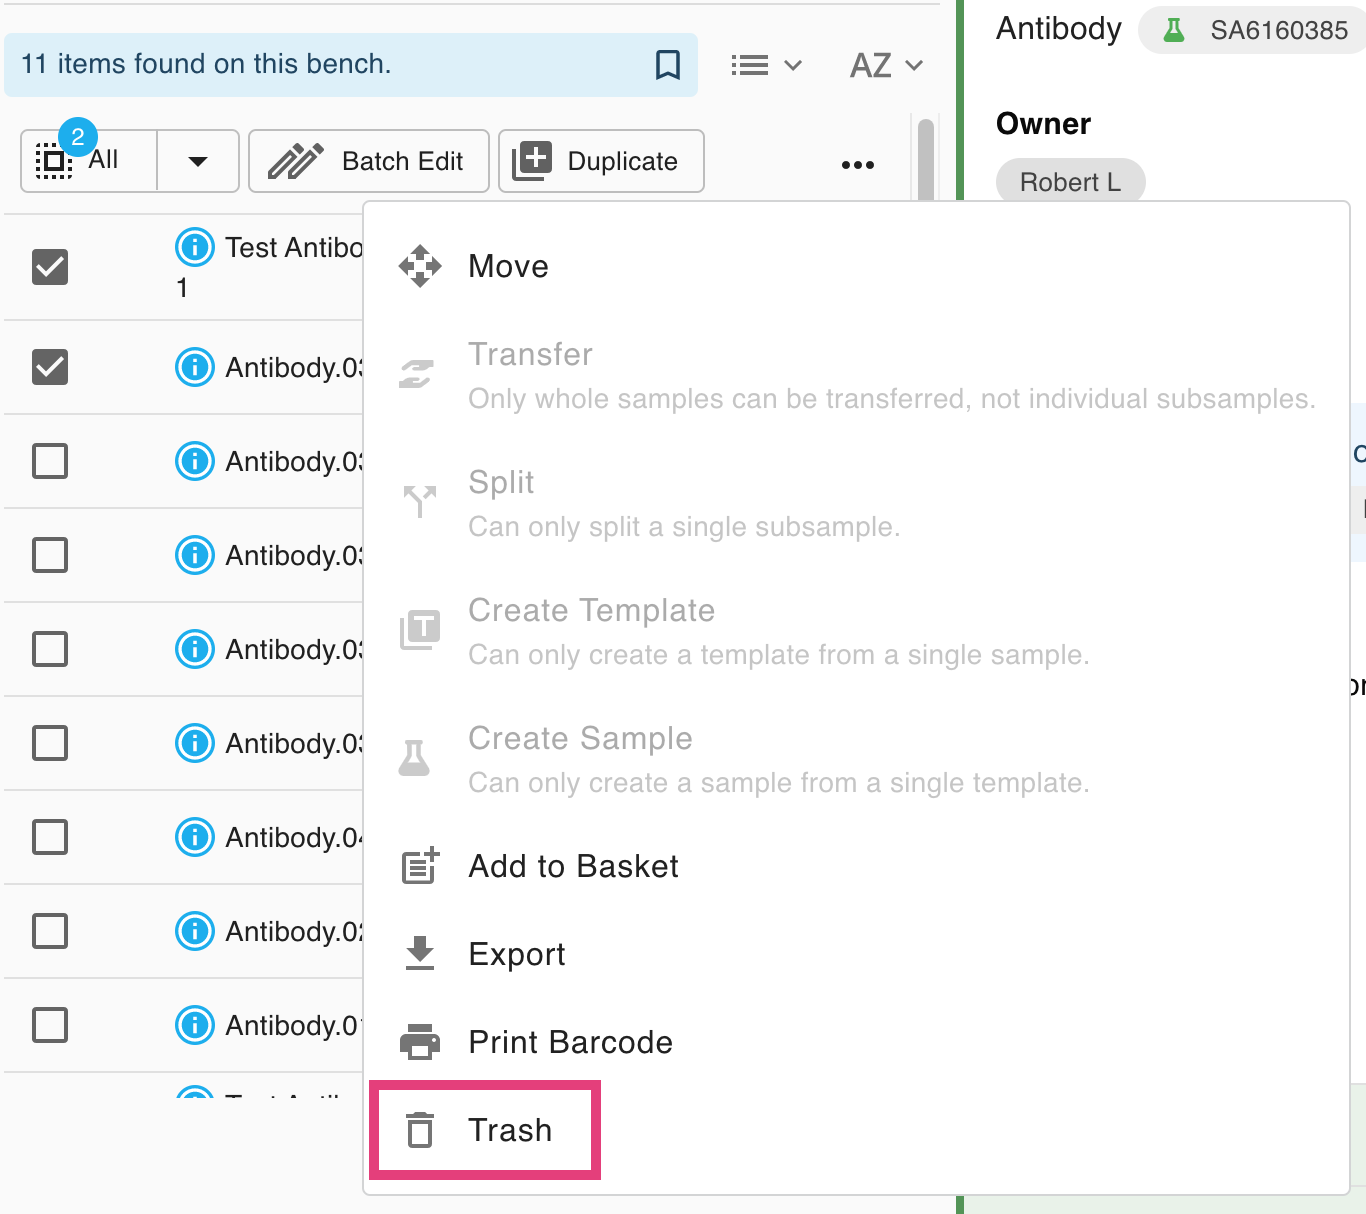
You can also move to trash in bulk by selecting items using their checkboxes in the left panel, then selecting Trash:
Restore
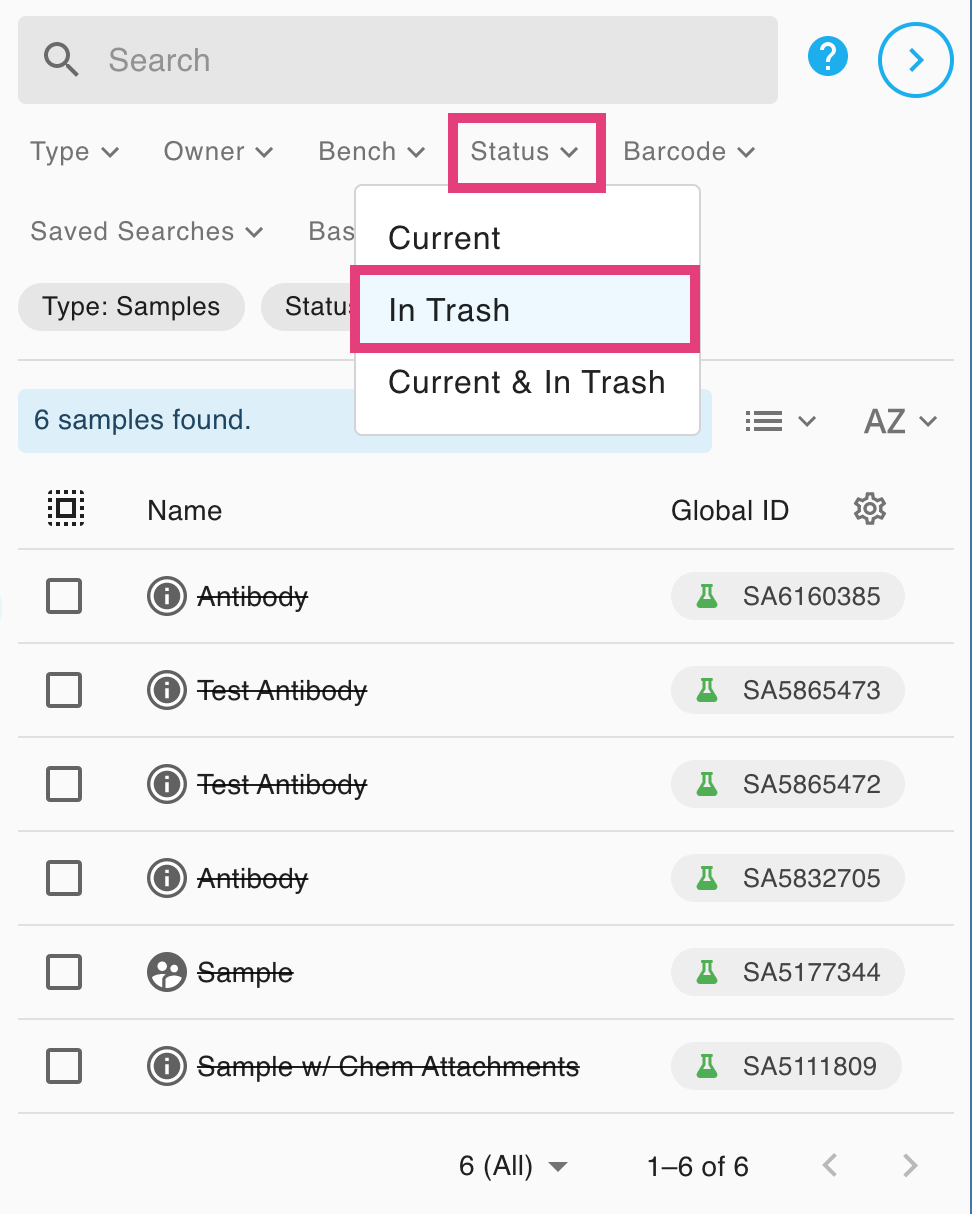
By default, search results only return Current items. You can view and restore items that are in the trash by changing the Status filter to Current & In Trash, or to In Trash only.
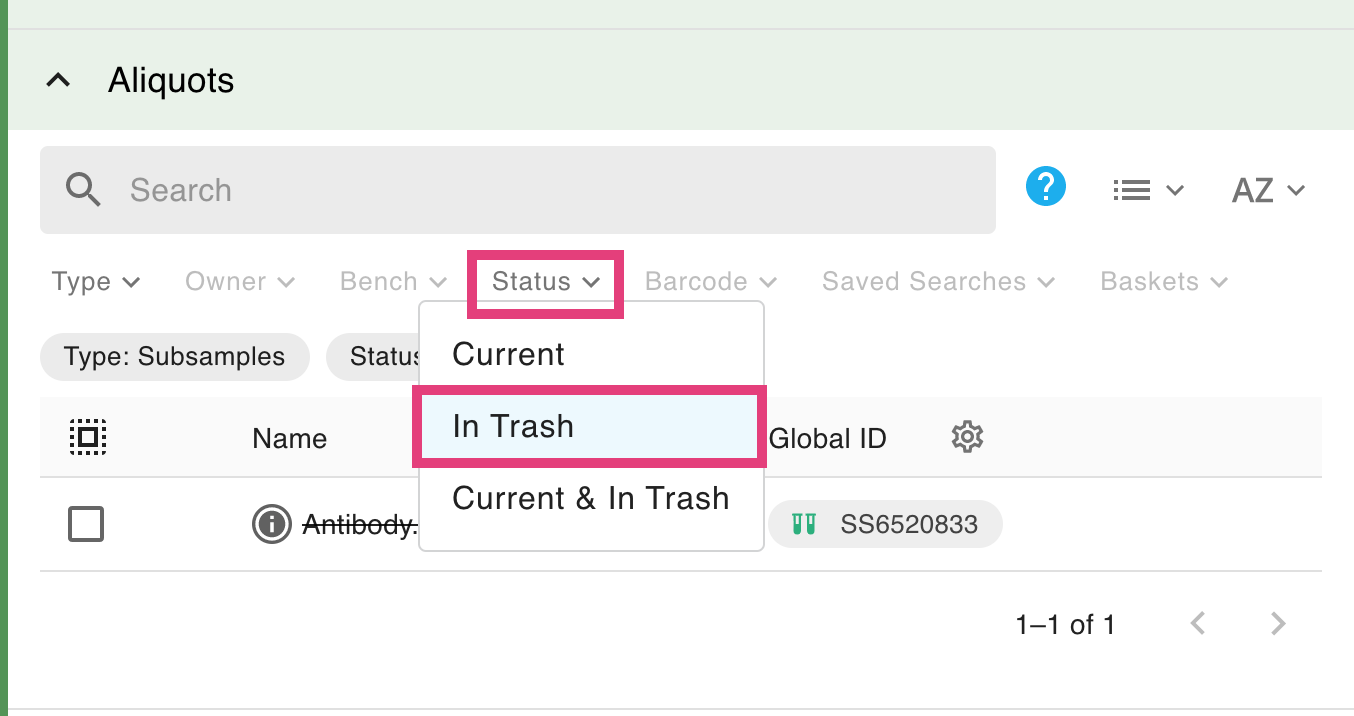
You can also use the Status filter on a sample to view and/or restore its deleted subsamples.
An "in trash" status indicator is present on a trashed item, and editing and other actions are not available. You can click Restore to move the item out of the trash.

Add a File Attachment
If you have files that should be stored in connection to an inventory item, these can be uploaded when editing the item, through "Attachments" section, or sample field.
More details: Add a File Attachment to an Inventory Item.
How did we do?
Add a Custom Field to an Inventory Item 🧪
Creating and Using Baskets 🧪