Move Inventory Items 🧪
You can move samples and containers using the Move action. Note that moving a sample will move all of its aliquots.
To move Inventory items:
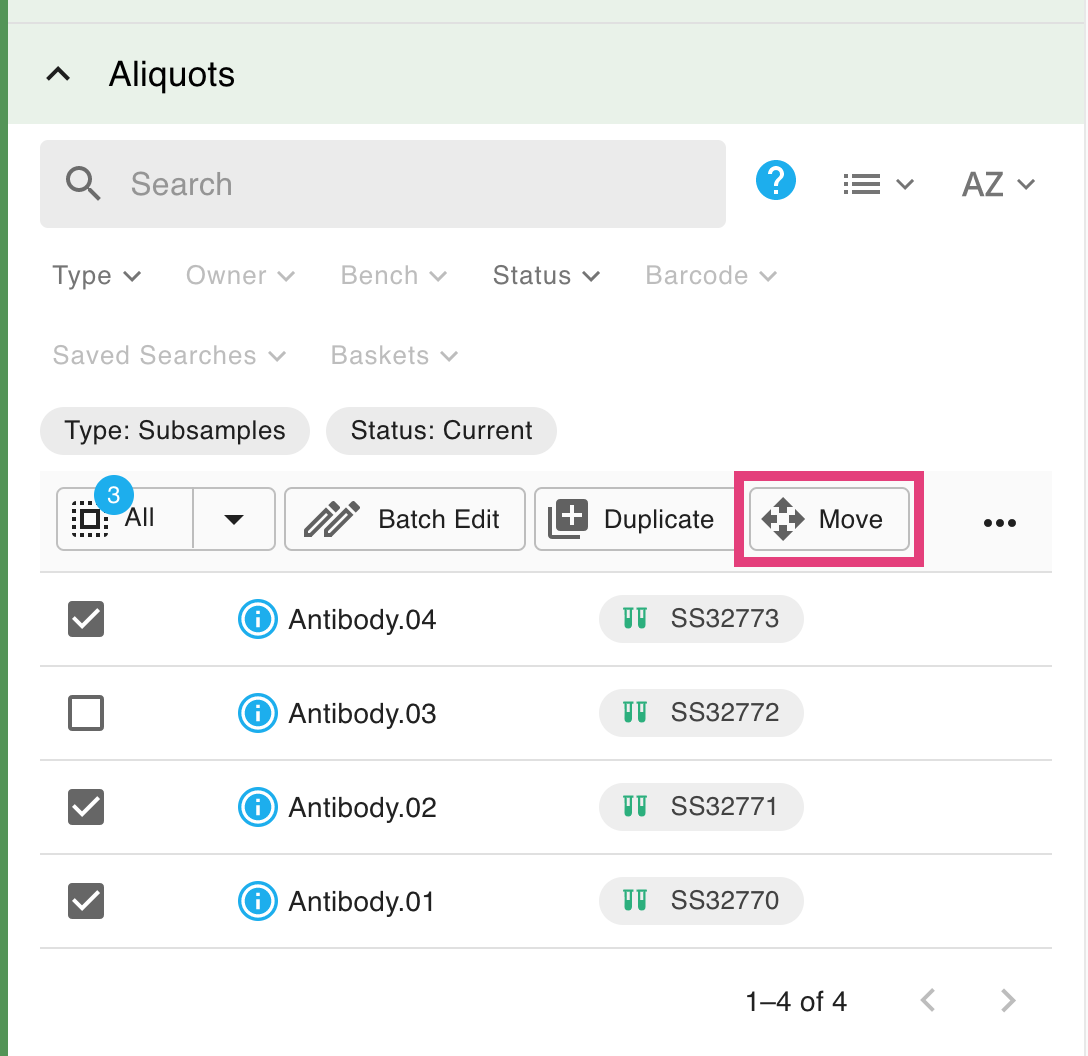
- When viewing an item, click on Move.

You can also move several items by selecting their checkboxes, and clicking on Move.
If you wish to move items that are already in a container, see Select Items in Inventory.
Note that moving a sample will move ALL of its subsamples, so you will need so select a destination that can accommodate the whole set of subsamples. If you wish to move only one, or a few specific subsamples of a sample, scroll down to the bottom of the sample preview and select the desired subsamples there.
When you Create and Use Sample Templates 🧪, you can choose to call your "subsamples" whatever you like using a subsample alias: "portion", "pieces", "aliquots", "sections", "chunks", "bottles", "items", "animals", or anything that you use in your specific research. In the example below the user wants to move three aliquots.
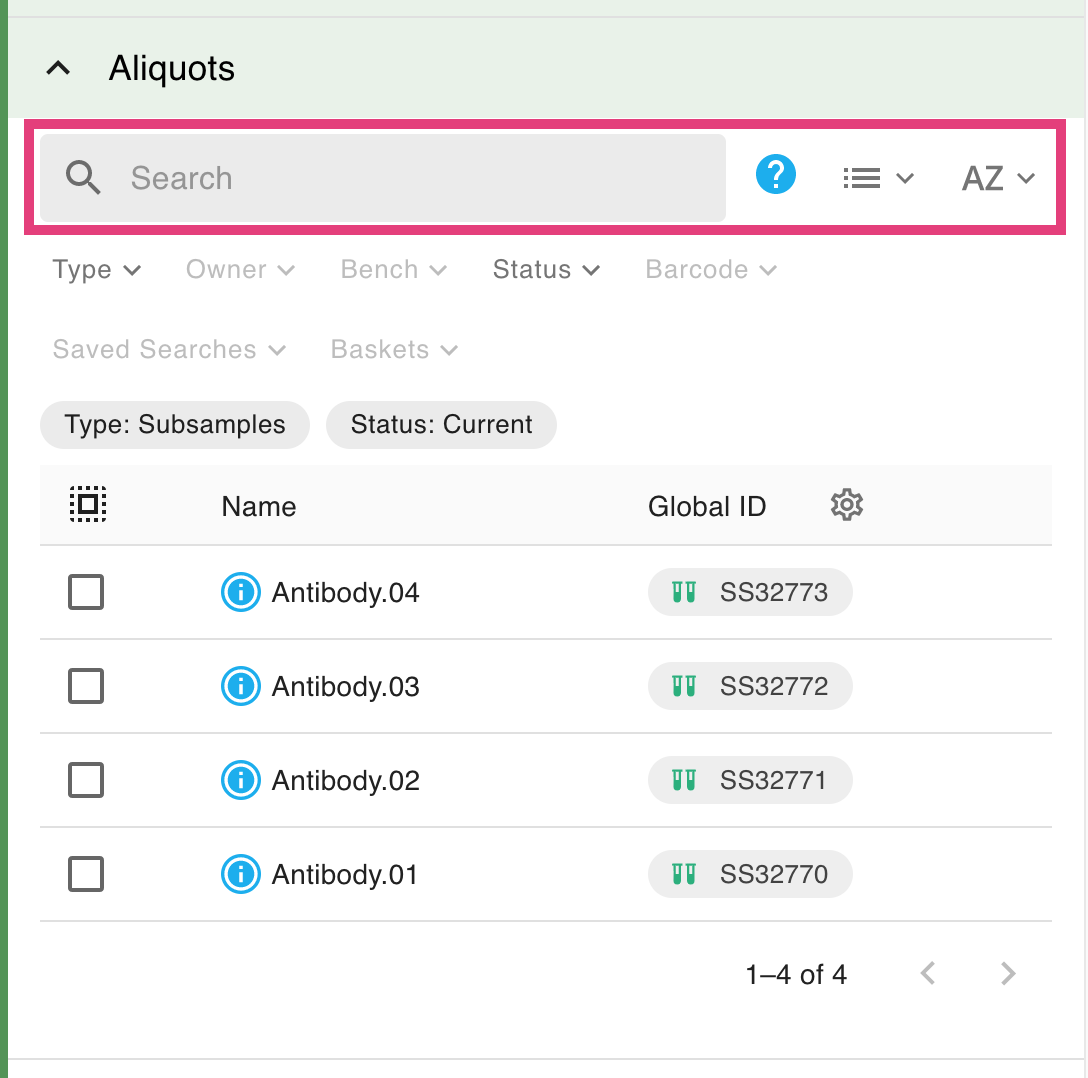
You can also search for specific subsamples by name, sort the list, or toggle the view.
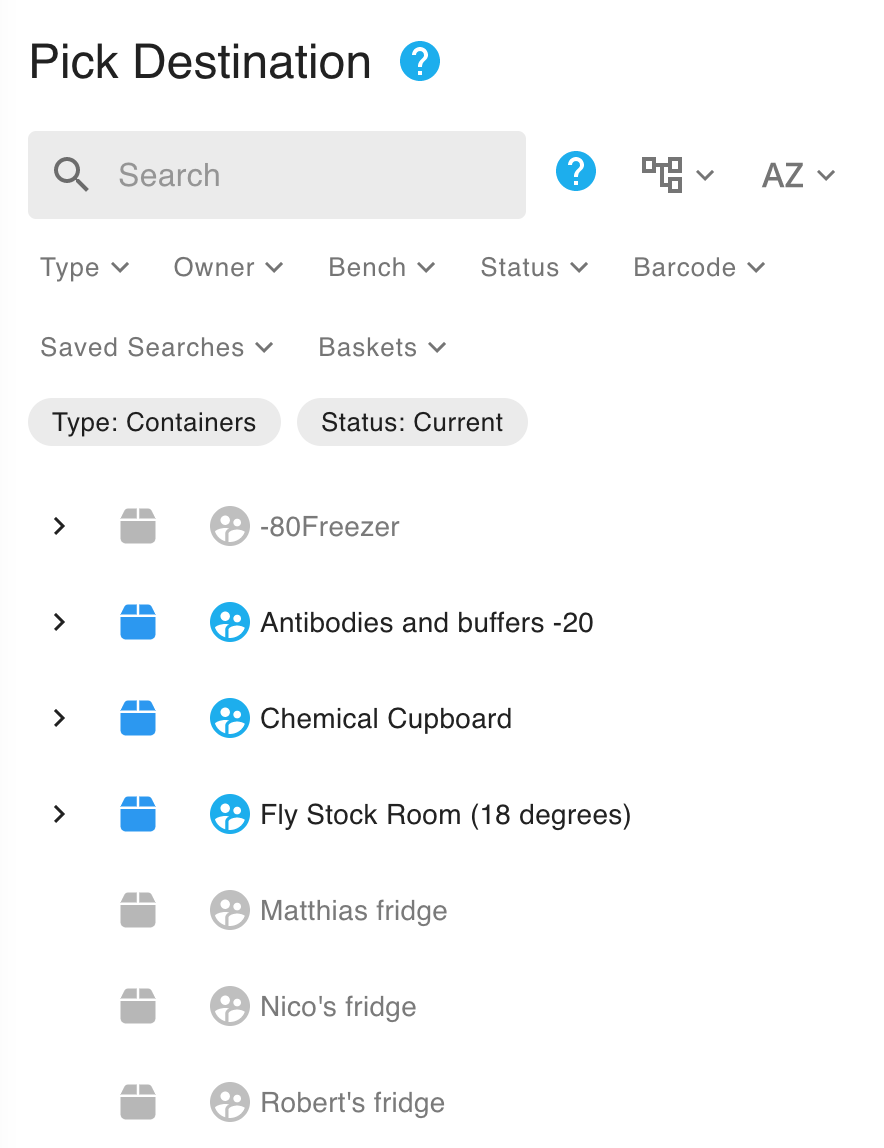
- You'll be shown a tree view of top-level containers by default. Browse the container tree to your desired target container and select it, or use the Bench filter to select a bench to move the item into. You can click to expand/collapse containers that have inner containers. Containers that do not have enough space or are not suitable for this move action will be greyed out. You can also click on "Make top-level" when moving a container to put it among the top-level containers (containers without parents).
Note that search, search filters, sorting, and views are also all accessible in the move dialog.
- For a list container, you can directly click Submit. In the case of a grid or visual container:
- Select locations by clicking on individual locations, or by click-and-dragging (on desktop). You can deselect with click/click-and-drag as well.
- You can hover over the info icon to see which items you are placing in which locations. You can also expand the selection panel to see which is the next item to be placed.
- Once you have selected locations for all the items you are moving, click on Submit.
When looking at the Locations and Content section of a grid container, switching to List view and selecting "Grid Coordinates" as an adjustable column option will show the coordinates of each stored item.
A sample is essentially a TYPE of item or a description of the common characteristics or metadata associated with some related family of subsamples. A sample is always made up of one or more similar or identical subsamples. The subsample is the physical item itself, whereas a sample is a conceptual category. Subsamples can have a physical location (usually within some sort of container) but samples do NOT have a physical locations, since each sample might be made up of multiple subsamples, and each subsample could have a different location. However, you can gather a set of scattered subsamples from a variety of physical locations and move all of them to a SINGLE new location by moving the sample. Moving a sample acts like a "batch" move event, useful for moving an entire set of subsamples without having to move each one separately.
How did we do?
Using Inventory Lists of Materials in the ELN 🧪
Search Inventory 🧪