Table of Contents
Use Benches in Inventory 🧪
Benches are a place for storing newly created subsamples and containers, imported subsamples, or anything else you decide to move into it.
Introduction
The Bench is a representation of your real-life personal scientific bench. Benches are a place for storing newly created subsamples, containers and instruments, imported items, or anything else that you decide to move into it; for example, you might want to move an item to your Bench if you have checked it out from a freezer and are currently working with it, so your colleagues know that this item can be found with you.
Here's how Benches work:
- Everyone is allocated a single Bench. It is not possible to create, delete, or move a Bench.
- Newly created items, including imported items, are automatically added to the creator's Bench.
- Anyone can move items to/from their Bench.
- Anyone can view and move items to/from anyone else's Benches, provided they are members of the same LabGroup.
More details on Bench features are provided below.
View and Search Benches
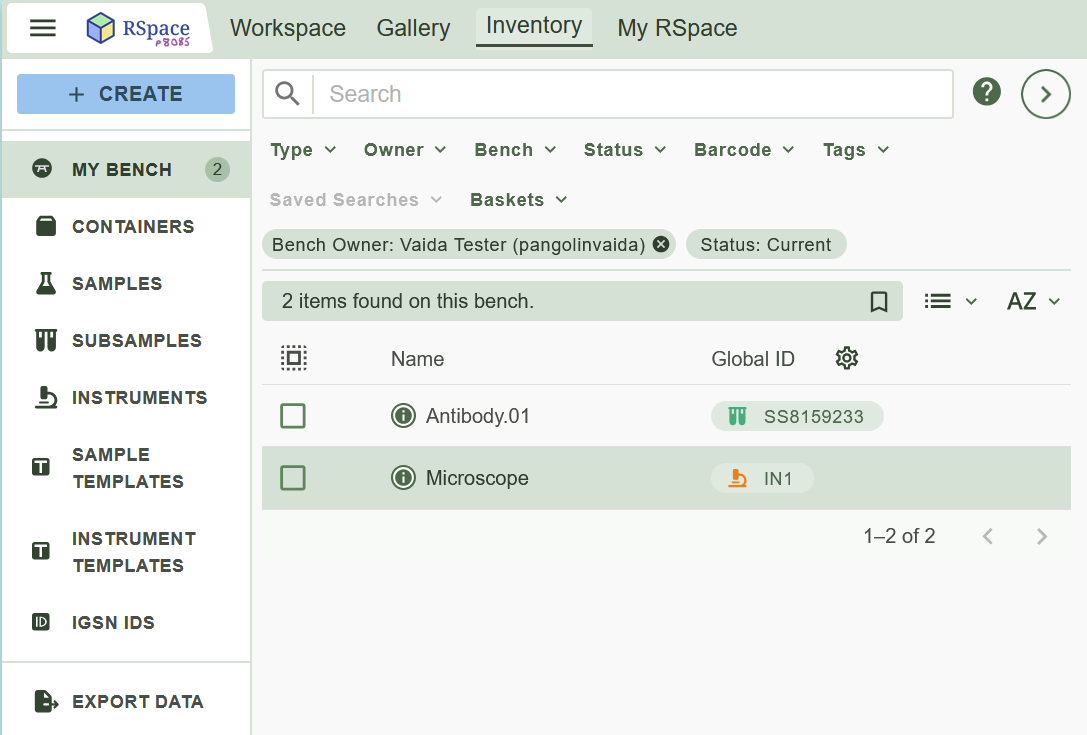
You can quickly access Benches through the sidebar links. My Bench opens up your personal Bench and displays the number of items on your Bench. From there, you can browse others' benches by changing the "Bench" search filter.
In these views, you can perform all the same actions that you can when viewing items in the Samples, Containers or Instrument views, including searching, sorting, changing views, duplicating, moving, and more.
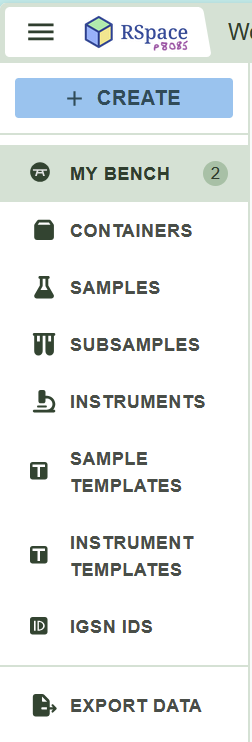
My Bench
Any new subsamples or containers you've created will be located on your Bench; this includes ones created by import (there is a special container added to Bench after import). You can move items out of your Bench by moving them into a container (more details below).
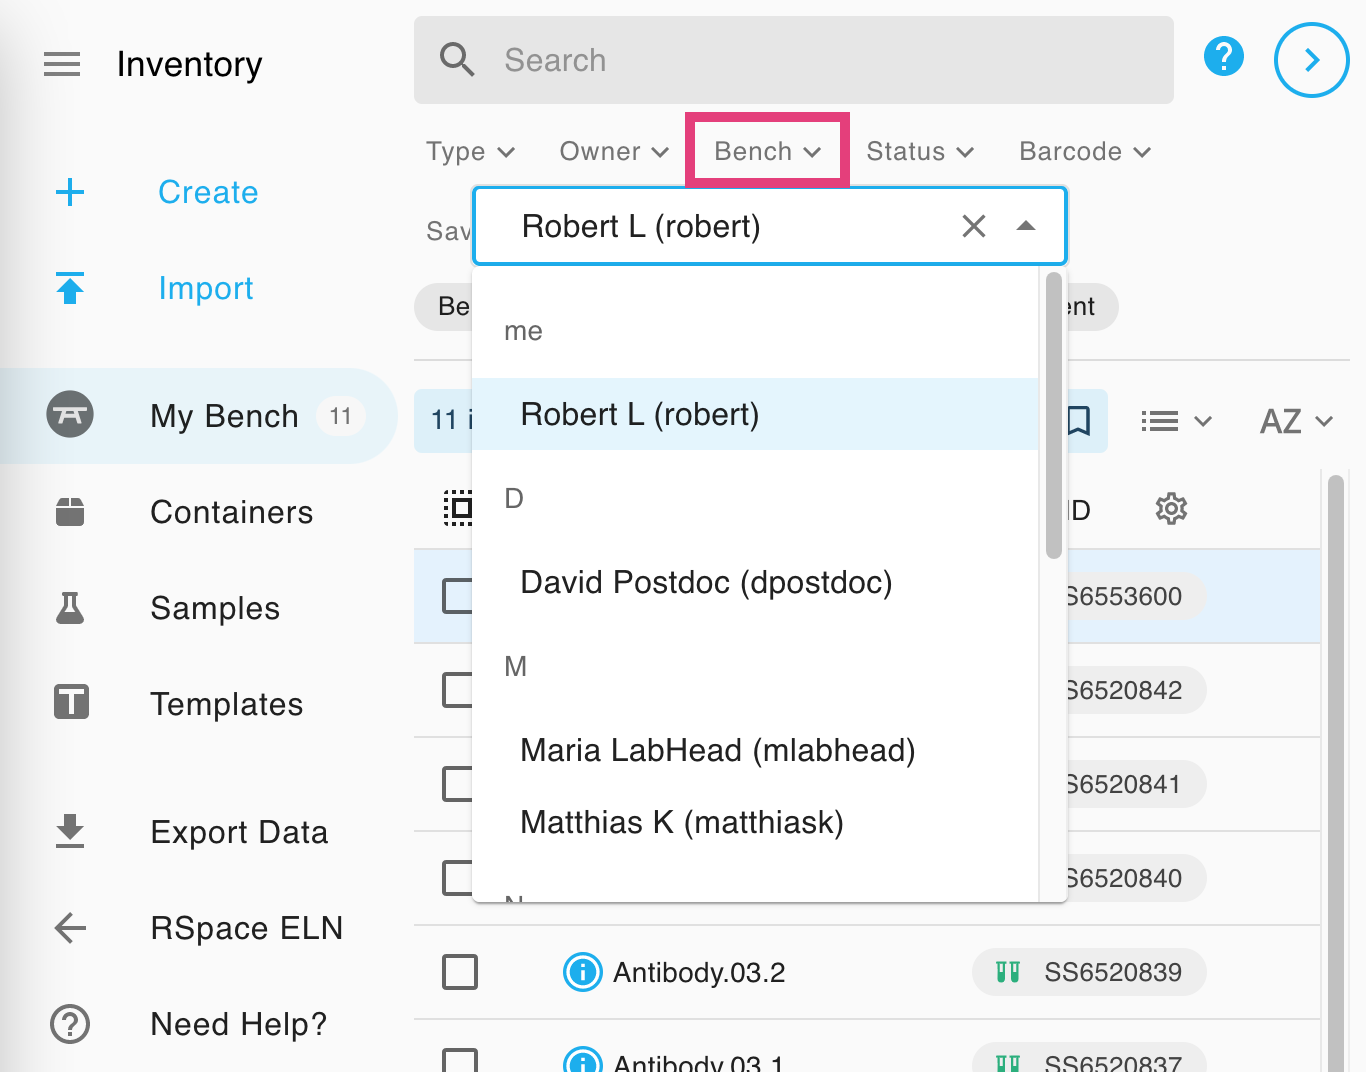
Others' Benches
You can access your colleagues' benches by clicking on the Bench Search Filter dropdown to select or type in the individual whose bench you'd like to view. You can perform actions on these items, such as moving them back to a container, as usual.
Move Items In and Out of Benches
General moving is documented in Move Samples and Containers. The moving dialog enables moving to a Bench by clicking on the 'Bench' filter and typing / searching the person's name.
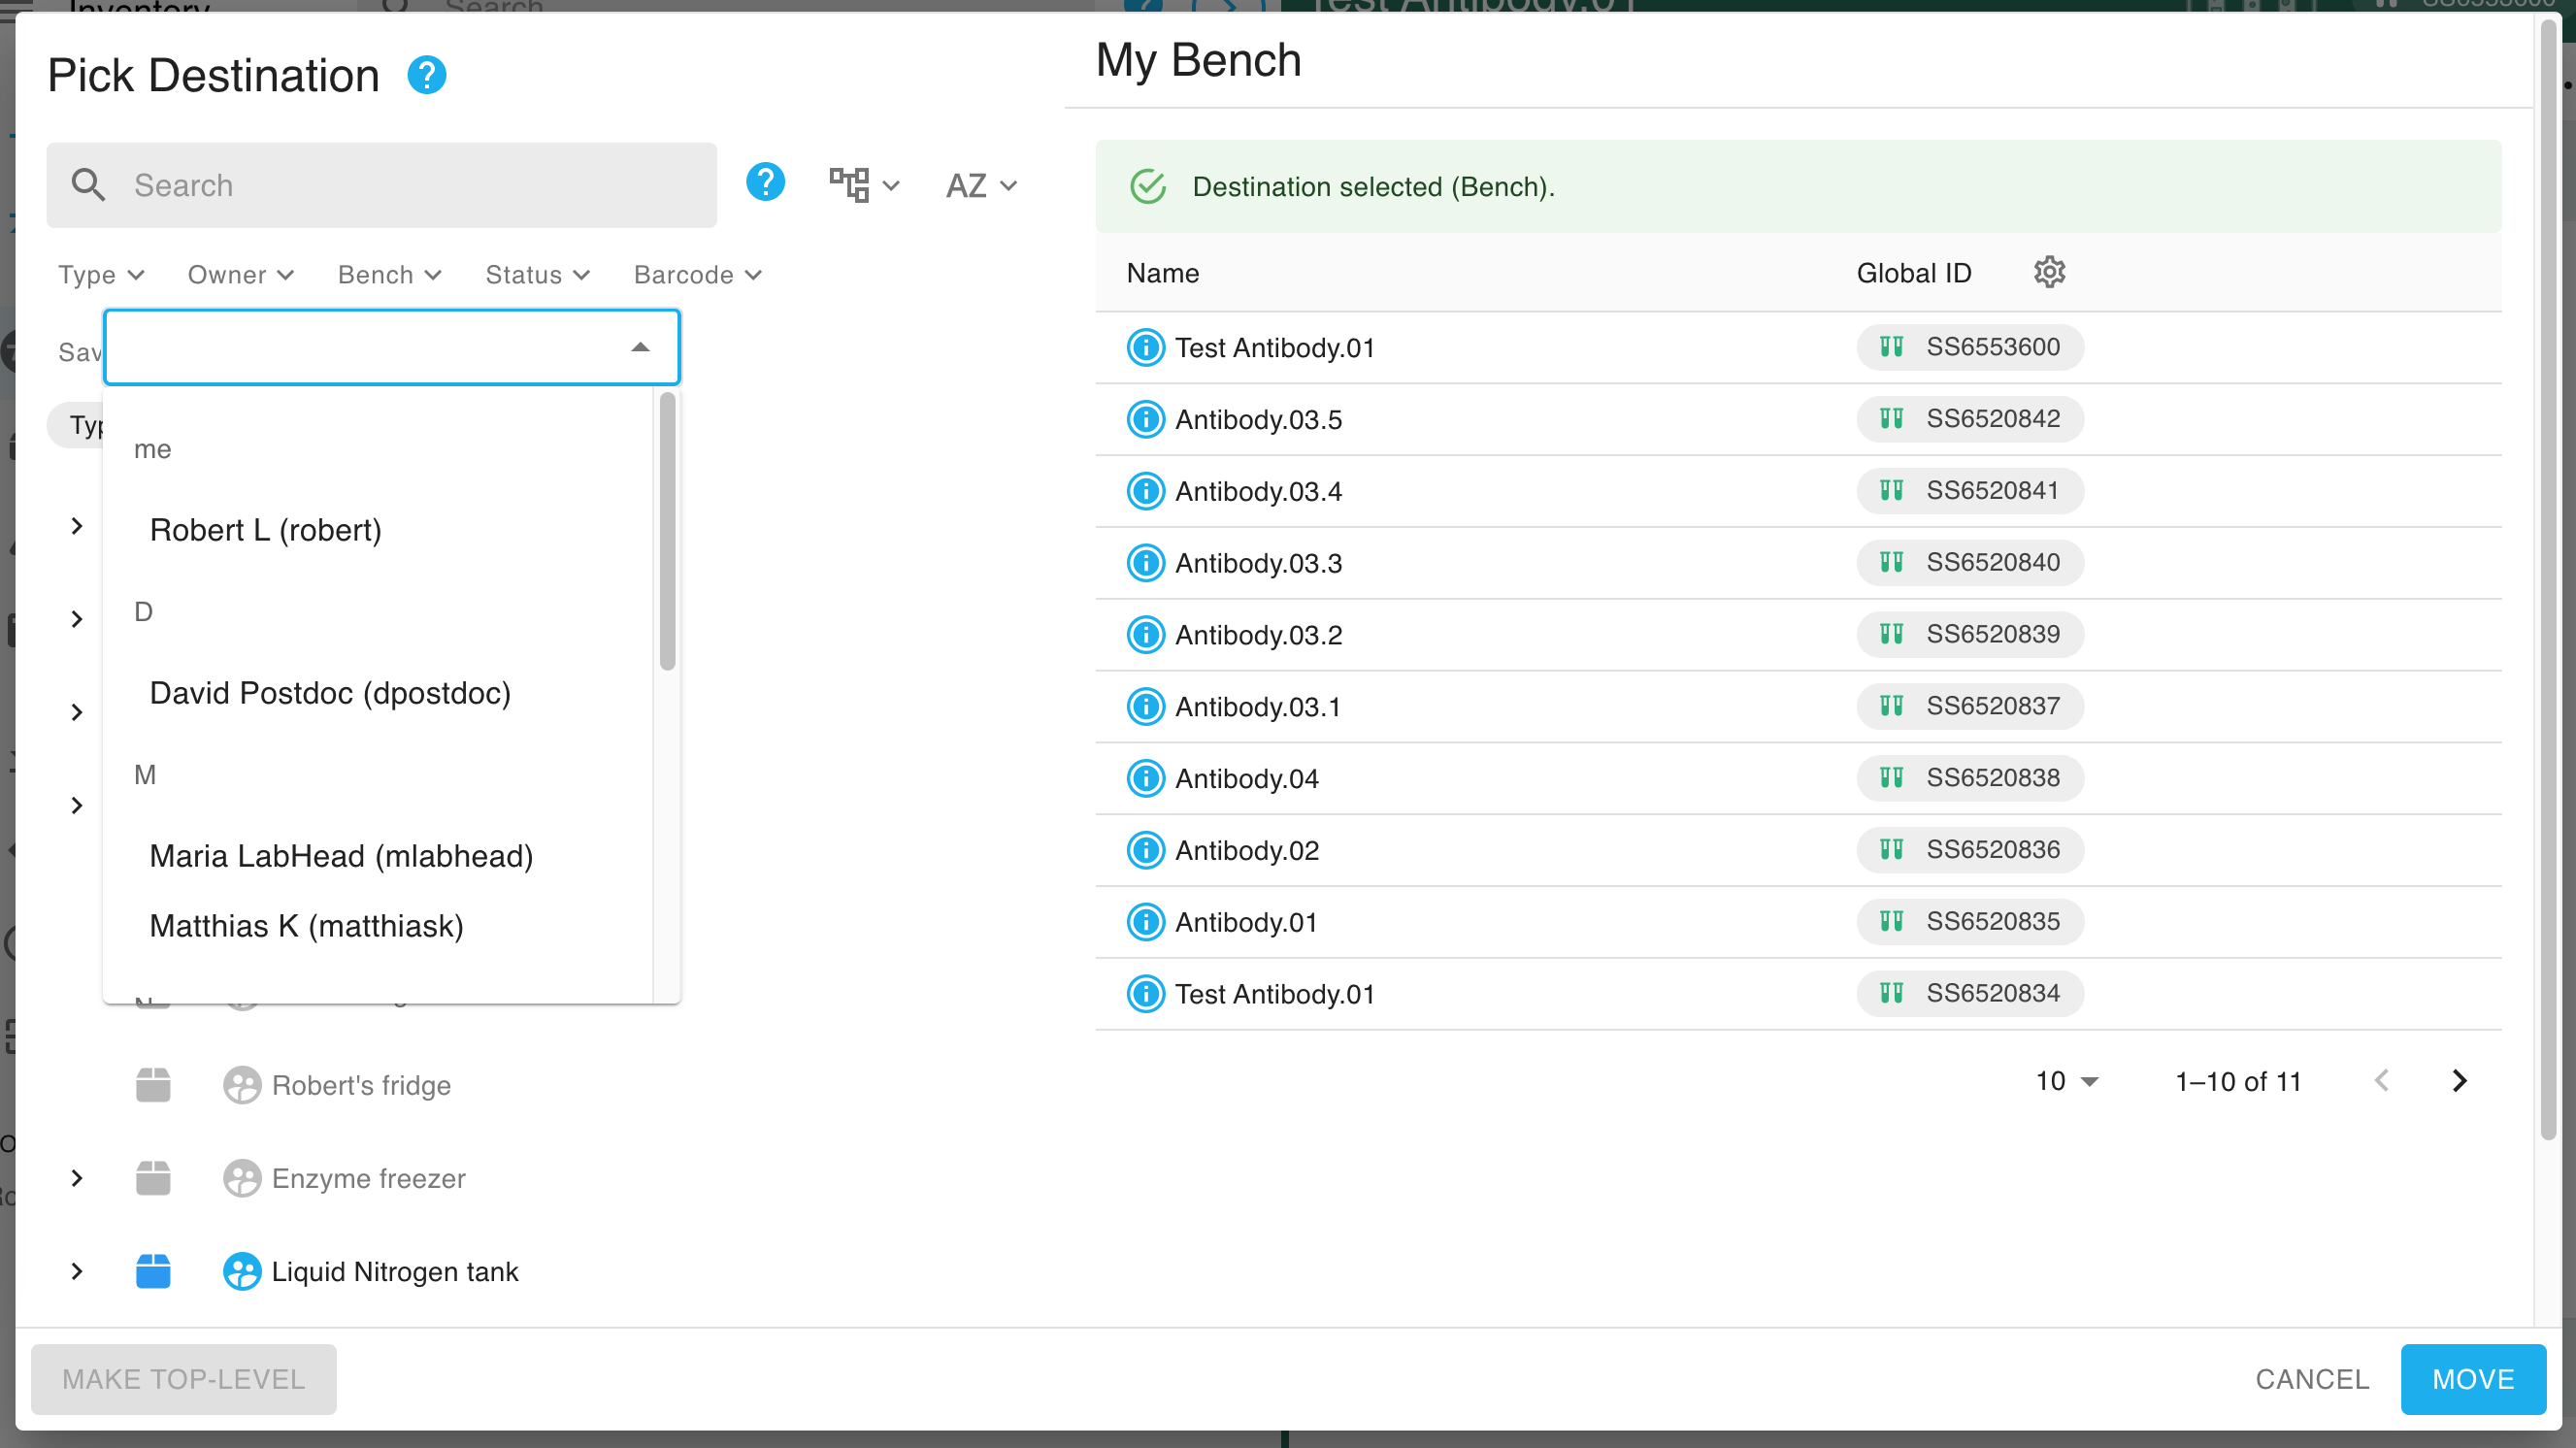
- To move an item into your Bench, choose your own name in the Move dialog. You can also pick to move the items into a specific container that is already in your Bench; if not, the item will simply be moved onto your Bench.
- To move an item out of your Bench, move it to a new location: either another person's Bench, or a container. You can also move items between different Benches this way.
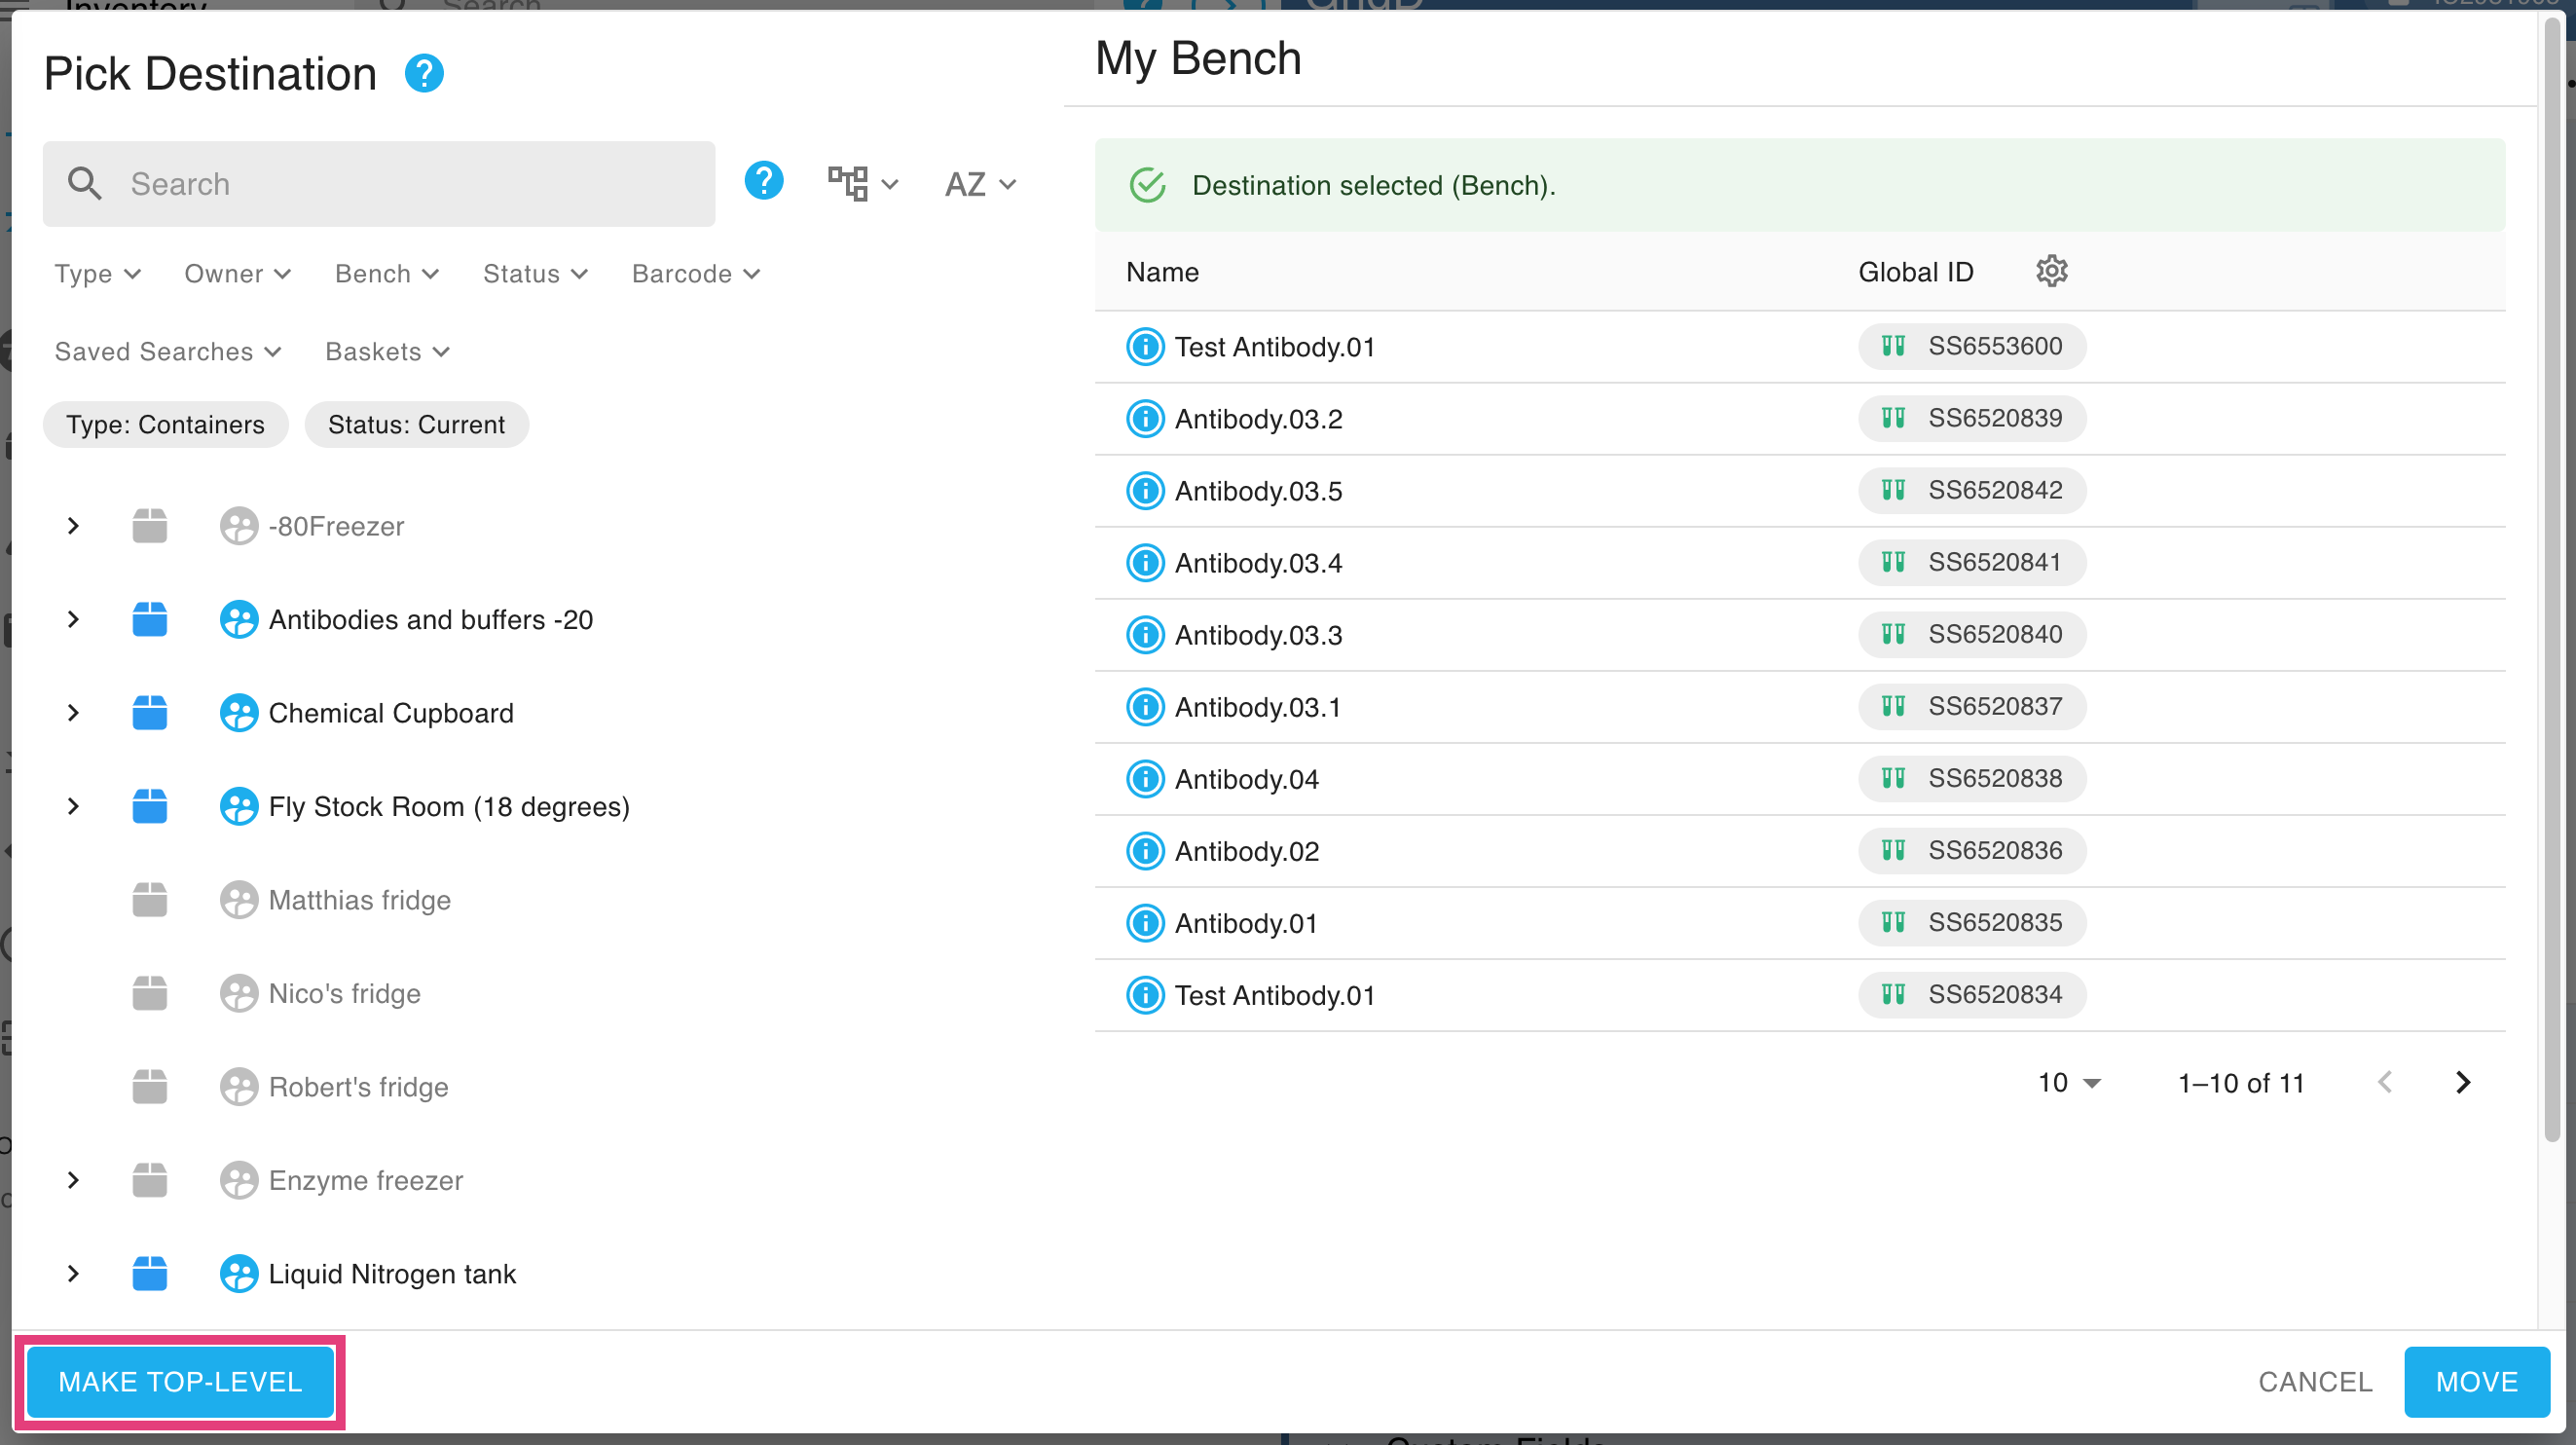
- To move a container into the list of containers as a top-level container, select Make top-level.
In the screenshot below, the lab has bought a new fridge and created a 'New fridge' container. This will initially be created on the Bench of the individual doing the creating. This user has selected New Fridge, then 'Move' in the item's context menu, and will click on the 'Make Top Level' button to make easily reachable from the main sidebar.
View the Previous Location of Items on a Bench
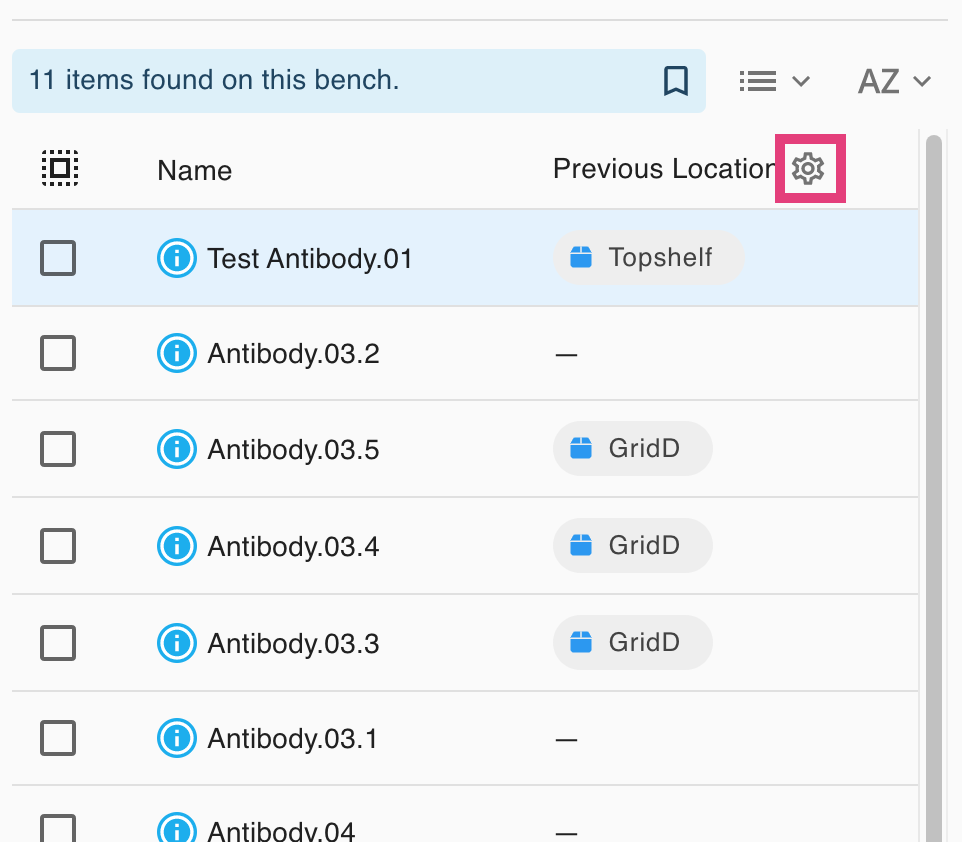
In List view, you can change the second column to show the last non-Bench location of an item (see Search Inventory). This is useful for when you want to check items back into the containers they were previously stored in.
You can change the second column using the gear icon on the right to Previous Location:
How did we do?
Edit Quantities in Lists of Materials 🧪
Add a Custom Field to an Inventory Item 🧪