Table of Contents
Navigate Inventory 🧪
Inventory is divided into three panels: the left panel, the right panel, and a collapsible sidebar.
Accessing Inventory
To access Inventory, click on the Inventory tab after logging in to RSpace.

Inventory Panels
Inventory is divided into a navbar and three panels:
- the top navbar allows you to navigate between areas of RSpace (Workspace, Gallery, Inventory, My RSpace) on the left, and access notifications/messages, your account details (including connected apps and logging out), and get help on the right.
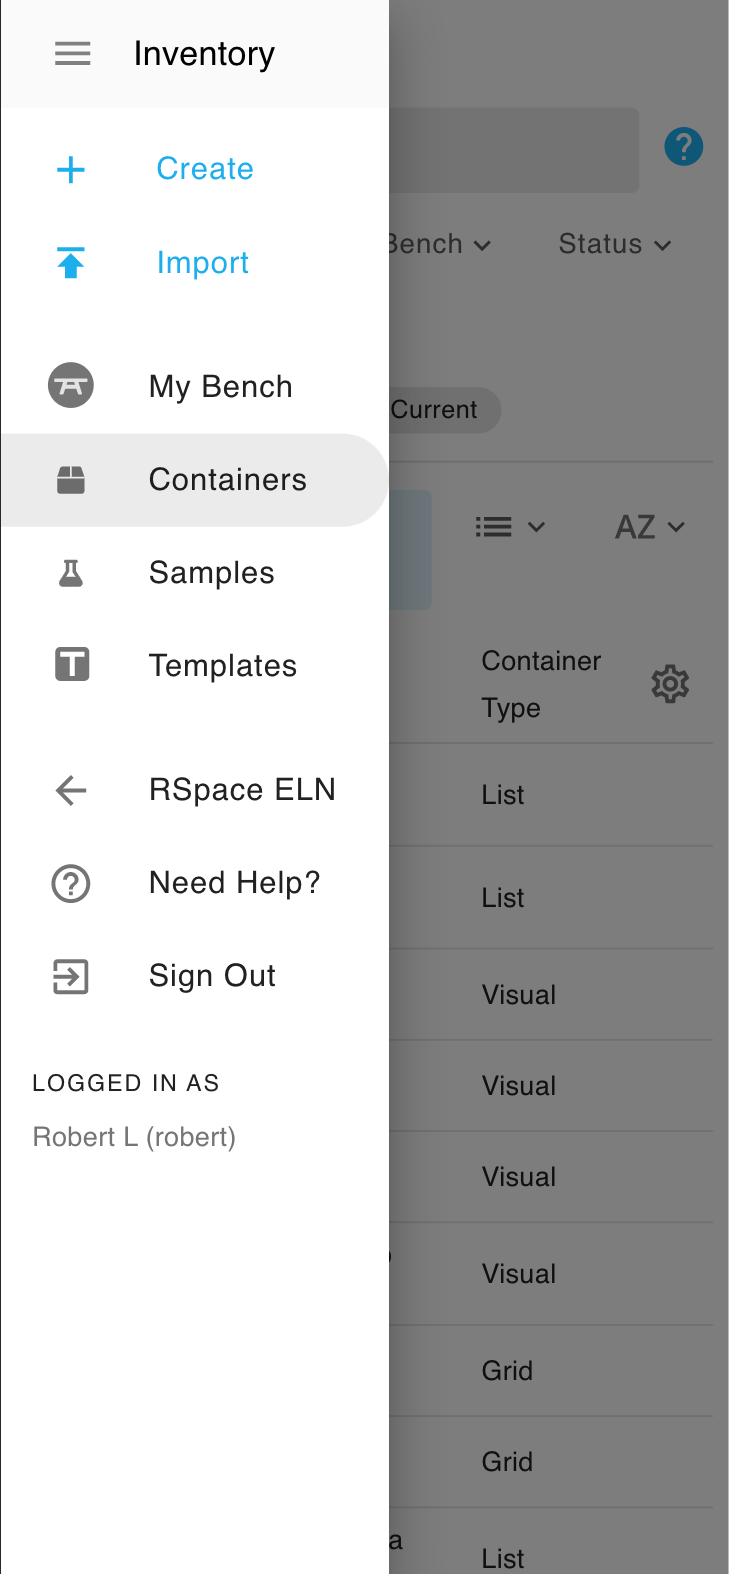
- a collapsible left panel or sidebar, for navigating between Benches, Samples, Containers, Instruments and Sample/Instrument Templates, as well as exporting data
- the center panel, or navigational panel which is used for search and selecting an item to view
- the right panel, or details panel where you can display and edit information about items

Panel Adjuster
By default, RSpace Inventory shows three panels on computer screens: sidebar (left), navigation panel (center) and details panel (right). When working on desktop computer, it is sometimes useful to focus on specific information by adjusting the number of visible panels from three to two. This makes more space available for the second panel. To do this, click the panel adjuster arrow.
This will initially change the view to show ONLY the sidebar and the navigation panel in "wide" mode which will allow the user to see THREE adustable data columns instead of the usual single column. To adjust data shown in the three columns, click any of the three gear icons and choose which attribute the user wants to see in that column. To return back to the three panel mode, click the panel adjuster arrow on the right.
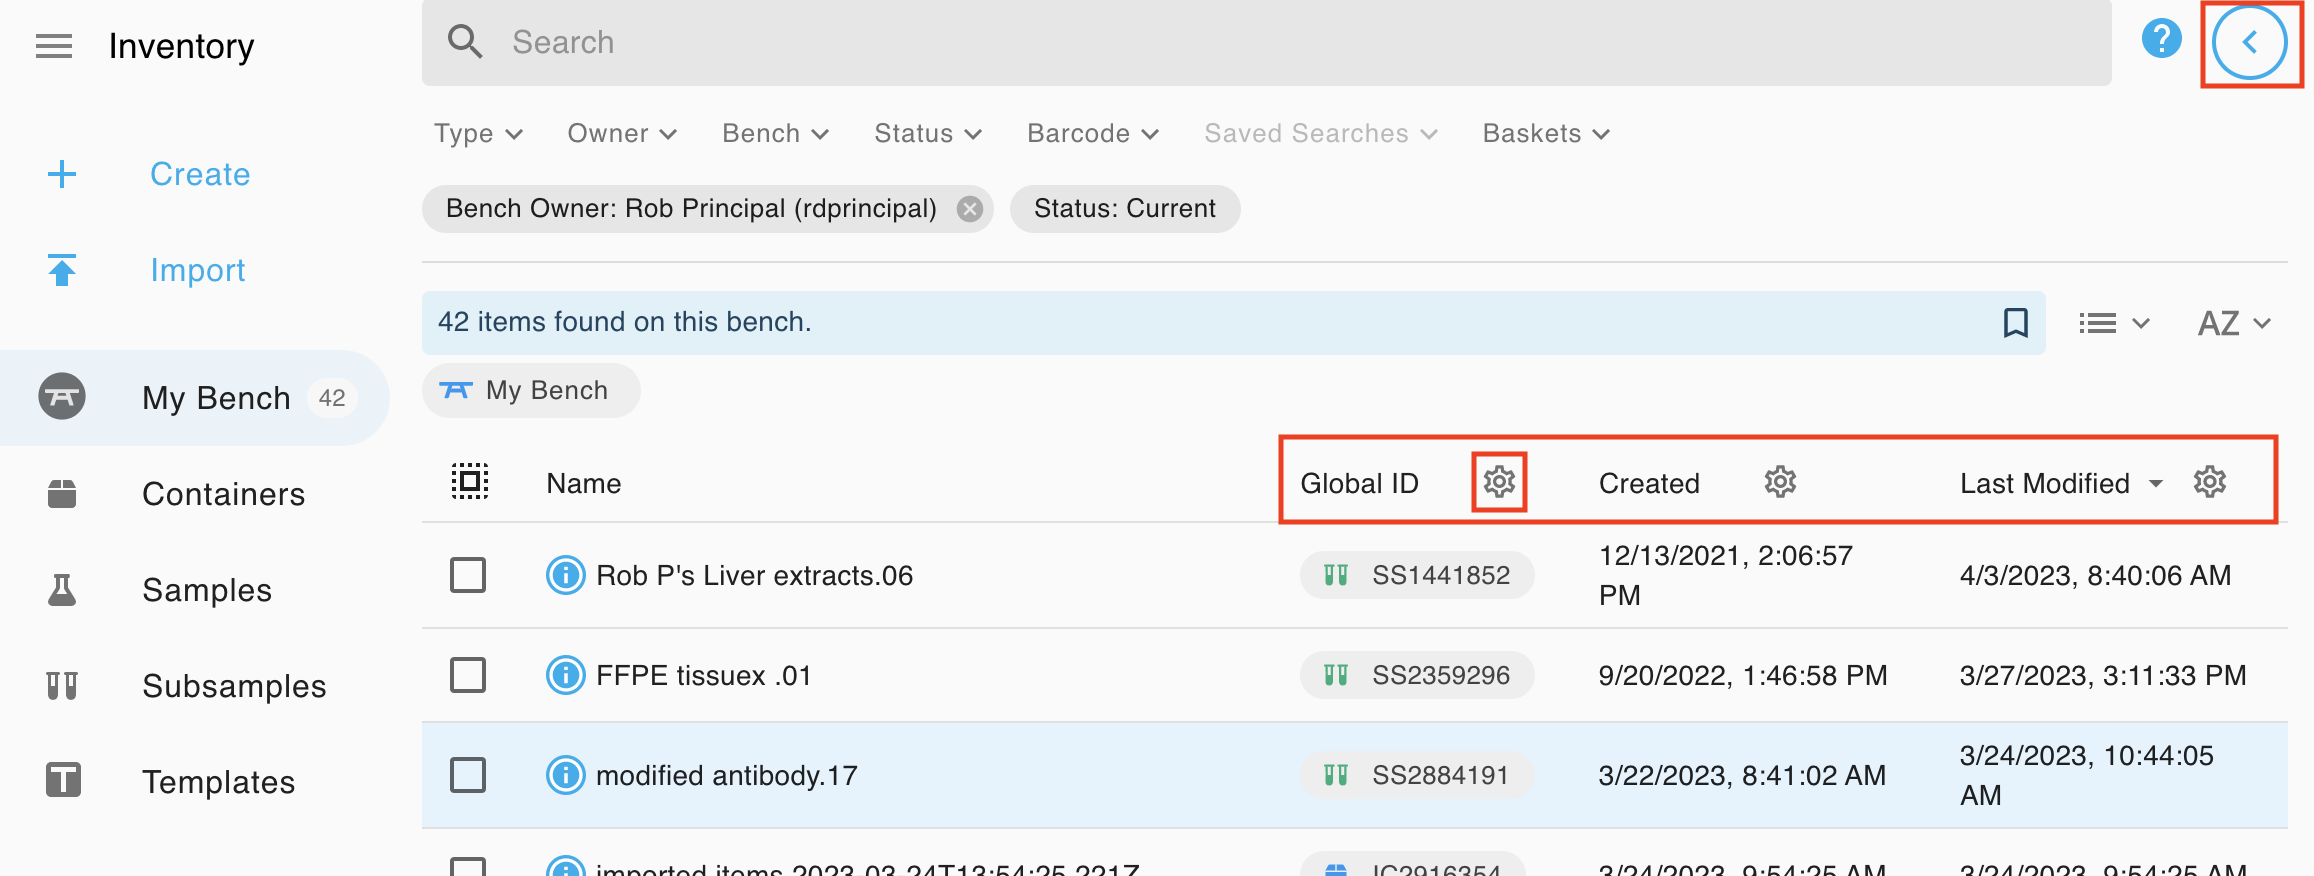
If the user wants to switch which the panel (navigation or details) that is displayed in "wide" mode, click on the text of an item in the "Name" column to toggle to the details panel. This can be useful if the details panel includes large images or grids that you want to see more clearly than you might in standard 3 panel mode.
To return to showing the navigation panel, click the panel adjuster arrow at the top left of the details panel. Click the panel adjuster arrow again to return to standard three panel view.
Navigation Breadcrumbs
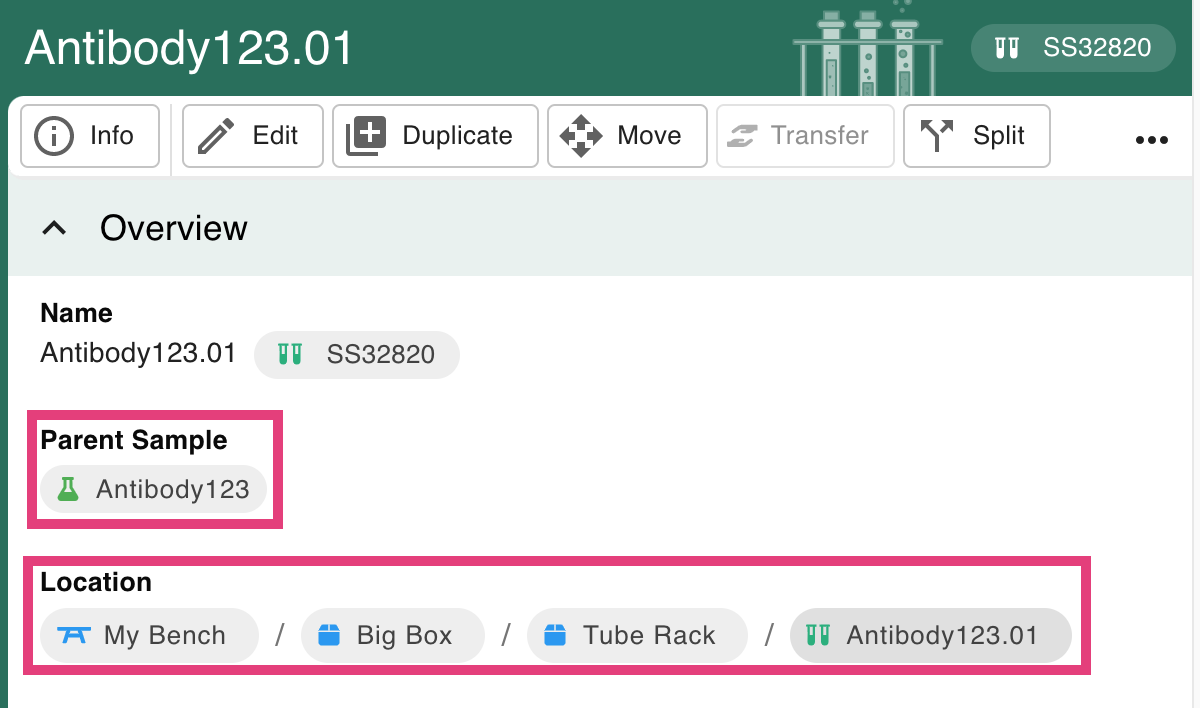
Breadcrumb links are included when viewing containers, subsamples and instruments, to make the hierarchical location of an item visible at a glance, and to enable you to quickly navigate up container hierarchies. In the screenshot below, we can see that Antibody.02 can be found in the tube rack that is inside a big box. We also have a link to the sample the aliquot belongs to. Clicking on one of these links will open that specific container or sample.
Samples do not have breadcrumb links, as their subsamples might be located in different containers.
Breadcrumbs are also available in the main left-side navigation when in mobile view, and in desktop view only when using the "Navigate to" button: click on a breadcrumb to move up in the hierarchy.
Info Popup
Info icons are available throughout the interface. Hovering over the info icon (click and hold on mobile) enables you to quickly view information about a particular item, and you can click on Open to directly view that item.
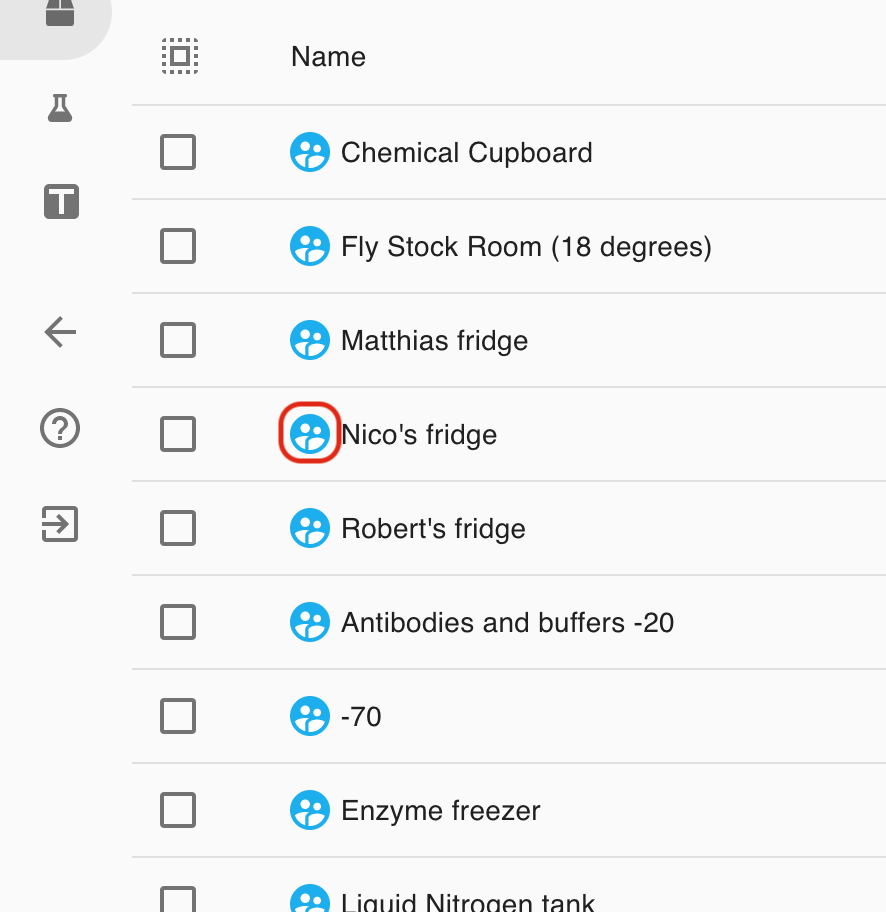
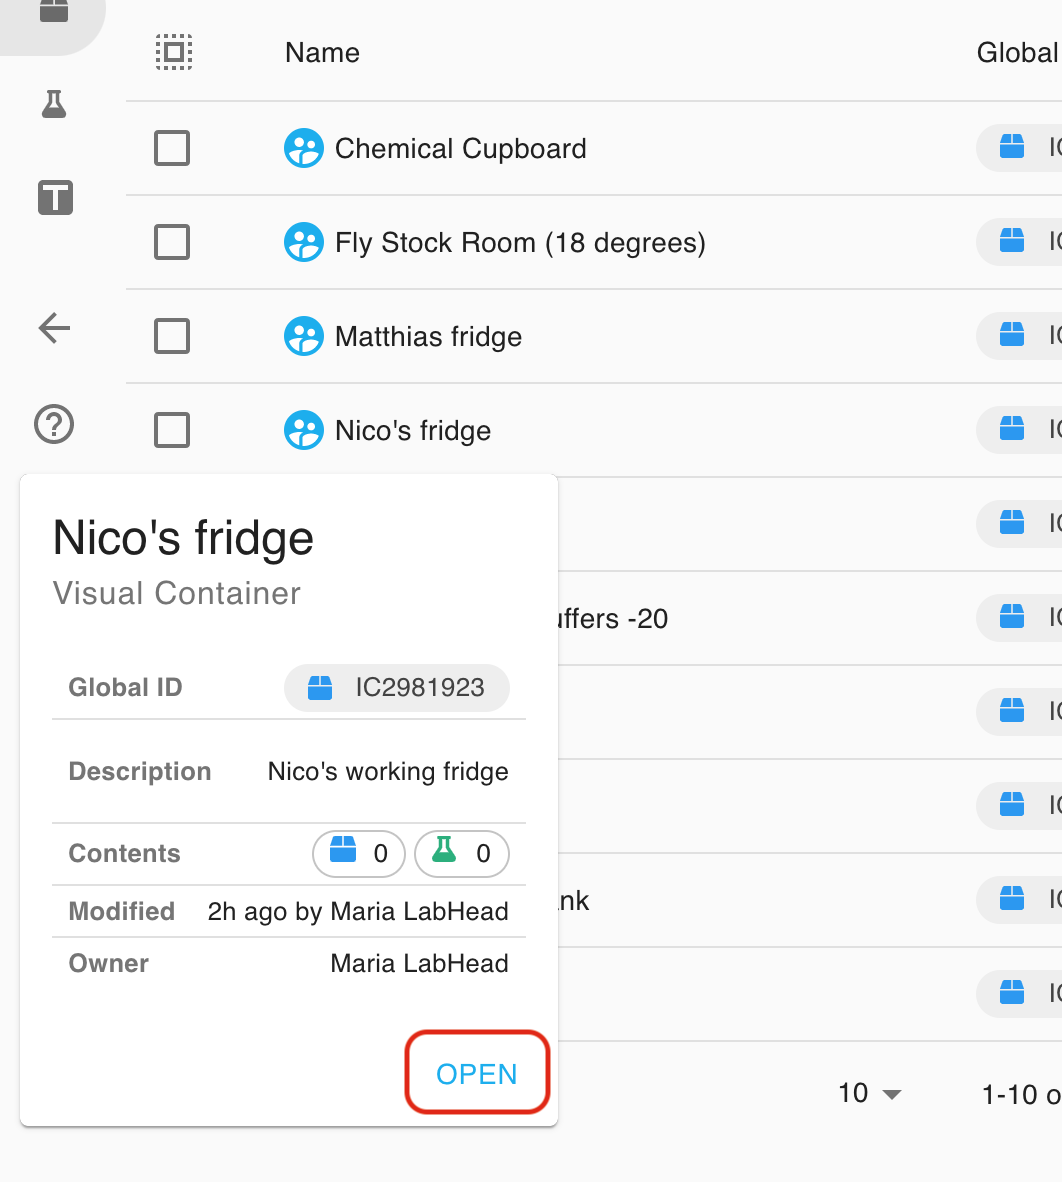
If you own the item, the icon will default to an information icon. If the item is not owned by you, the info icon will display as a people icon to indicate that this is an item shared with you.

Mobile view
RSpace Inventory can be used on both desktop and mobile. While the documentation uses the desktop view for examples, the functionality is the same on desktop and mobile, and unless otherwise noted, the instructions for mobile are identical to desktop, with "clicking" being equivalent to "tapping".
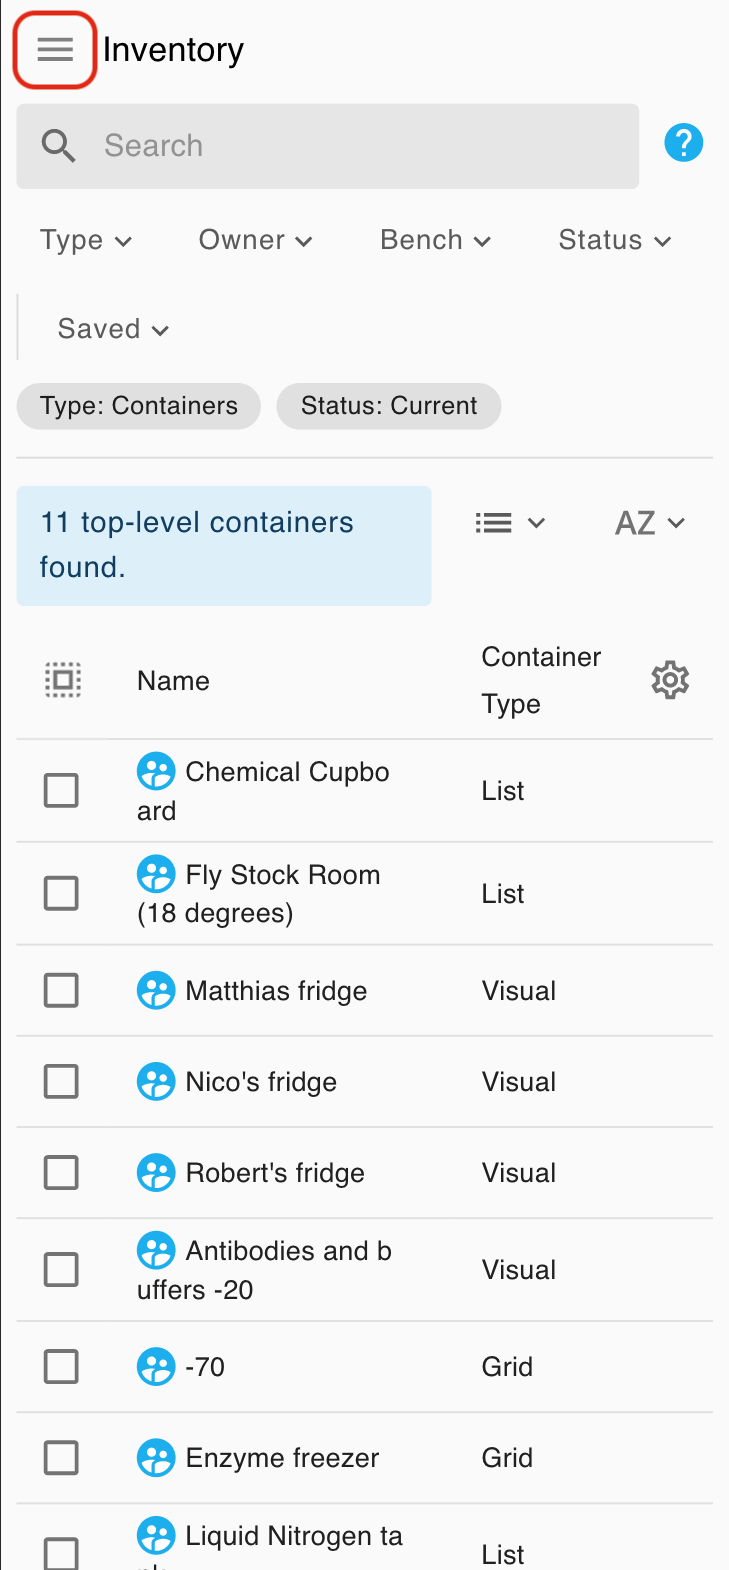
The desktop's left-panel is the main view in mobile. The sidebar is accessed by clicking on the top-left menu icon:
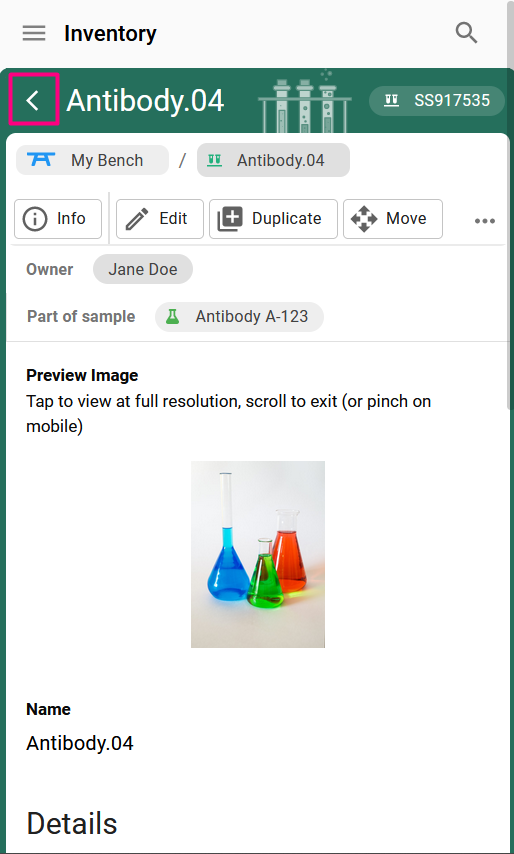
And the desktop's right-panel is an overlay in the mobile view, accessed by clicking on an item, and can be closed with the back arrow icon:
How did we do?
Import Samples, Subsamples and Containers into Inventory 🧪
Create and Use Sample and Instrument Templates 🧪