Table of Contents
Getting Started with Inventory 🧪
Quick links to relevant help content for getting started with RSpace Inventory, our inventory and sample management system!
RSpace Inventory is a flexible, customizable sample management and item tracking system that is fully integrated with the RSpace ELN. Users can manage and track any large set of real or conceptual items, such as samples and subsamples, and their location can be recorded through a simple or complex hierarchy of nested containers, creating a 1-to-1 representation of real-life storage areas.
This article will help you set up and get started with Inventory, while familiarizing you with some of Inventory's key concepts.
Introduction to RSpace Inventory
The following video steps you through the initial setup of Inventory. A written version of the steps is provided below.
A longer version is available here: RSpace Inventory Management Module Overview video (53 min)
Access Inventory
Access the system by logging into the RSpace ELN, then clicking on the Inventory tab. Please note that Inventory is not available on the public RSpace Community server.

Navigation
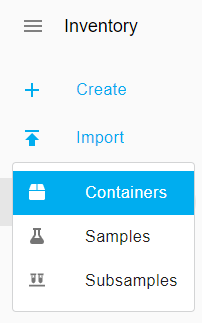
Inventory is divided into three panels:
- a collapsible sidebar, for navigating between Benches, Samples and Containers, as well as for returning to the ELN, accessing support, and signing out.
- the left panel (also called navigation or search) which is used for search and selecting an item to view.
- the right panel (also called details panel) where you can display and edit information about items.
See Toggle Inventory and Container Views and Select Items in Inventory for more.
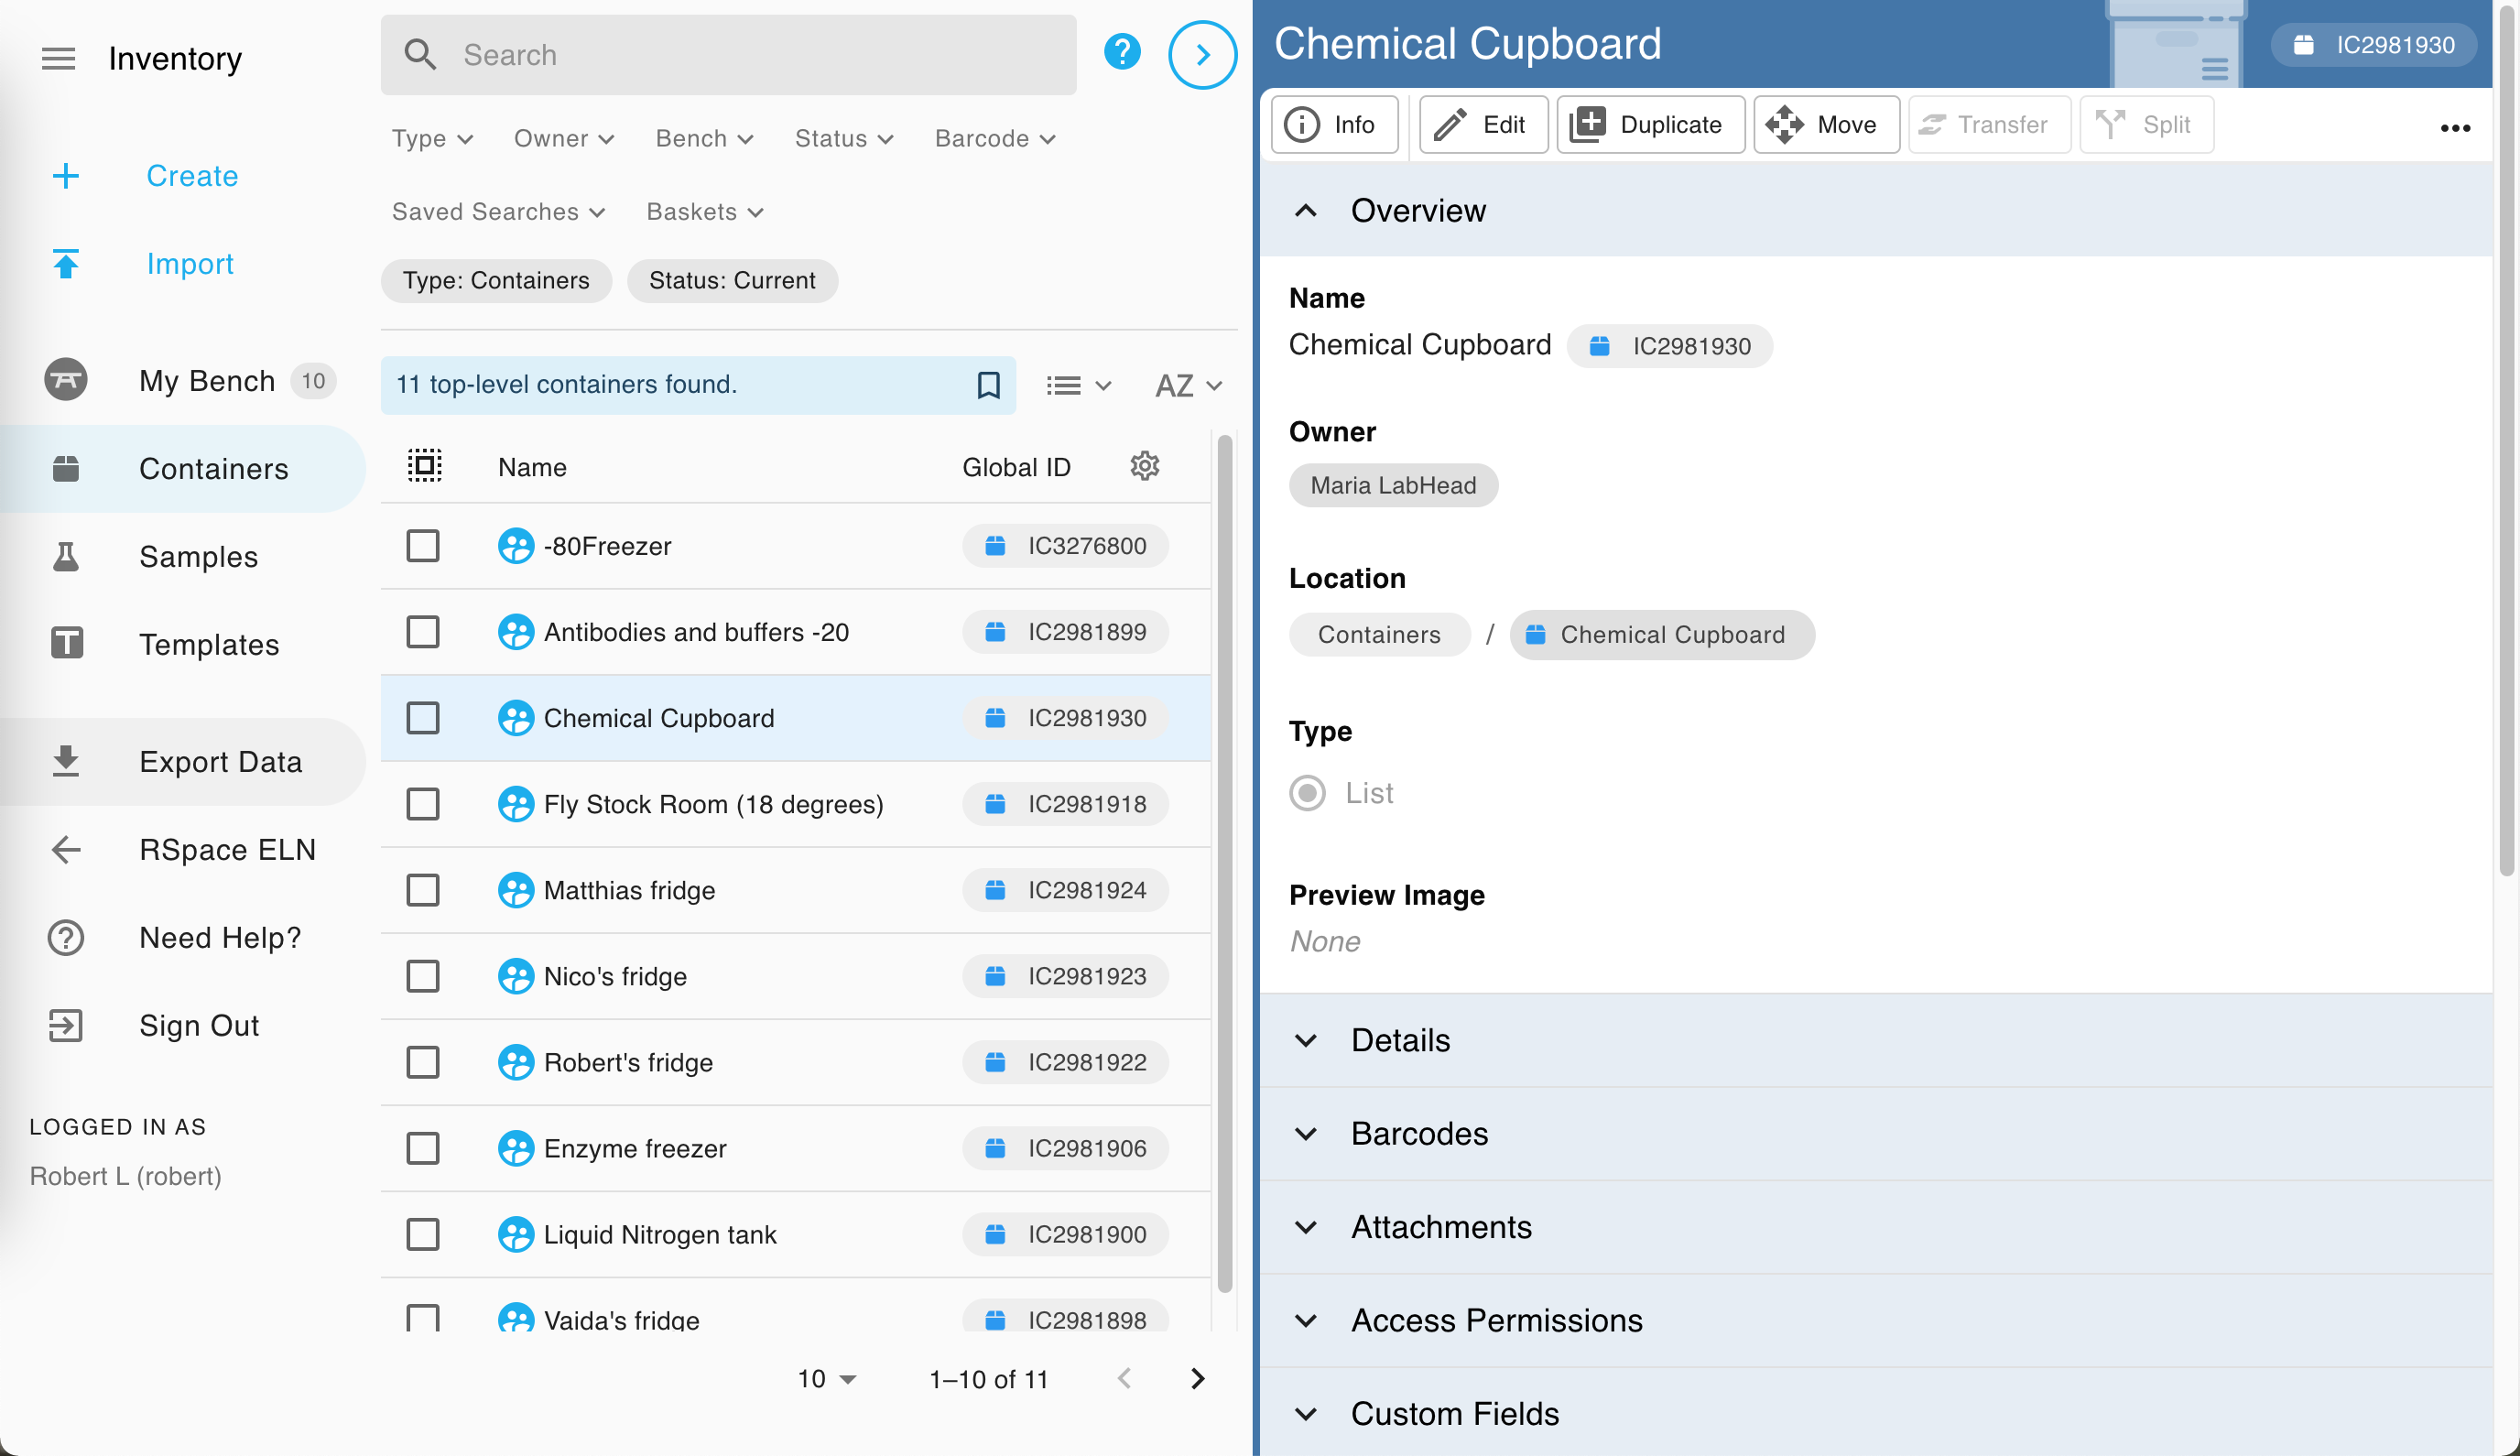
Containers
Create your top-level, lab-owned containers to represent the containers at your institution, such as rooms, major storage areas, freezers and shelving units. A container can hold contents, and can be one of three types: List, Grid, or Visual.
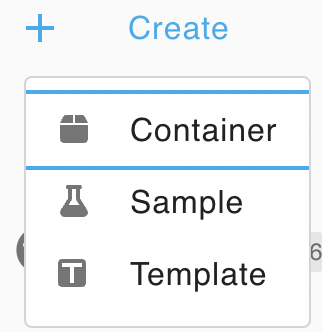
To create a container and place it on your Bench, click the Create button and choose Container.
Alternatively, you can use the Create button in the context menu of an existing container to automatically place a new container within it. See Move Samples and Containers for more.

You can also use photographs of your actual containers and overlay them with custom location markers by using visual containers, or add preview images to help users recognise containers. Clicking on the location marker inside an existing visual container will even let you create a new container directly in that spot!
Samples and Subsamples
Inventory makes use of the following two ideas to represent research items:
- a Sample is a conceptual item for grouping related subsamples. A sample describes the common characteristics of a group of subsamples, eg. identical test tubes containing the same substance for an experiment. While a parent sample can be made up of one or more child subsamples, and these subsamples can all be located in different containers, the Sample itself does not have a physical location as it is not a physical object in itself.
- A Subsample is a physical item, that is both described by the characteristics of the sample it is a child of, and by any metadata or observations unique to the Subsample, in the form of custom metadata fields or notes. Subsamples can be located in a container or placed on a user's Bench.
We recommend for your lab to decide on a definition of samples and subsamples that is suited to your workflows and domain of work.
Sample Templates
To standardise the information that is recorded about samples, we recommend you work with your colleagues to design and create the lab's most important sample templates. Sample templates help you to pre-configure which details you want to be associated with your samples, enabling consistent conventions and best practises to be followed.
To create a sample template from scratch, use the Create button, then choose Template.

Alternatively, you can use the Create button when viewing a sample to create a template based on an existing sample.

Import data
If you have legacy sample data from other systems or stored in an Excel sheet, you can convert that data to CSV and import the samples, subsamples and containers directly into Inventory.
Editing
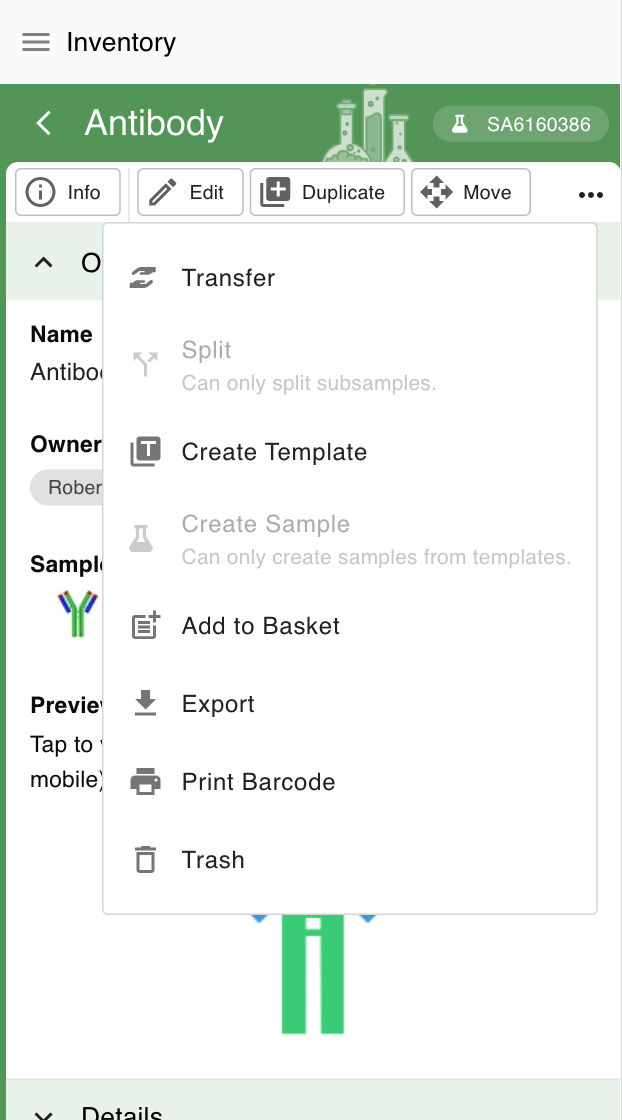
The context menu of all items in Inventory provides a variety of actions, such as Edit, Batch Edit, Duplicate, Split, Move, Export and Print Barcode.
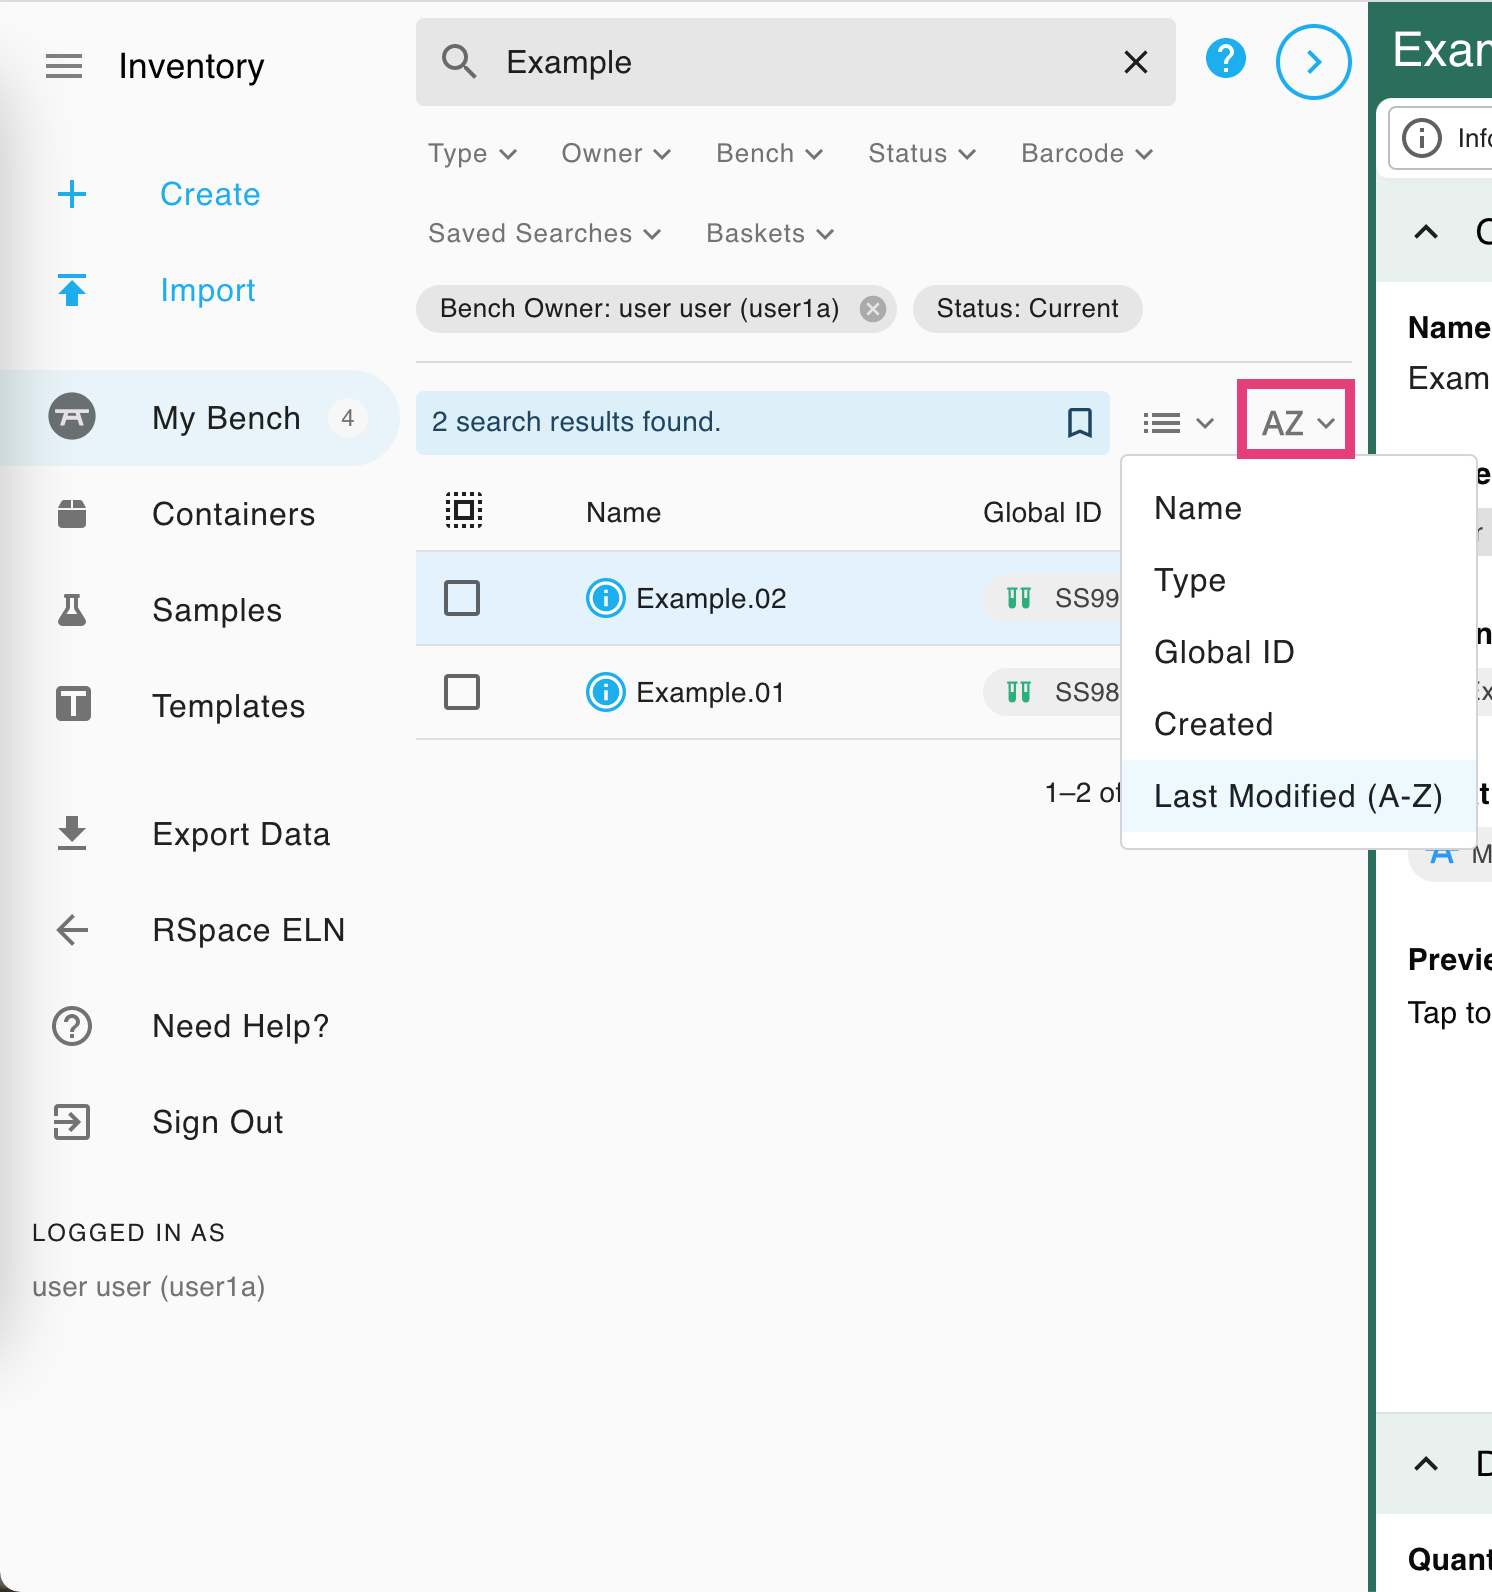
Search & Filters
You can search for specific items by typing in the search bar and hitting enter, which will display all items that have field values (name, description, tags, fields, global ID) matching your query. You can further narrow down your search by applying filters, to view items of a certain type, belonging to a specific user, on a user's bench, or that are expired. You can also search by scanning a barcode, and save your searches for later.
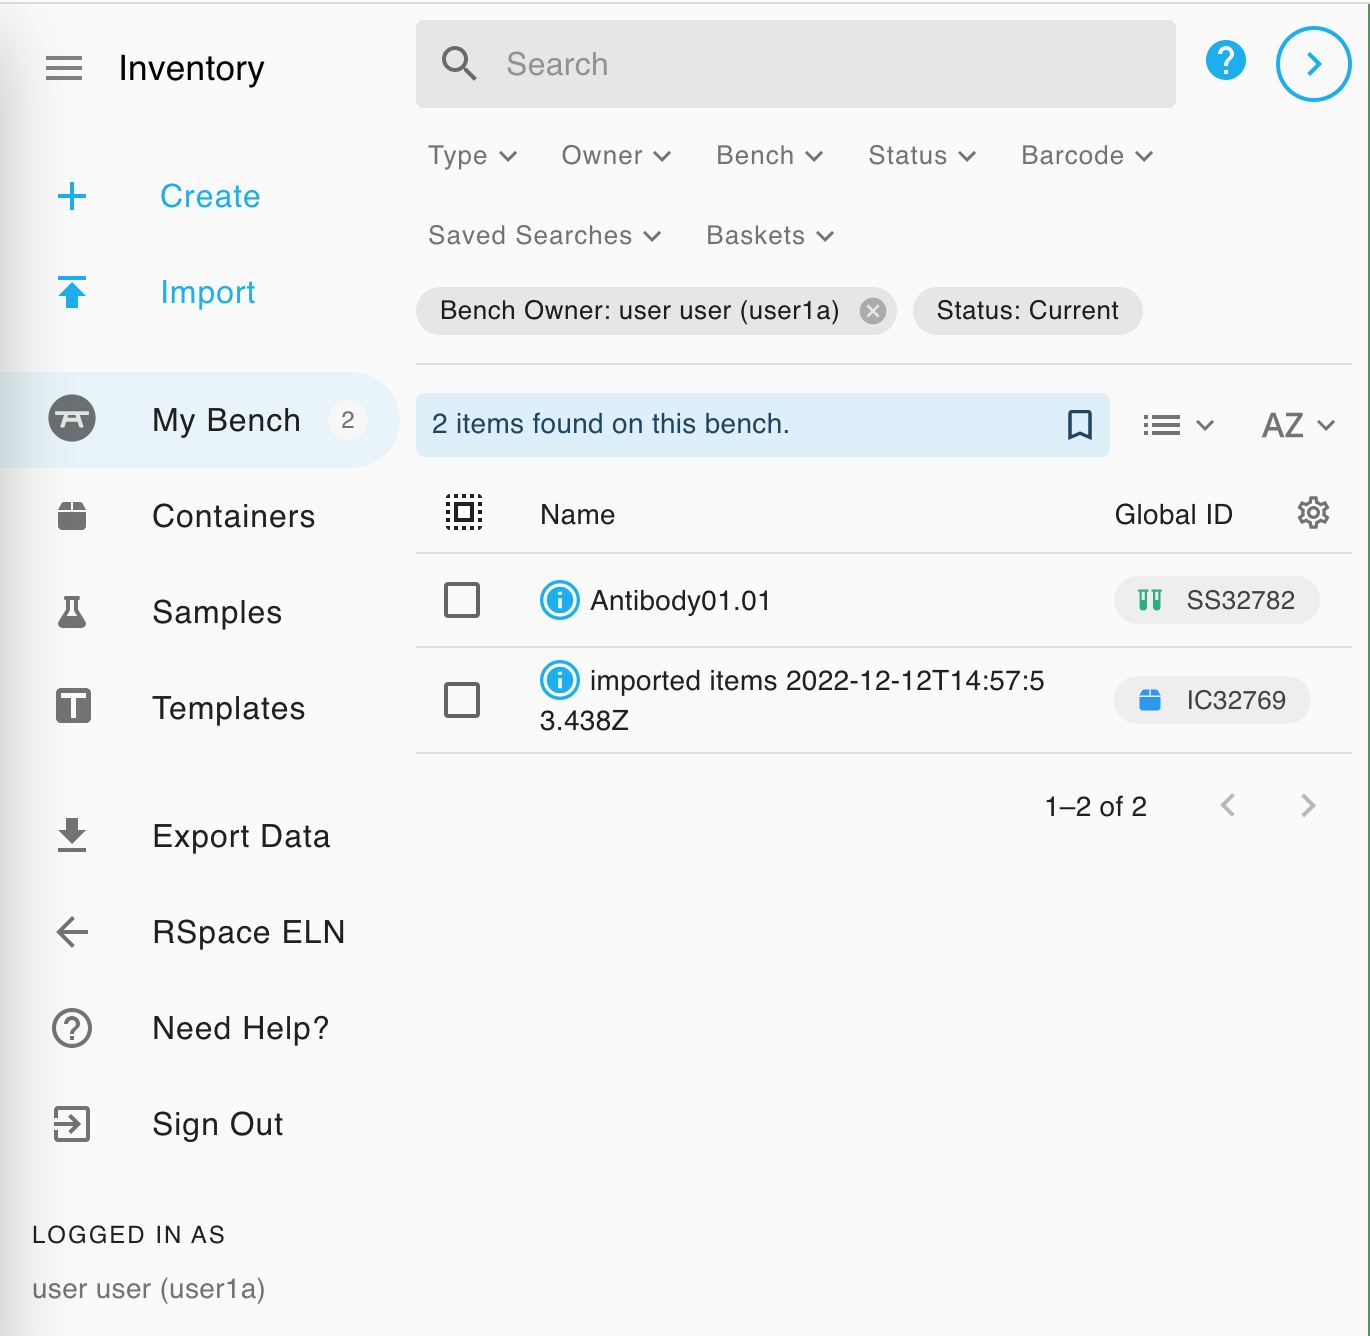
Bench
Any new subsamples or containers you've created will be located on your Bench; this includes ones created manually and by import. You can move items out of your Bench by moving them into a container, or move items onto your Bench for easy access and communicate which items you are currently working with to your colleagues.
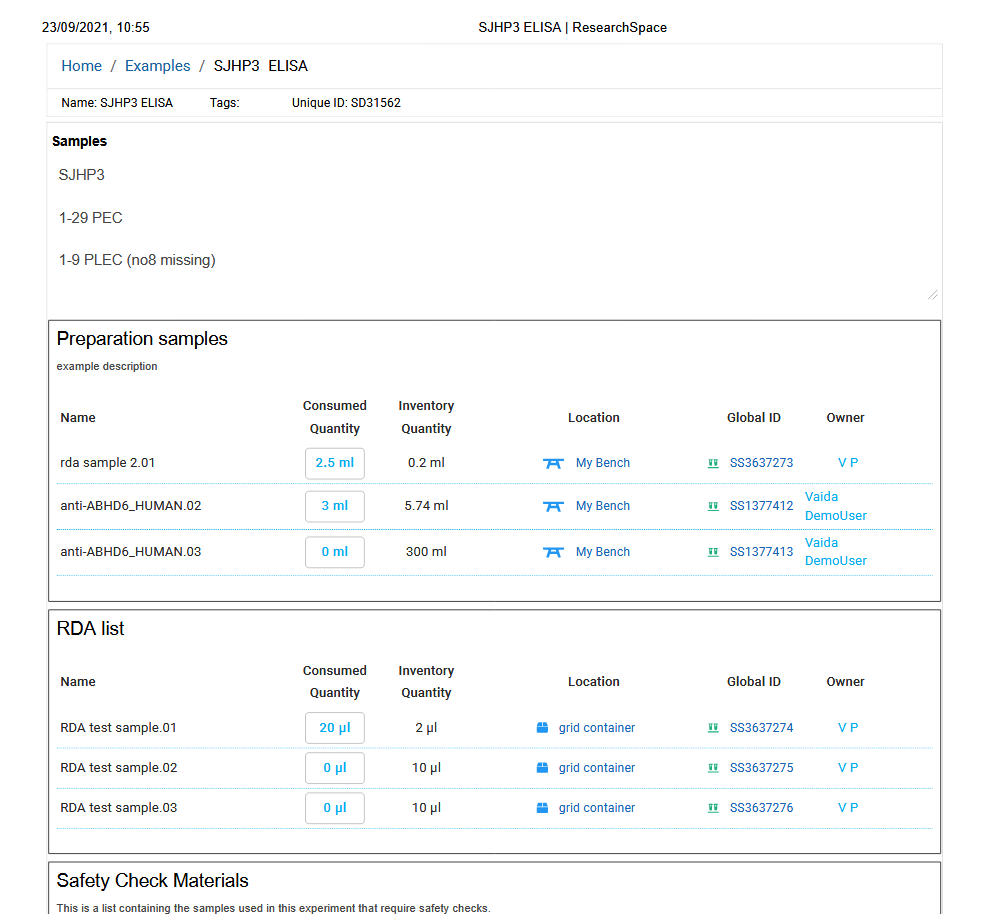
Lists of Materials (LoMs)
Create and add Lists of Materials to your ELN documents ("LoMs"), enabling you to indicate which samples, and what quantity, has been used as part of a specific experiment. Linking Inventory items to the experimental write-up in which they were used enhances reproducibility and provenance tracking.
The usage quantity of items can be recorded directly in the ELN document as well, and Lists of Materials are automatically included when printing ELN documents.
From the Inventory side, users can quickly determine which experiments a sample has been used in, by viewing a list of all ELN documents where the sample is referenced.
Import & Export
Efficient mechanisms for bulk import and export of samples, subsamples and containers, and a powerful API-first design methodology facilitate the exchange of sample information to or from other systems.
Advanced features
As you become more familiar with it, you may wish to take advantage of some of Inventory's advanced capabilities, such as the ability to associate samples with IGSN identifiers. You can browse all Inventory articles in the Inventory category of our documentation at any time.
How did we do?