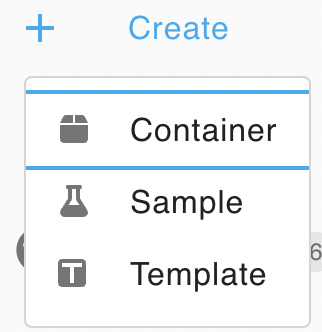
There are three types of containers: list, grid, and visual. To create a container, use the Create > Container buttons.
Overview
There are three types of containers:
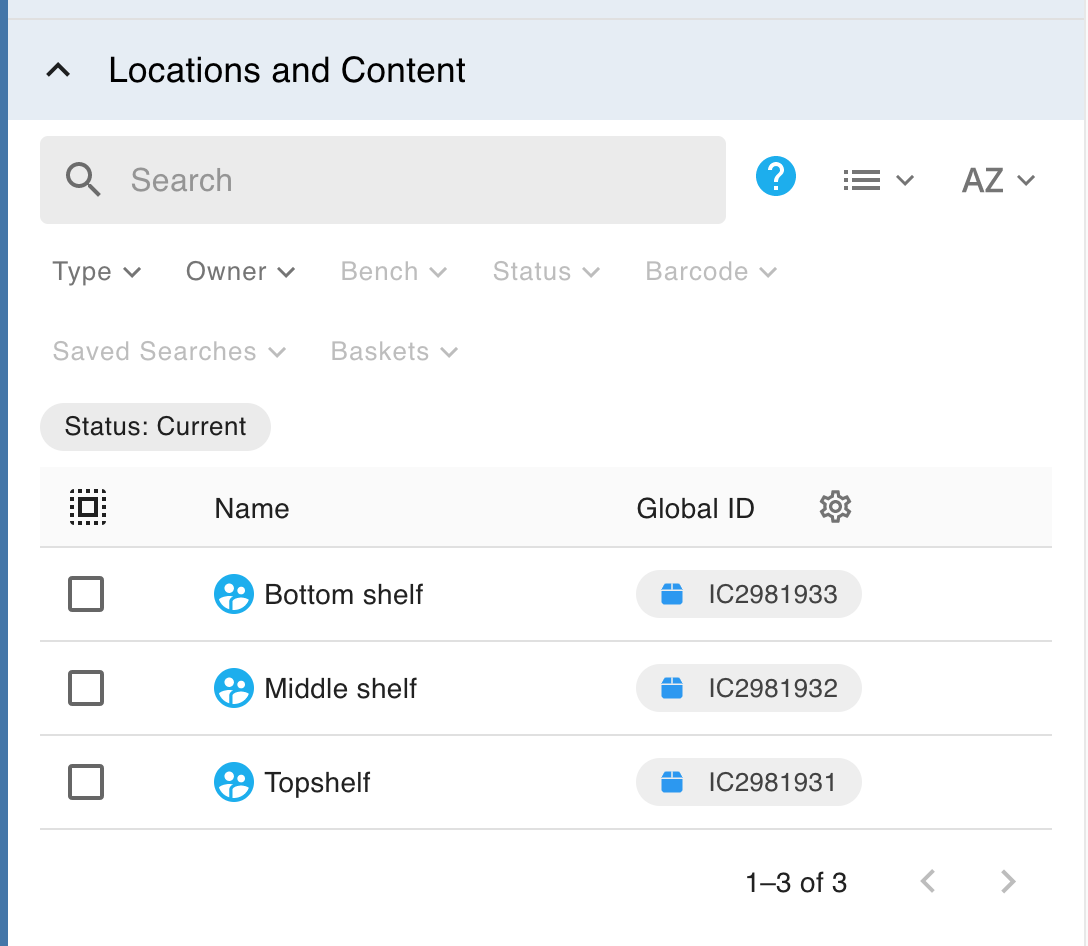
List containers are the most flexible container type, and simply show the contents as a list. You can store as many items as you want in a list container.
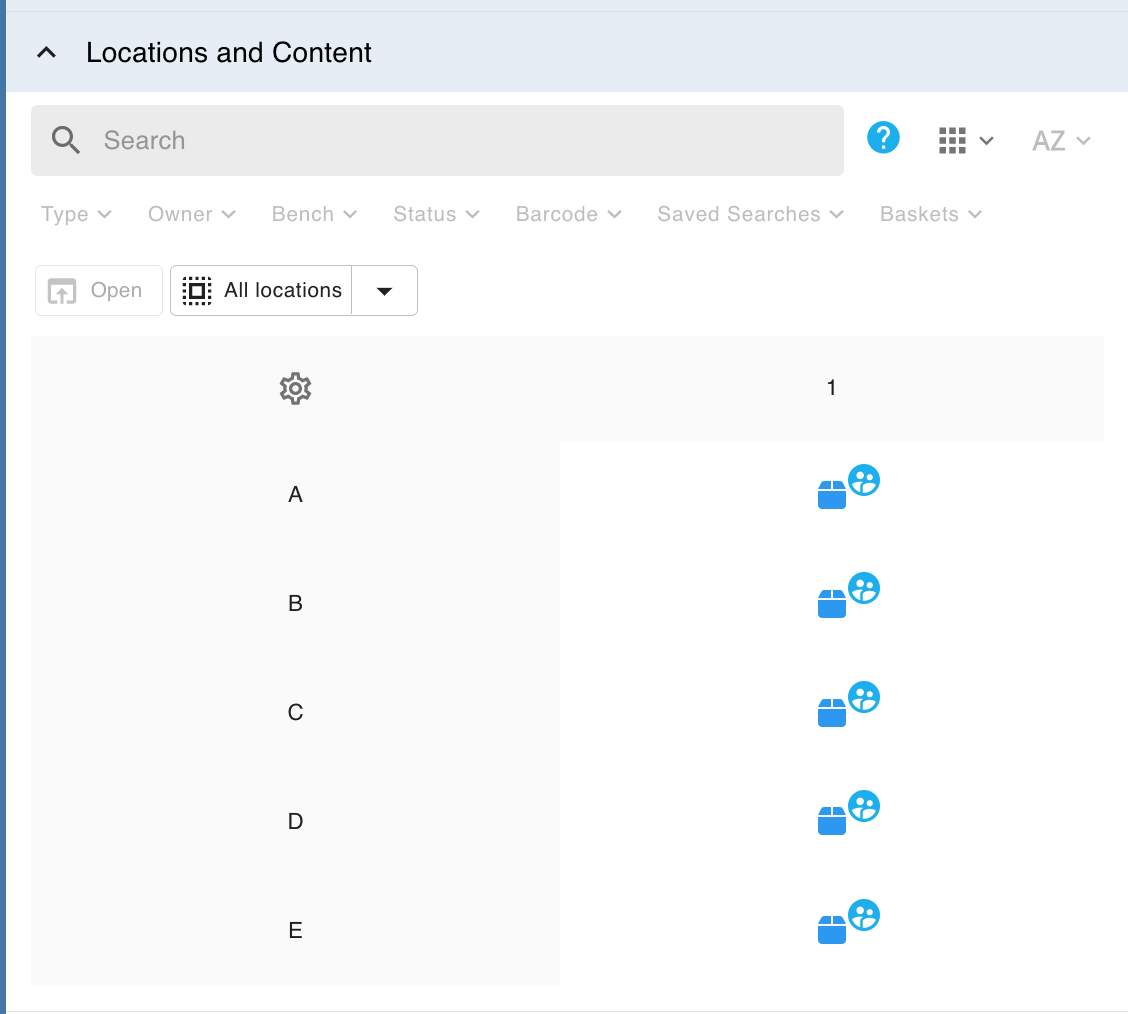
Grid containers represent containers with a defined structure, for example, 96 well plates or -70 freezer boxes, and show the contents in a grid of a specified size.
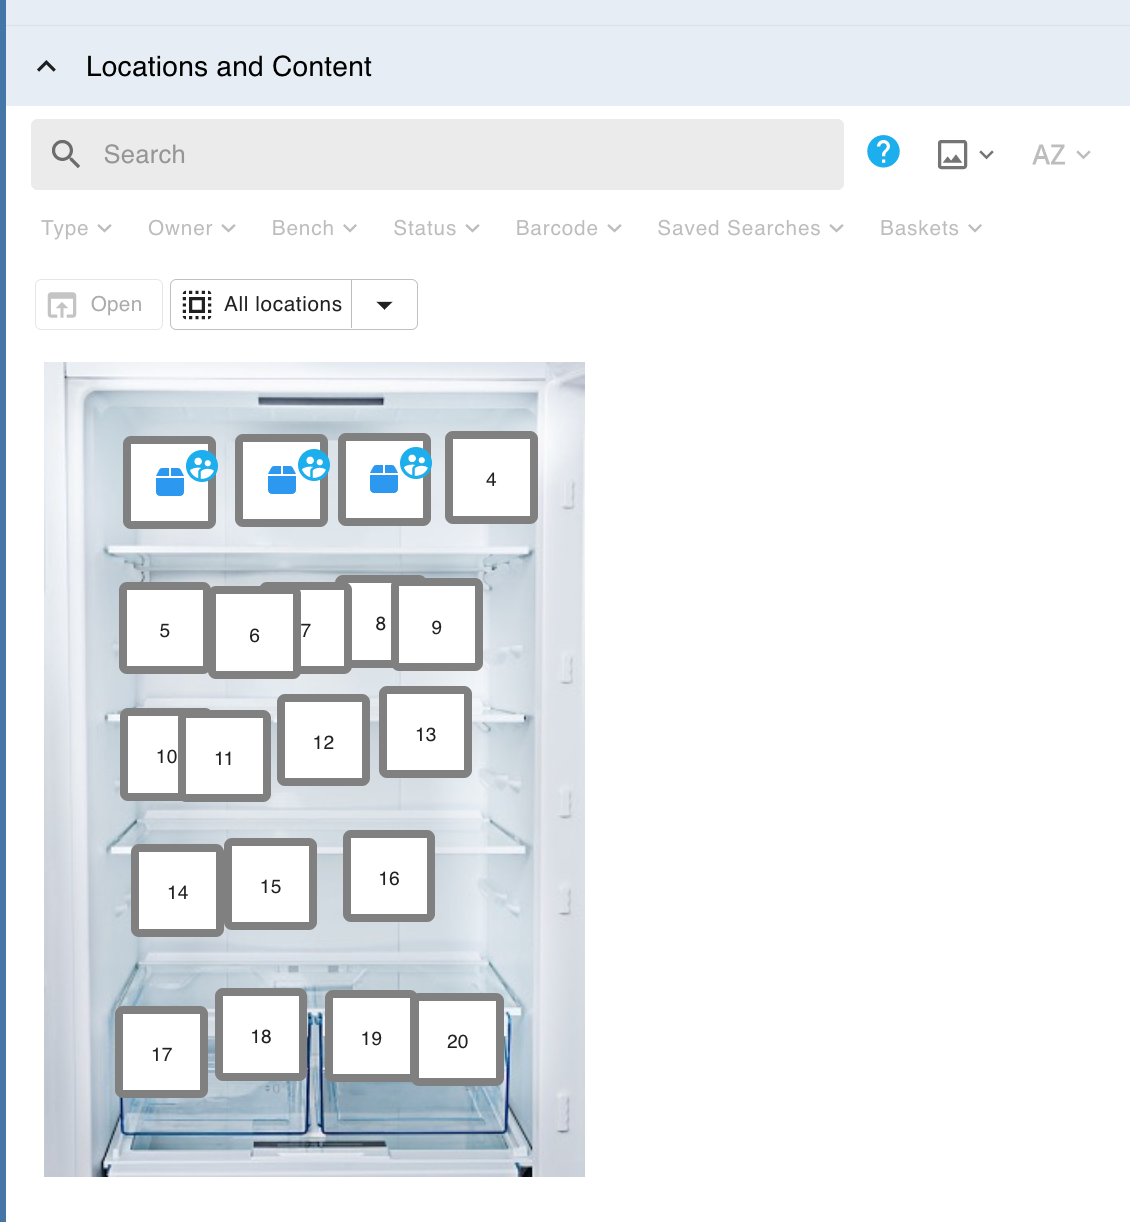
Visual containers allow you to specify locations onto an image you upload.
You can also view the contents of all containers as a tree, cards, or list: this is detailed in Toggle Inventory and Container Views. You can also search container contents: see Search Inventory. Note that advanced search is not available in grid/visual views.
Creating a container
To create a container:
There are two ways to start the creation of a container:
To create a container on the Bench. In the sidebar, click on Create > Container. On mobile, you can open the sidebar using the top-left menu icon.
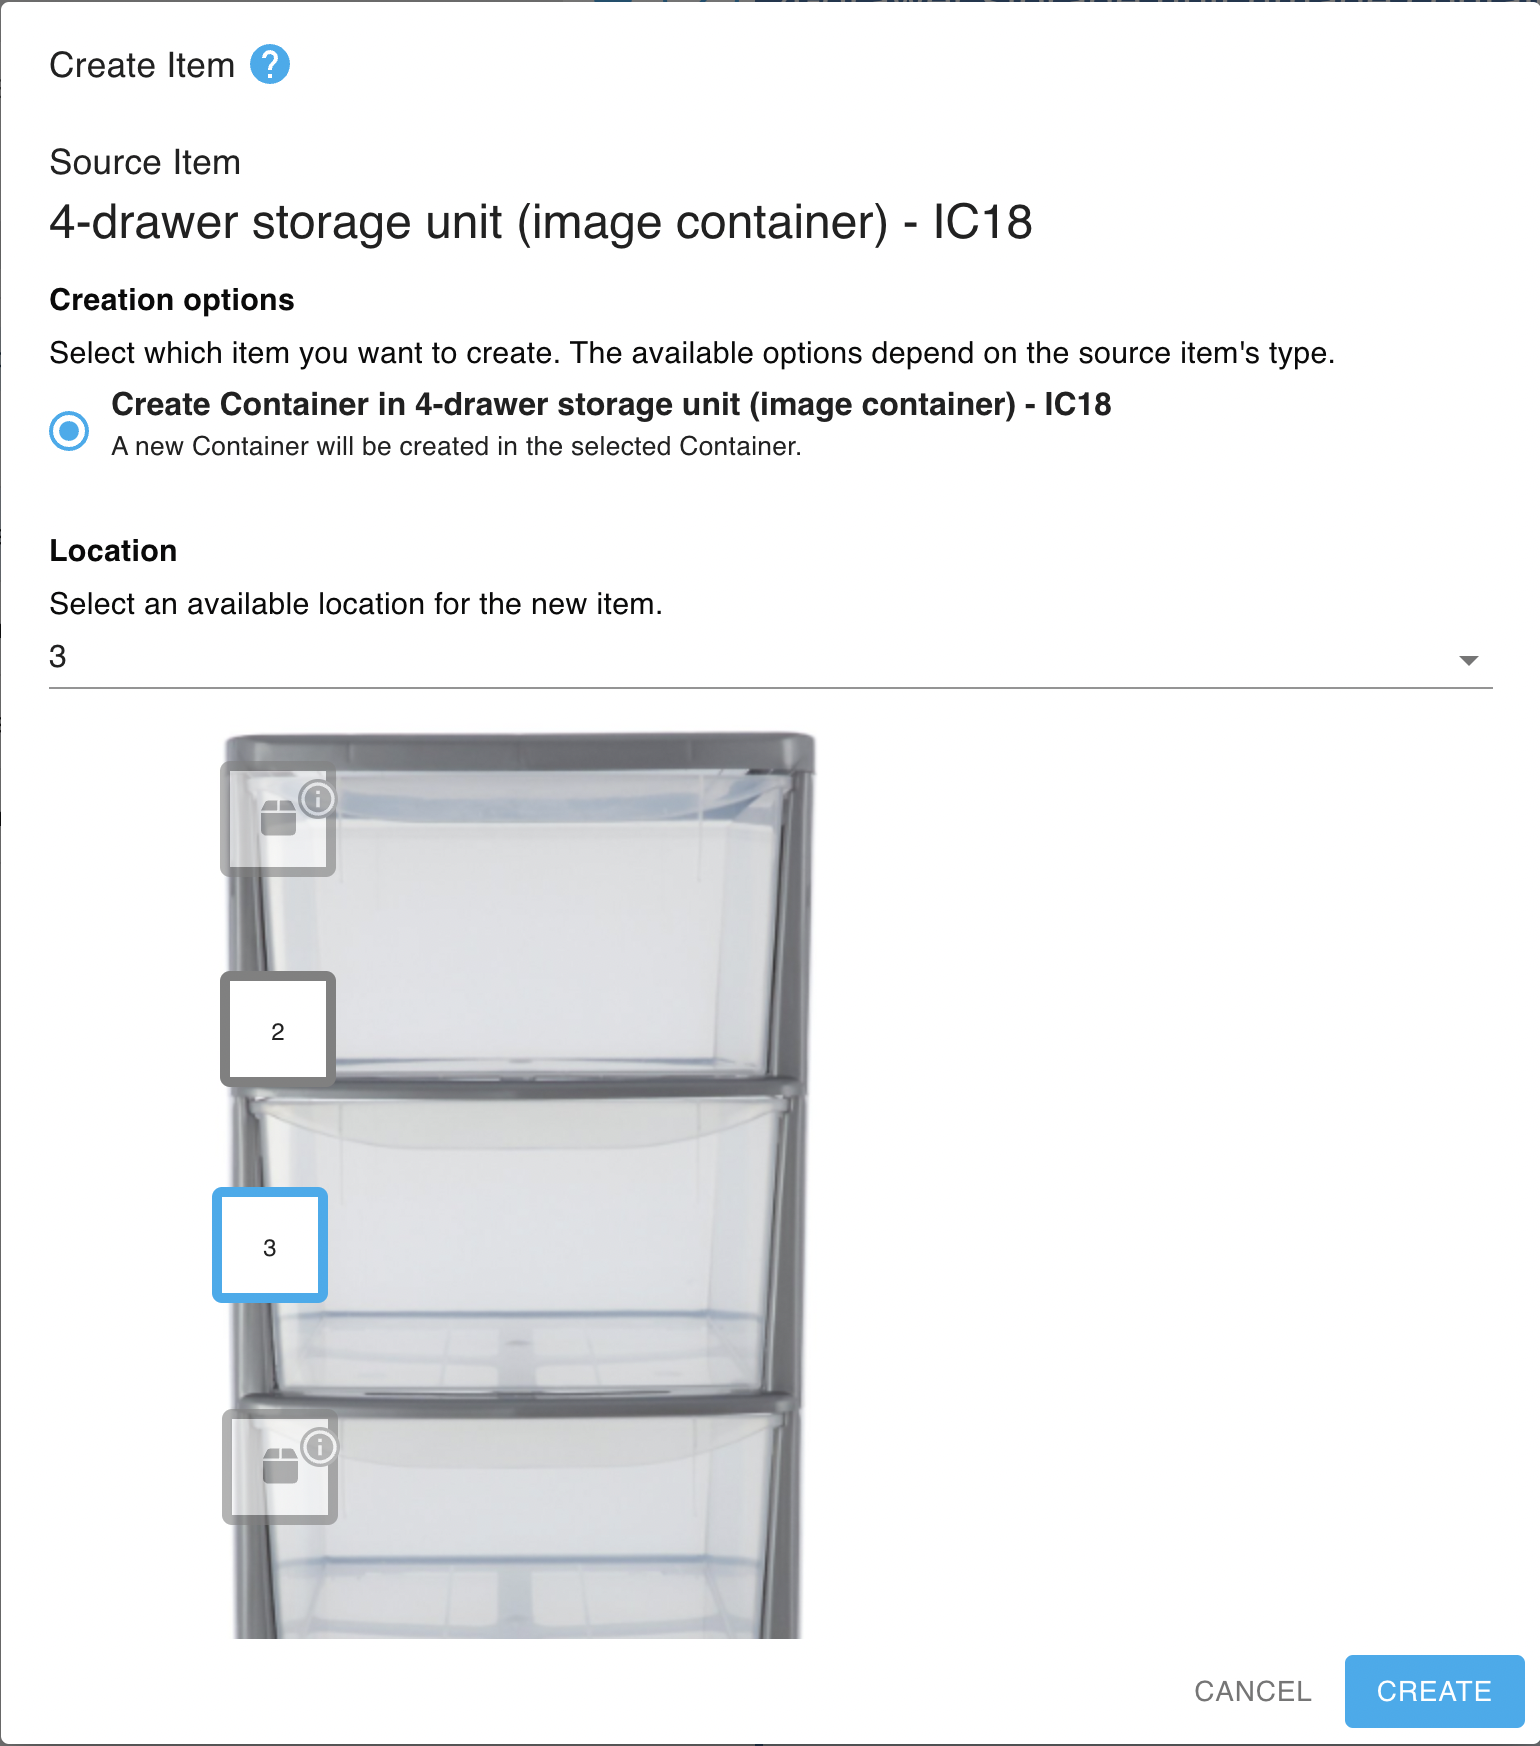
To create a container inside an existing container. When viewing an existing container, click the Create button in the context menuor (for grid and visual containers) click directly in one of the container's empty locations. The create dialog will open: choose an empty location and then click the Create button at the bottom of the dialog.
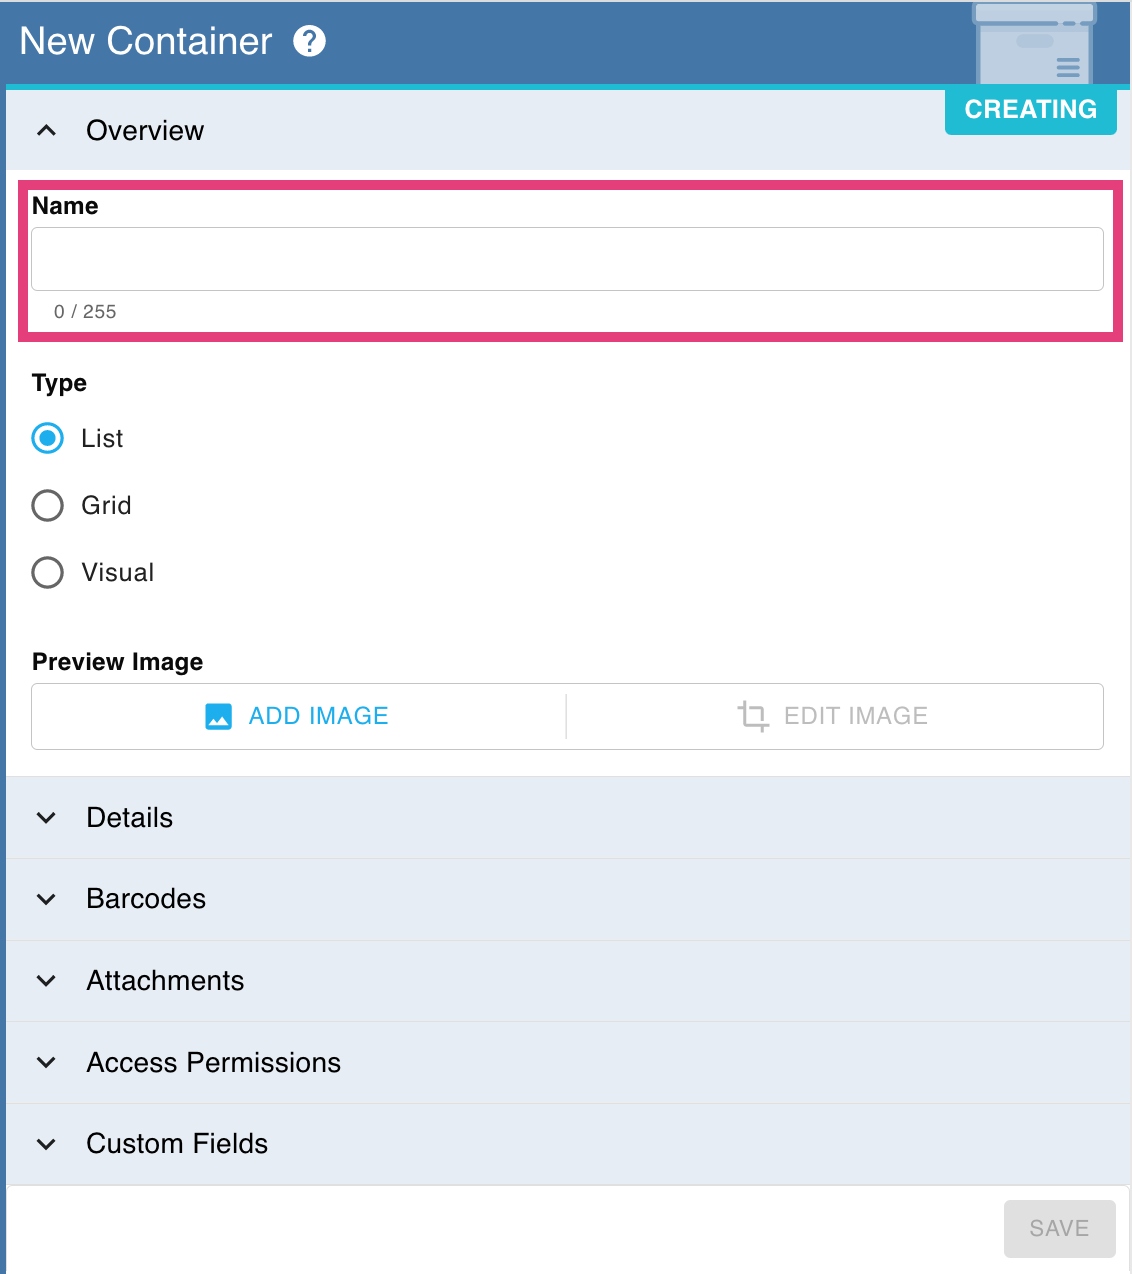
The right panel will display the container creation menu. Fill in the relevant fields, such as adding a name, and any relevant optional fields.
Specify the container type, and whether it can store subsamples and/or containers. You can't change the container type once it's chosen.
You currently cannot specify that a container can't contain Instruments; this option will be added to a future RSpace release.
For a list container, you don't need to specify additional properties.
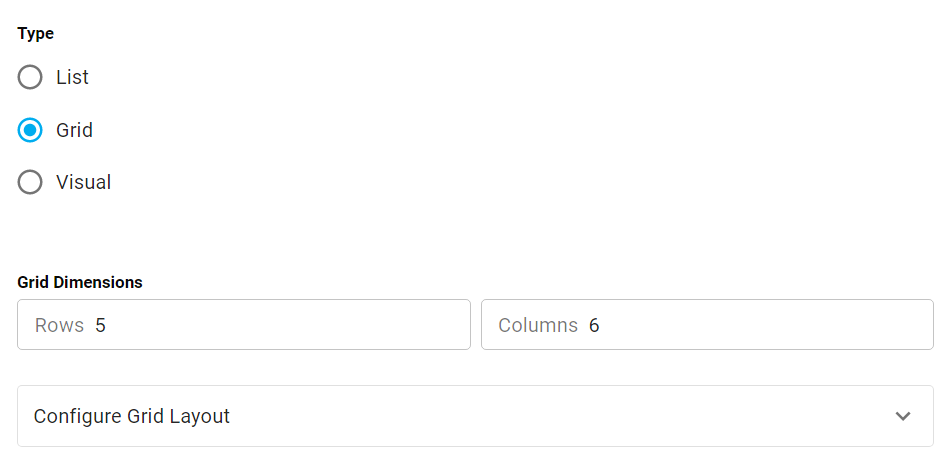
For a grid container, specify the number of columns and rows in the grid. The maximum dimensions are 24x24. You can also click on "Configure grid layout" to edit the row and column labels; by default, rows will be alphabetical and columns will be numerical (see Customise Axis Labels for Grid Containers)
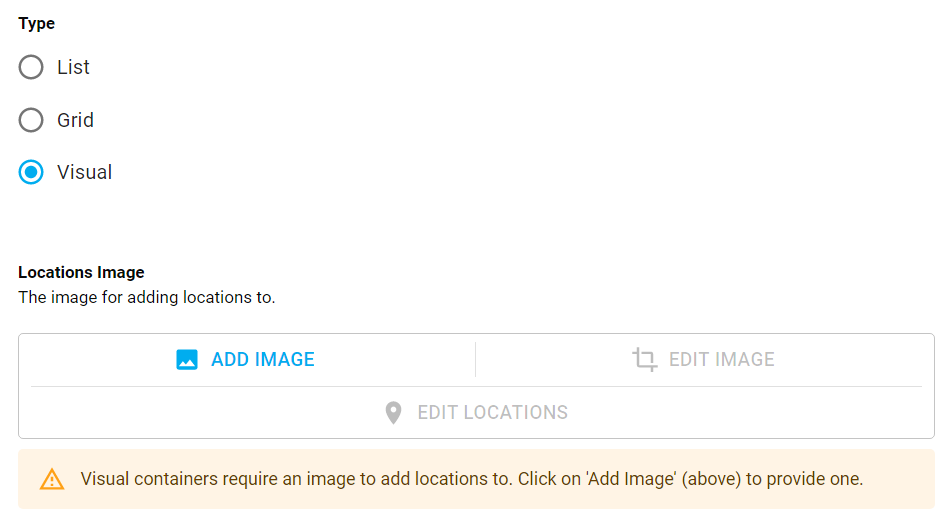
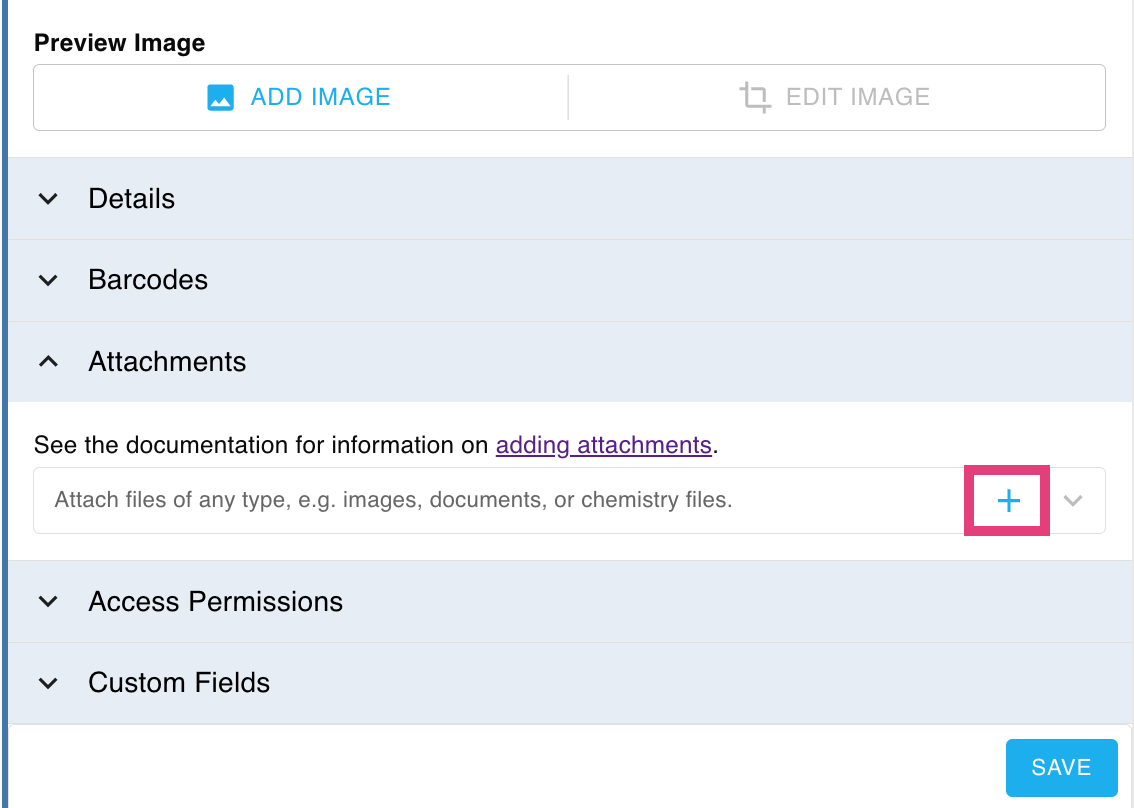
For a visual container, add an image and edit it if needed. You will need to use Edit Locations either during or after creation to define the locations of items within this container in order to use it (see Edit Locations in Visual Containers).
Scroll down and click Save once you have filled in all relevant details. You can also add file attachments such as safety PDFs to the container.
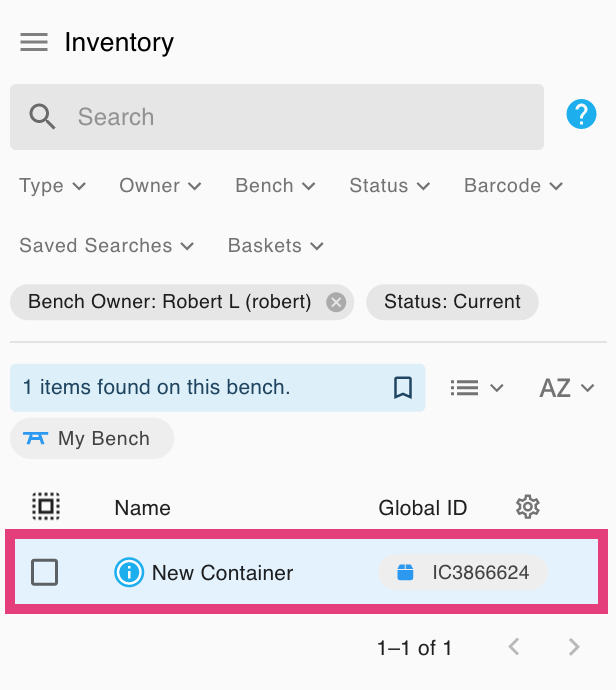
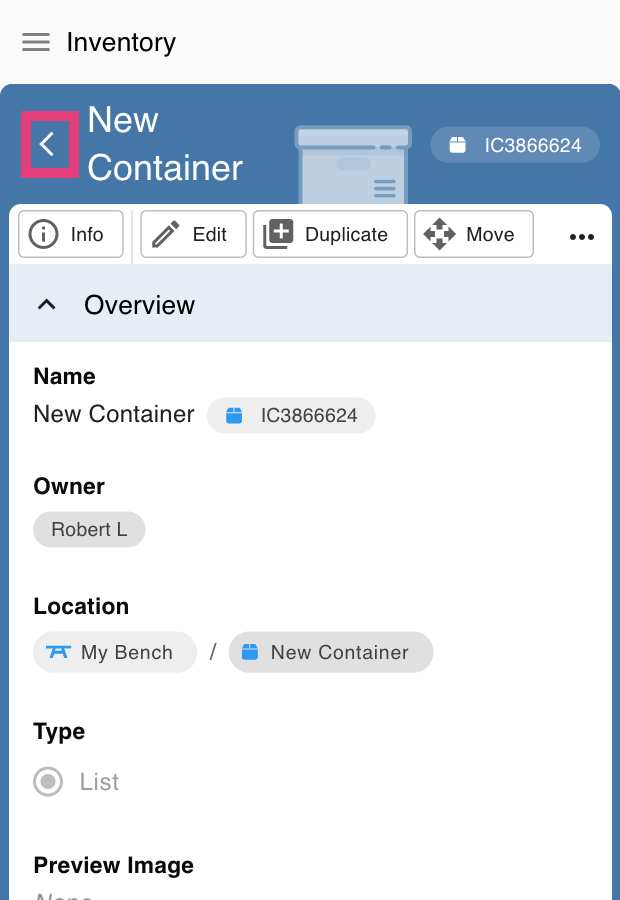
The left panel will refresh so you can view your newly created container. On mobile, click on the left arrow to go back to the list of containers. The container will be placed on your Bench. You might want to move items into the container, or move the container itself: to achieve this, see Move Inventory Items. You can also link to this container: see Link to a Sample or Container (Global ID).