To create a sample, use the Create > Sample buttons, then follow the creation wizard.
You can make individual samples based on sample templates, or bulk import samples using a CSV file (see Import Samples into Inventory).
Also, see Samples vs Subsamples for a primer on how these two types of items work with each other.
To create a sample:
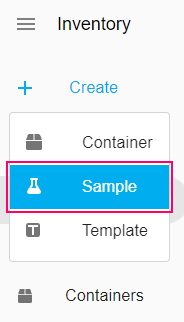
In the sidebar, click on Create > Sample. You can open the sidebar on mobile using the top-left menu icon.
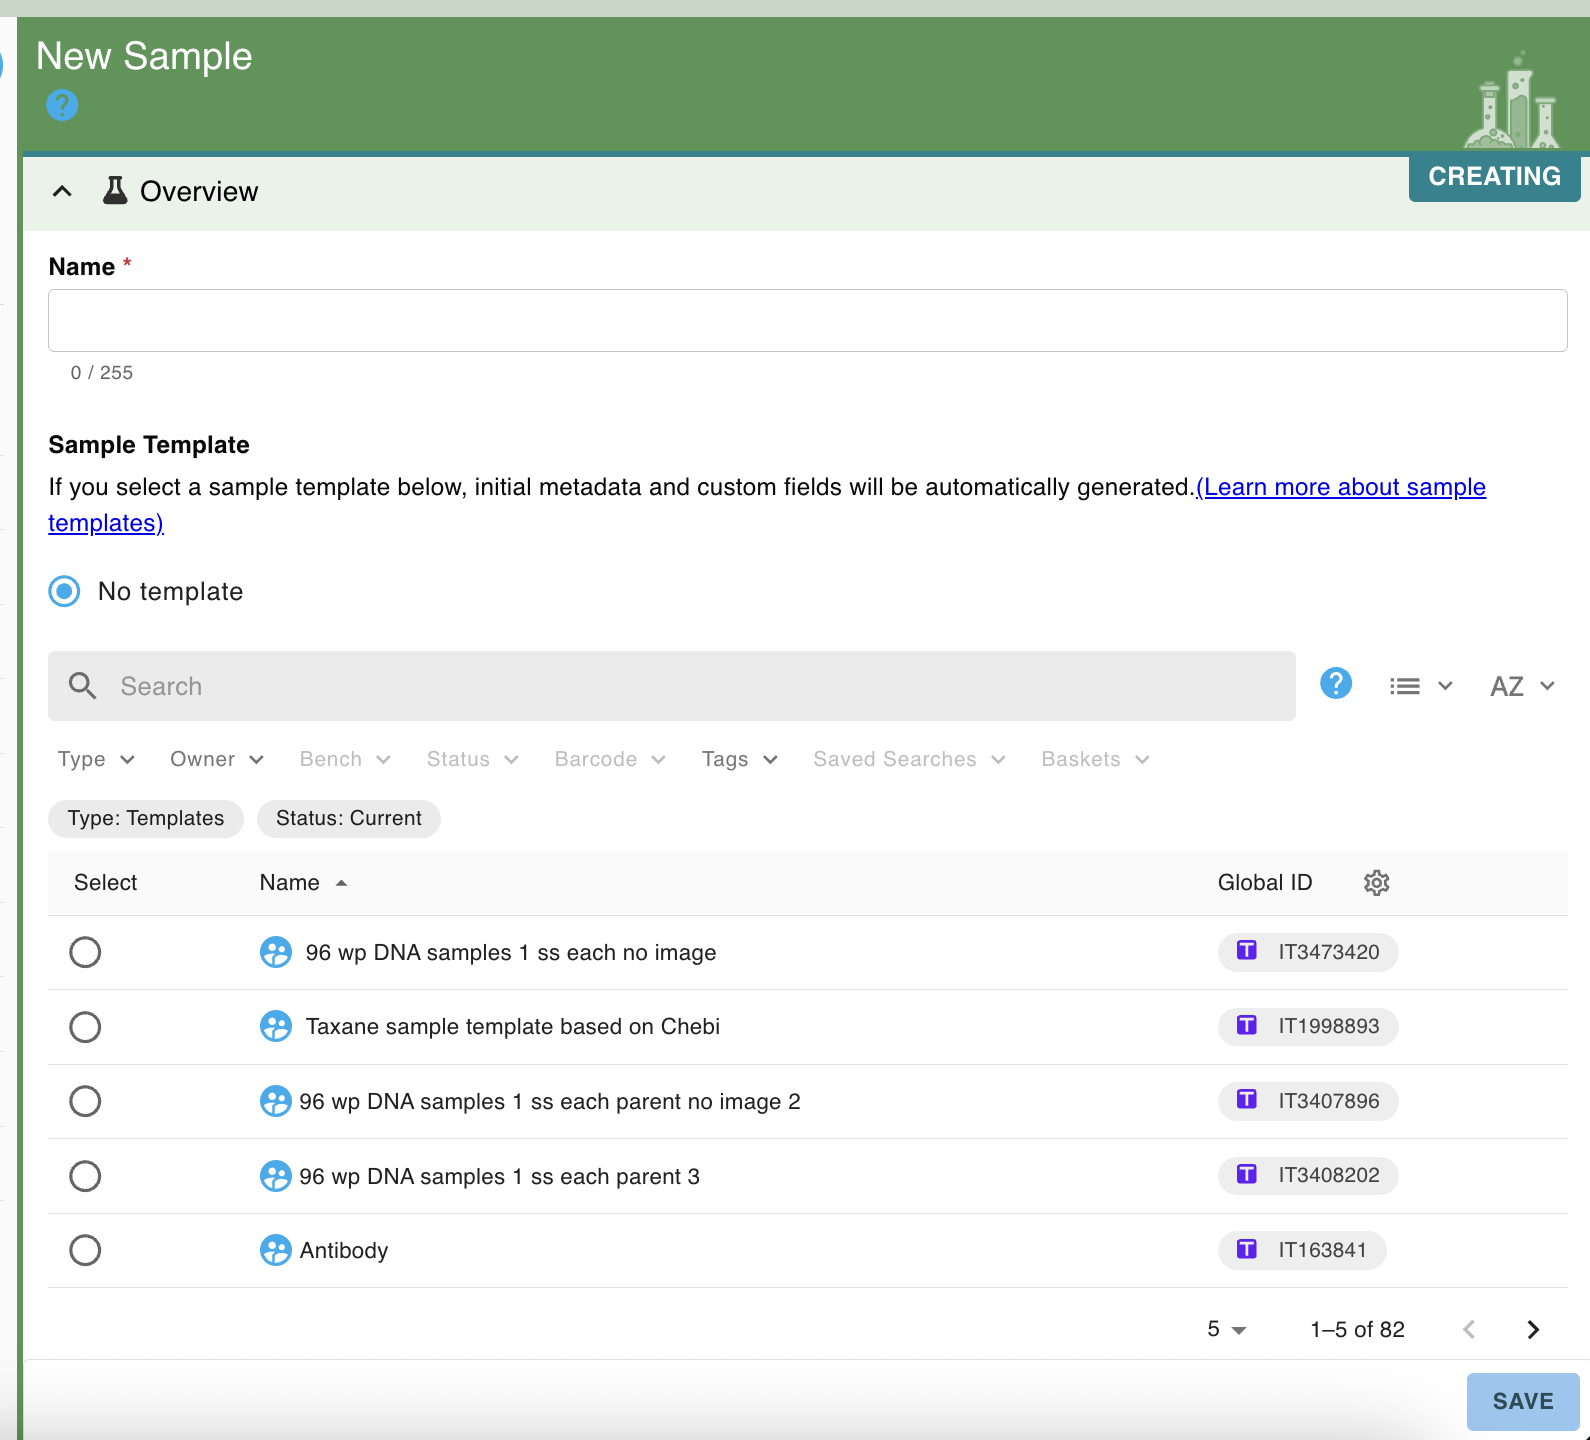
The right panel will open the sample creation wizard, which you can advance through by scrolling. Give your sample a name and pick a sample template. Optionally: add a preview image, an expiry date, and the source of the sample. You can also create your own sample templates: see Create and Use Sample Templates.
A sample is always made up of one or more subsamples. When creating a sample, it can be created as an Individual Sample, where it will only have one subsample, or as a Sample with subsamples with a specified number of subsamples. Individual Samples are intended by indivisible items, for which there will only ever be a single quantity in a single location. A sample with subsamples is more applicable to liquids, substances, and other research materials that are frequently sub-divided. The quantity per subsample can also be specified, with the total quantity for the whole sample being automatically calculated.
When you create sample templates, you can choose to call your "subsamples" whatever you like using a subsample alias: "portion", "pieces", "aliquots", "sections", "chunks", "bottles", "items", "animals", or anything that you use in your specific research.
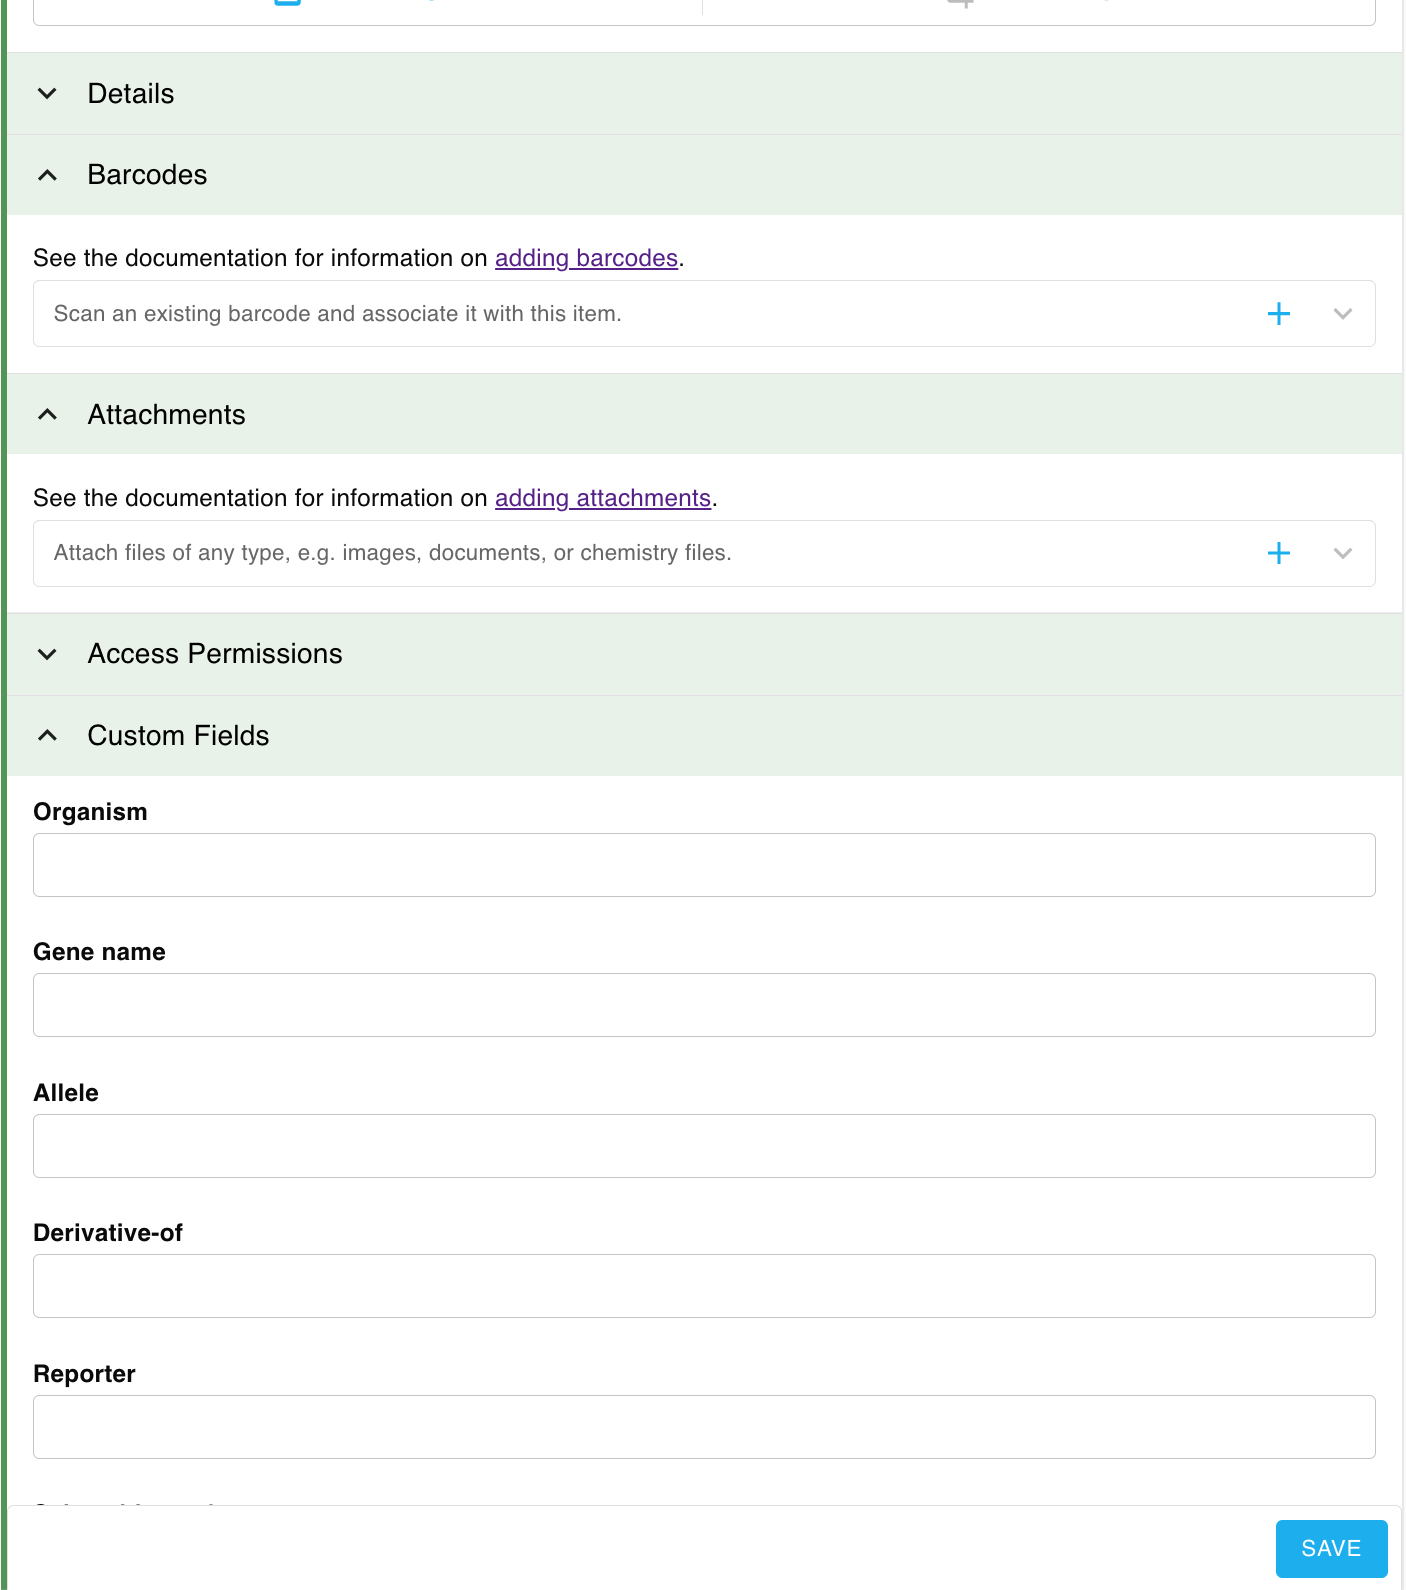
Optionally, add a description, a storage temperature, an expiry date, and any tags. When done, click on Save.
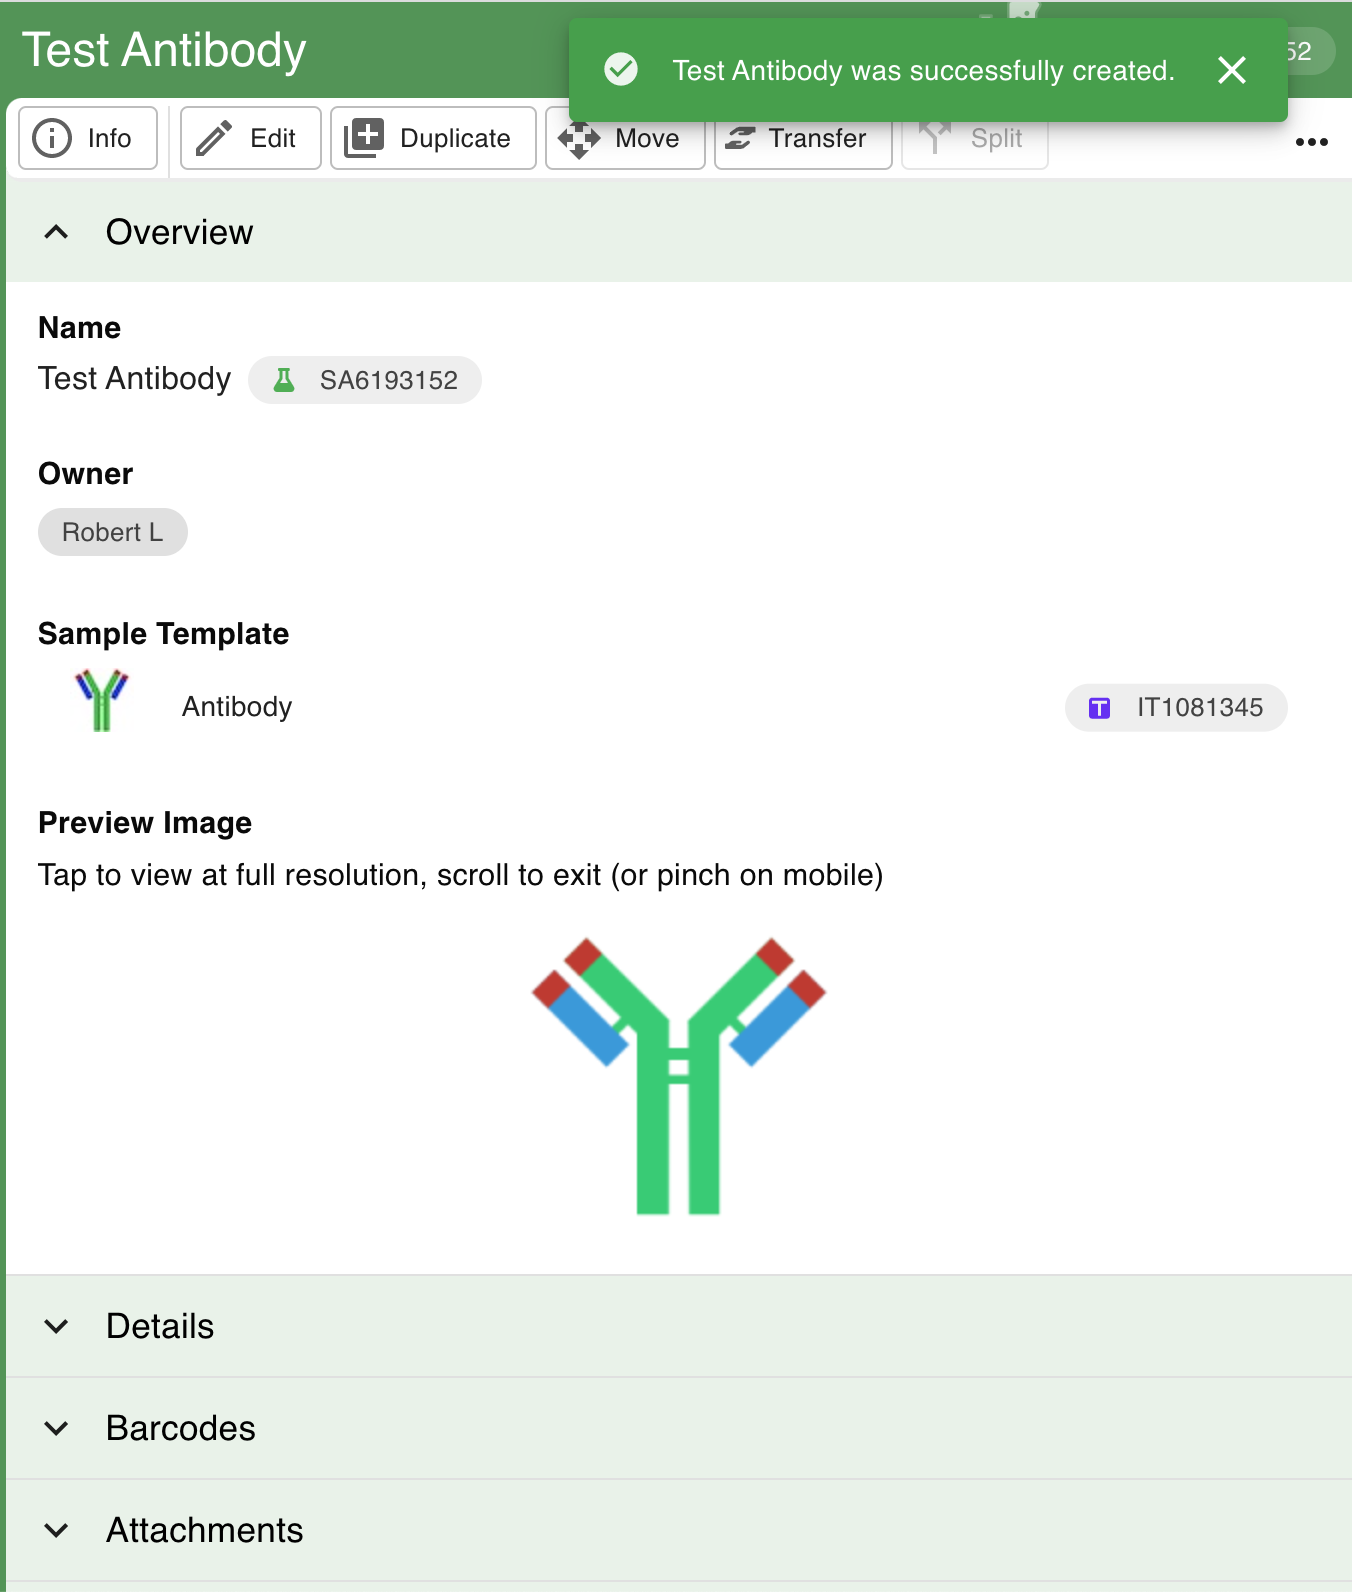
You will get confirmation that your sample has been created.
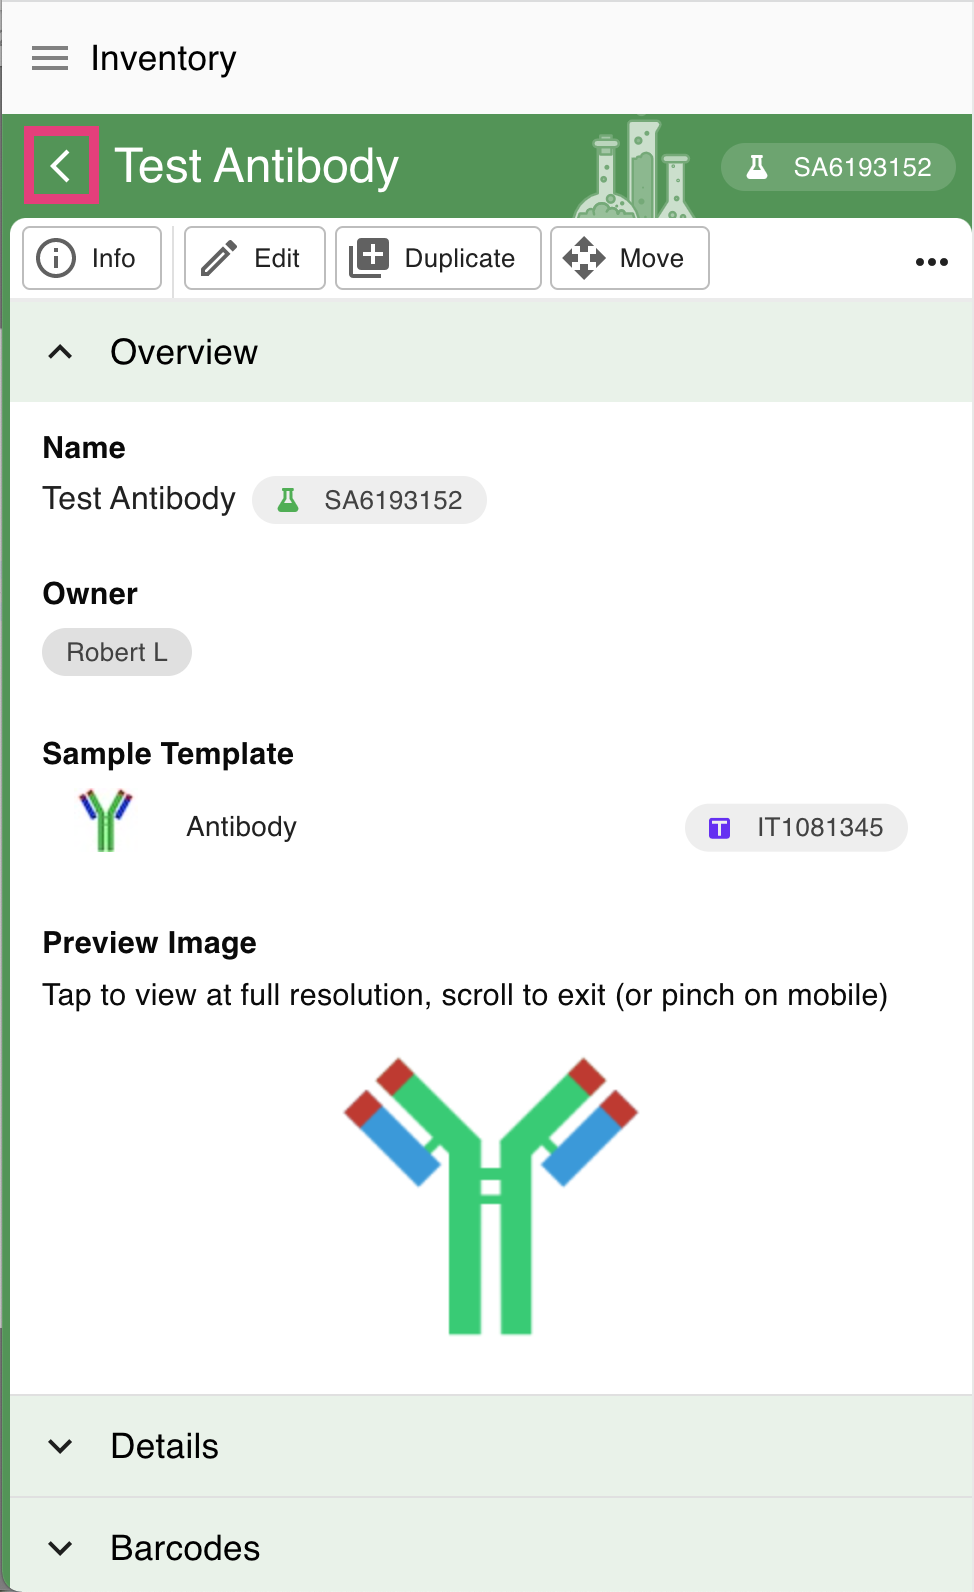
The navigation panel will refresh so you can view your newly created sample. If you don't see it there, make sure the "Samples" category is selected in the sidebar.On a mobile device, you may need to click on the left arrow to go back to the navigation panel to view your samples.
If you did not specify a location for the new sample and it's subsamples, you will find the subsamples (i.e the physical item(s) ) of the newly created sample on your Bench. You might want to move some or all of these subsamples to a suitable container. To achieve this, see Move Inventory Items.
You can also create samples in-situ by navigating to a specific container and using the "Create" button to initiate sample creation from there, automatically adding the new subsamples directly to the selected container:
Once you have created samples you could choose to copy the unique identifier link of the sample or subsample to an RSpace ELN document. See Link to a Sample or Container (Global ID). However, a better way to build cohorts of items and show how you have used them in RSpace documents is to create a List Of Materials (LOM) that allows you to locate and specify items you used in your experiments or procedures. This has the advantage that creating a LOM automatically also creates reciprocal links in the info area of your items, showing which inventory items have been used in which RSpace ELN documents.