Zenodo Integration
As of RSpace 1.88, we integrate with Zenodo to enable researchers to export their documents and data to the repository. Before starting. Ensure that your RSpace server has Zenodo enabled and configur…
As of RSpace 1.88, we integrate with Zenodo to enable researchers to export their documents and data to the repository.
Before starting
- Ensure that your RSpace server has Zenodo enabled and configured. If it is not then on the Apps page Zenodo will be marked as "Unavailable" and a system administrator will need to follow the steps described in: Introduction to configuring RSpace Apps
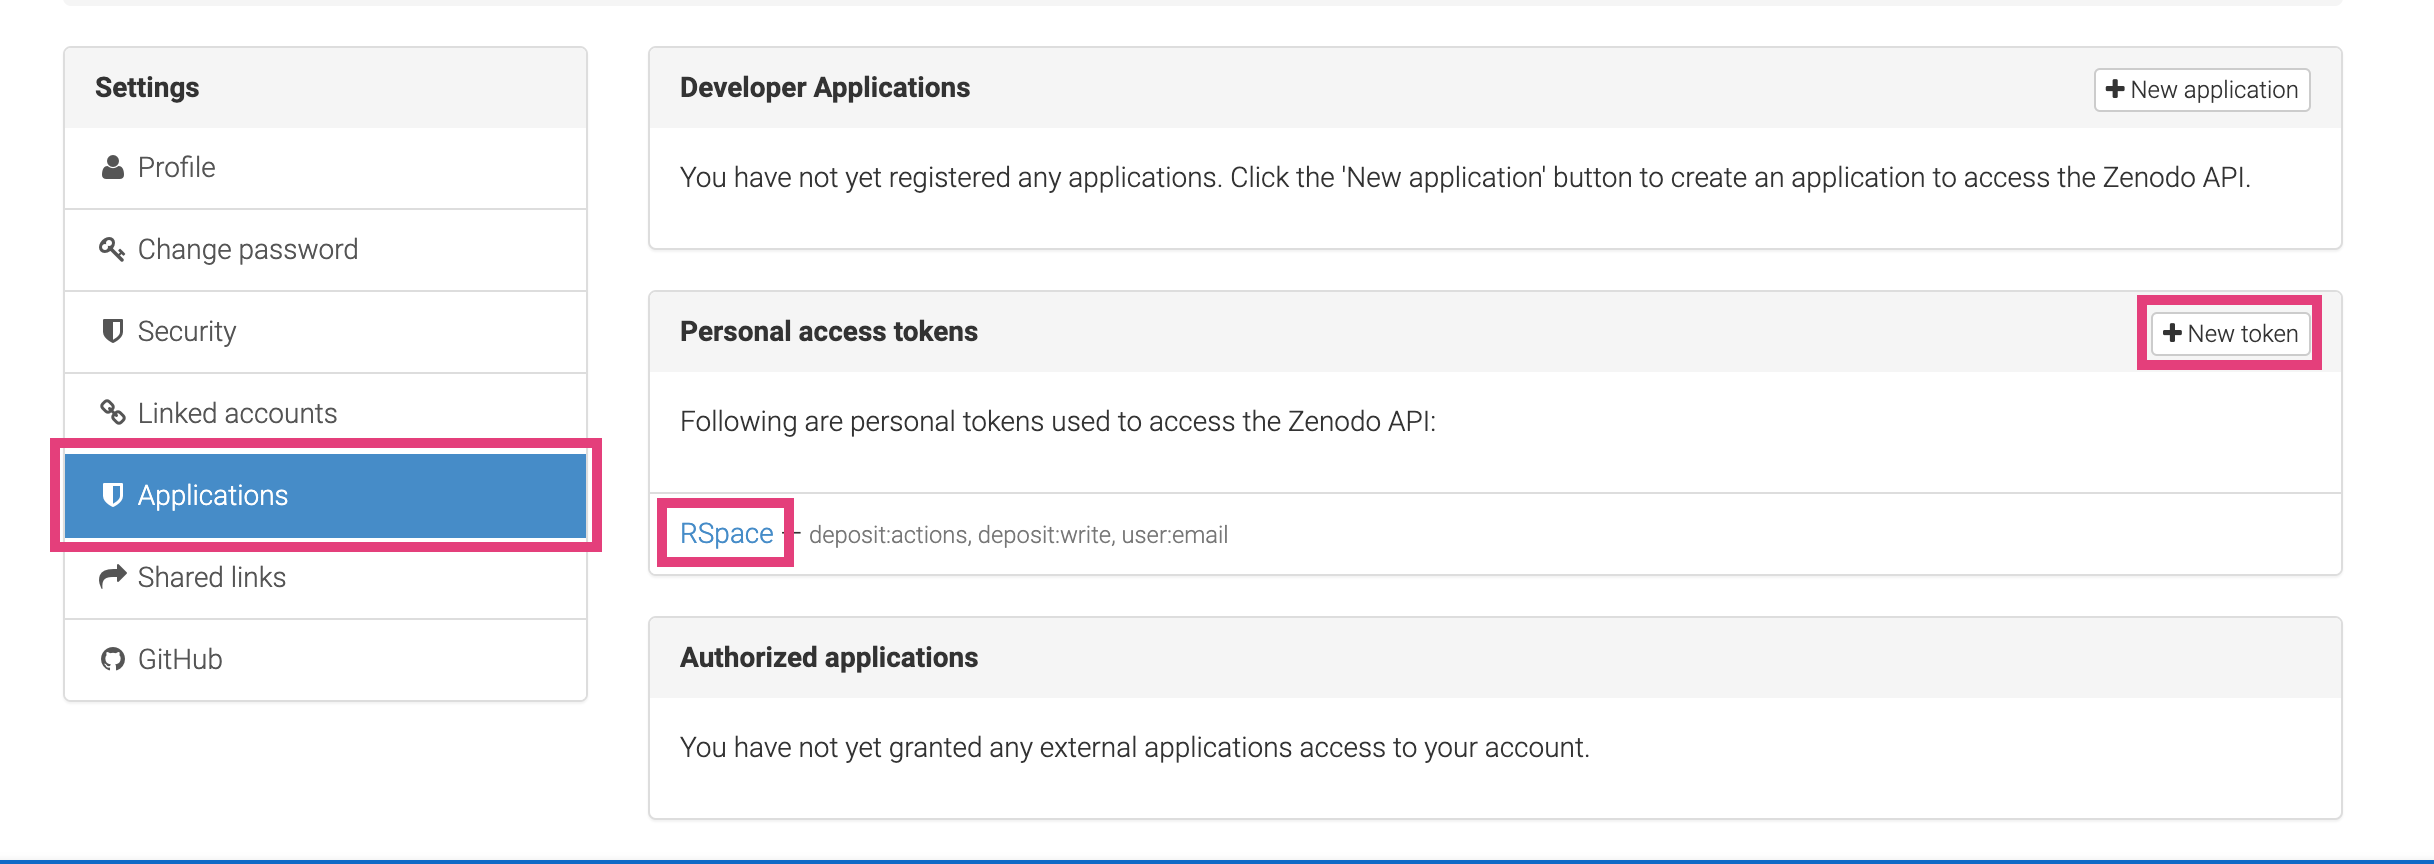
- Enable the Zenodo integration in the Apps page, just as you would for any other third-party integration. See Apps Introduction. You'll need to provide an API key which can be acquired from the Settings page of the Zenodo server that has been configured for your RSpace deployment.
On Zenodo's site, go to Settings, then Applications. Tap "New Token", call it RSpace, and copy then token into the RSpace apps page. Back on the Applications page, under Personal access tokens, you should see RSpace listed. Once we have the API key token you don't need to store it anywhere else.
Exporting to Zenodo
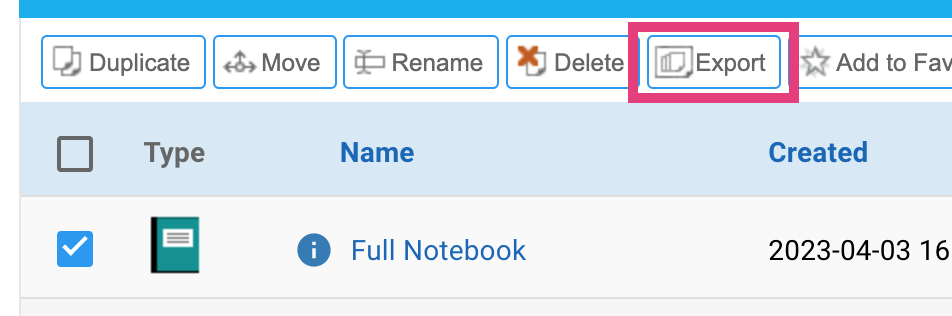
- In the RSpace workspace, select a document and choose export.
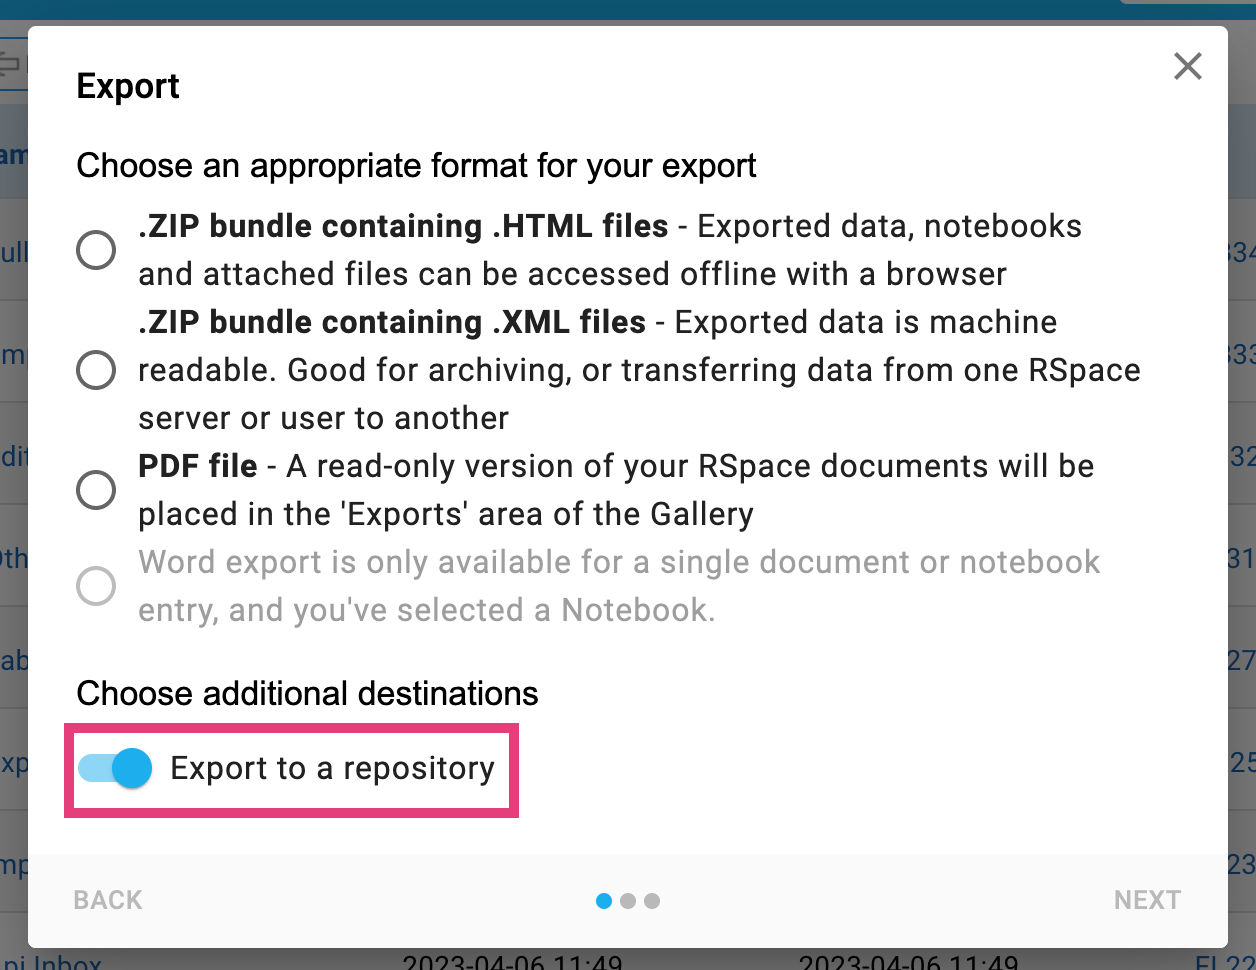
- On the first panel, along with selecting an export format, choose "Export to a repository"
- On the third panel, ensure that "Zenodo" is selected, and give your export a name and description.
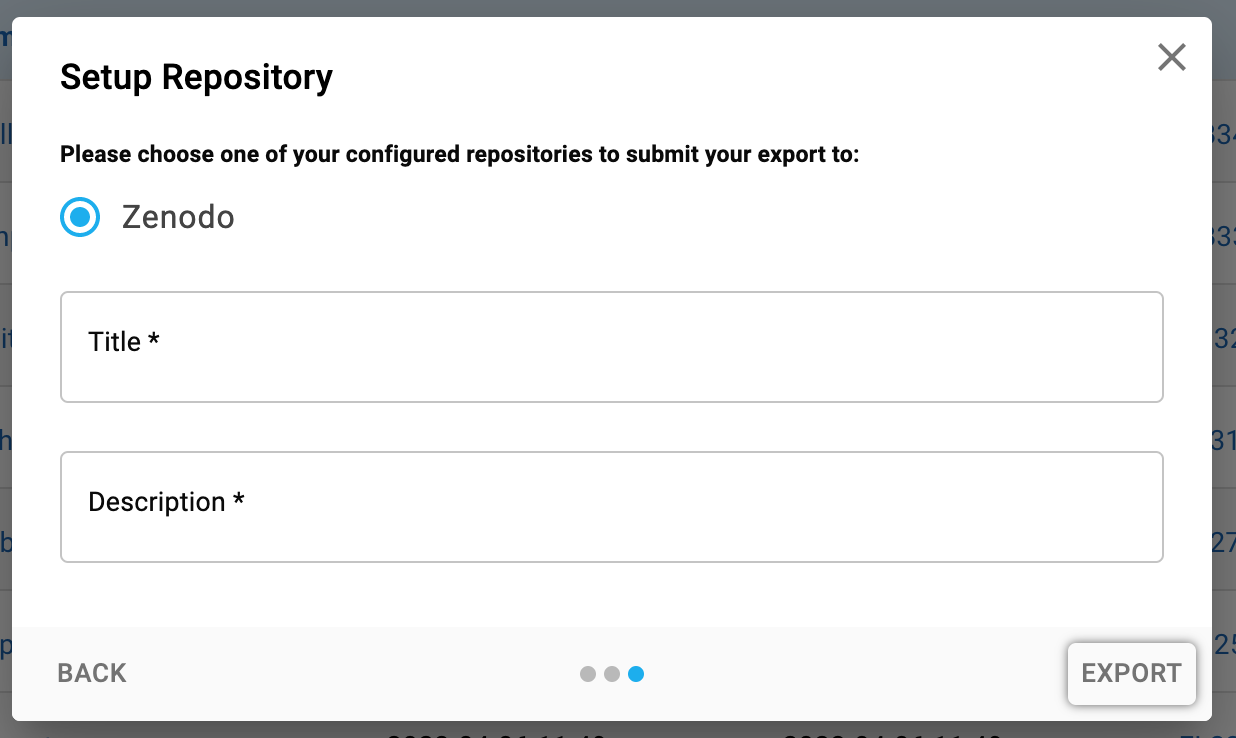
- Then hit export. There will be a green alert at the bottom of the screen once the process has begun and you will receive a notification in RSpace when the process is complete.
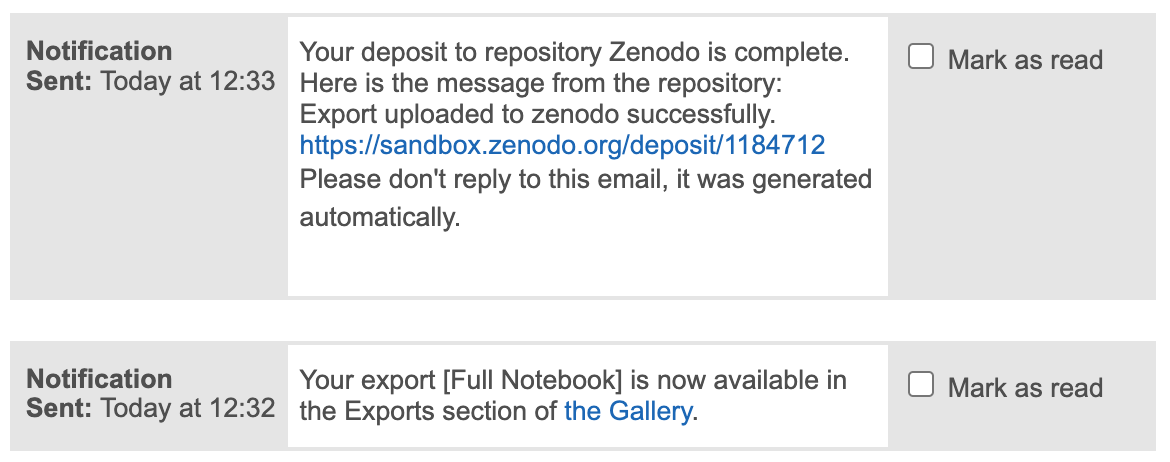
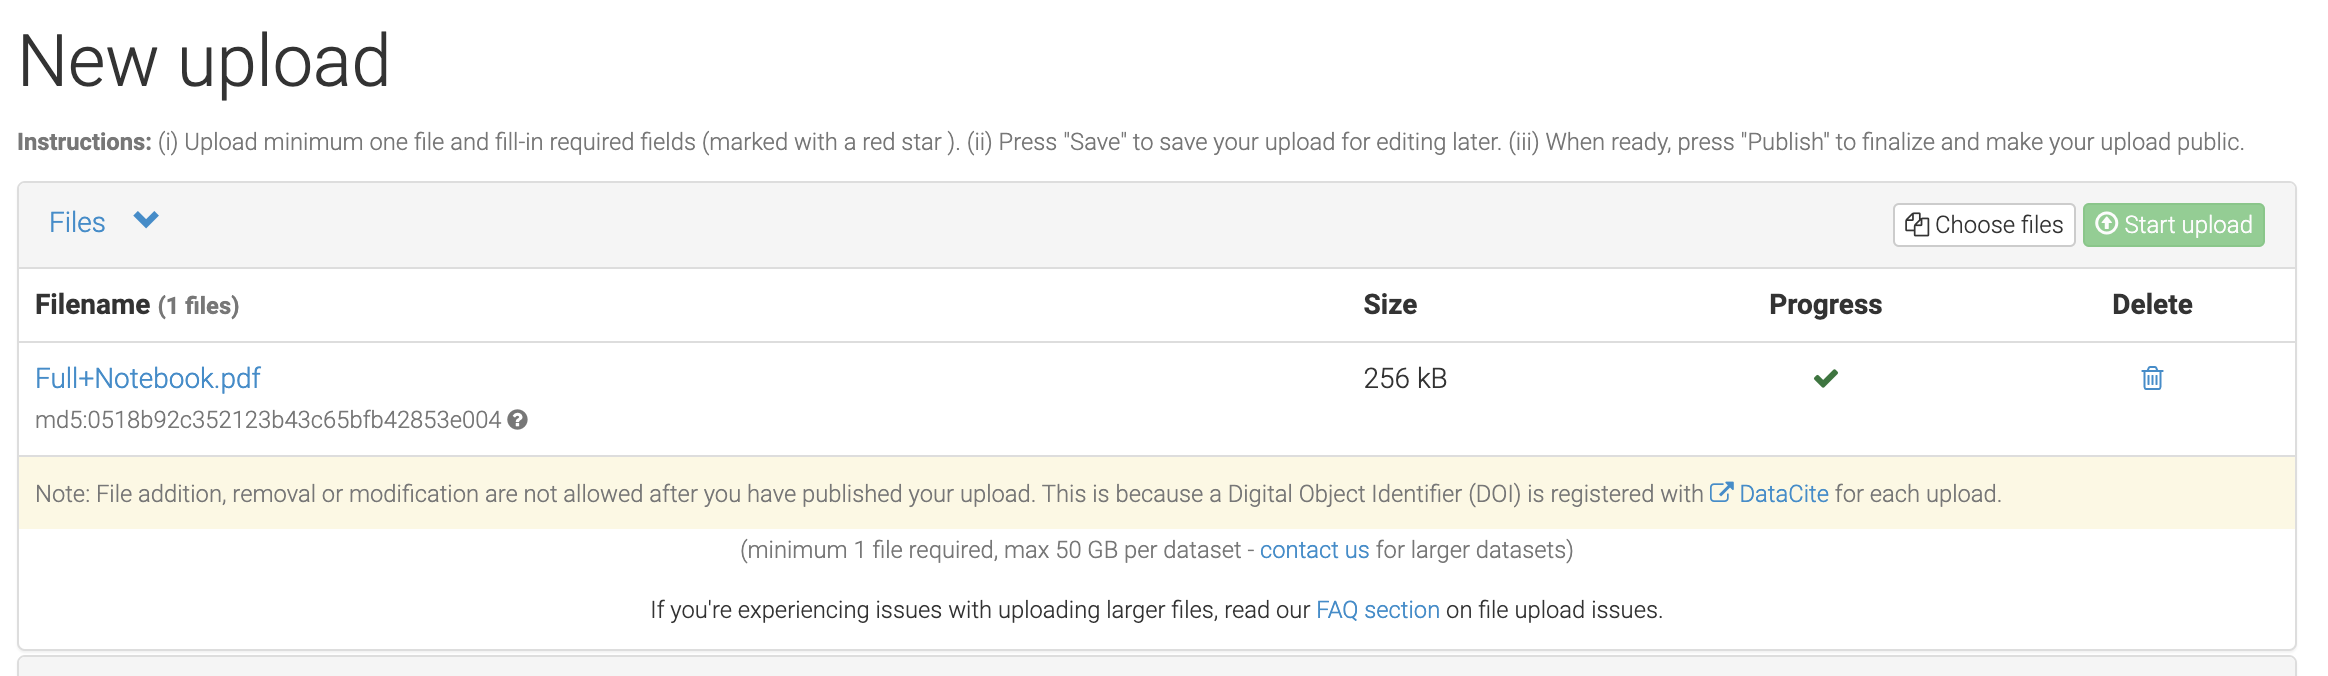
- Clicking the link to Zenodo, will open the new Zenodo upload with your document attached. From here, the remaining required metadata can be added and the deposit published.
Attaching Argos DMPs
When exporting to Zenodo, it is possible to reference a Data Management Plan (DMP) imported from Argos.
- Import a DMP into a Gallery, as per the Argos steps.
- When exporting to Zenodo, enable DMP selection using the switch.
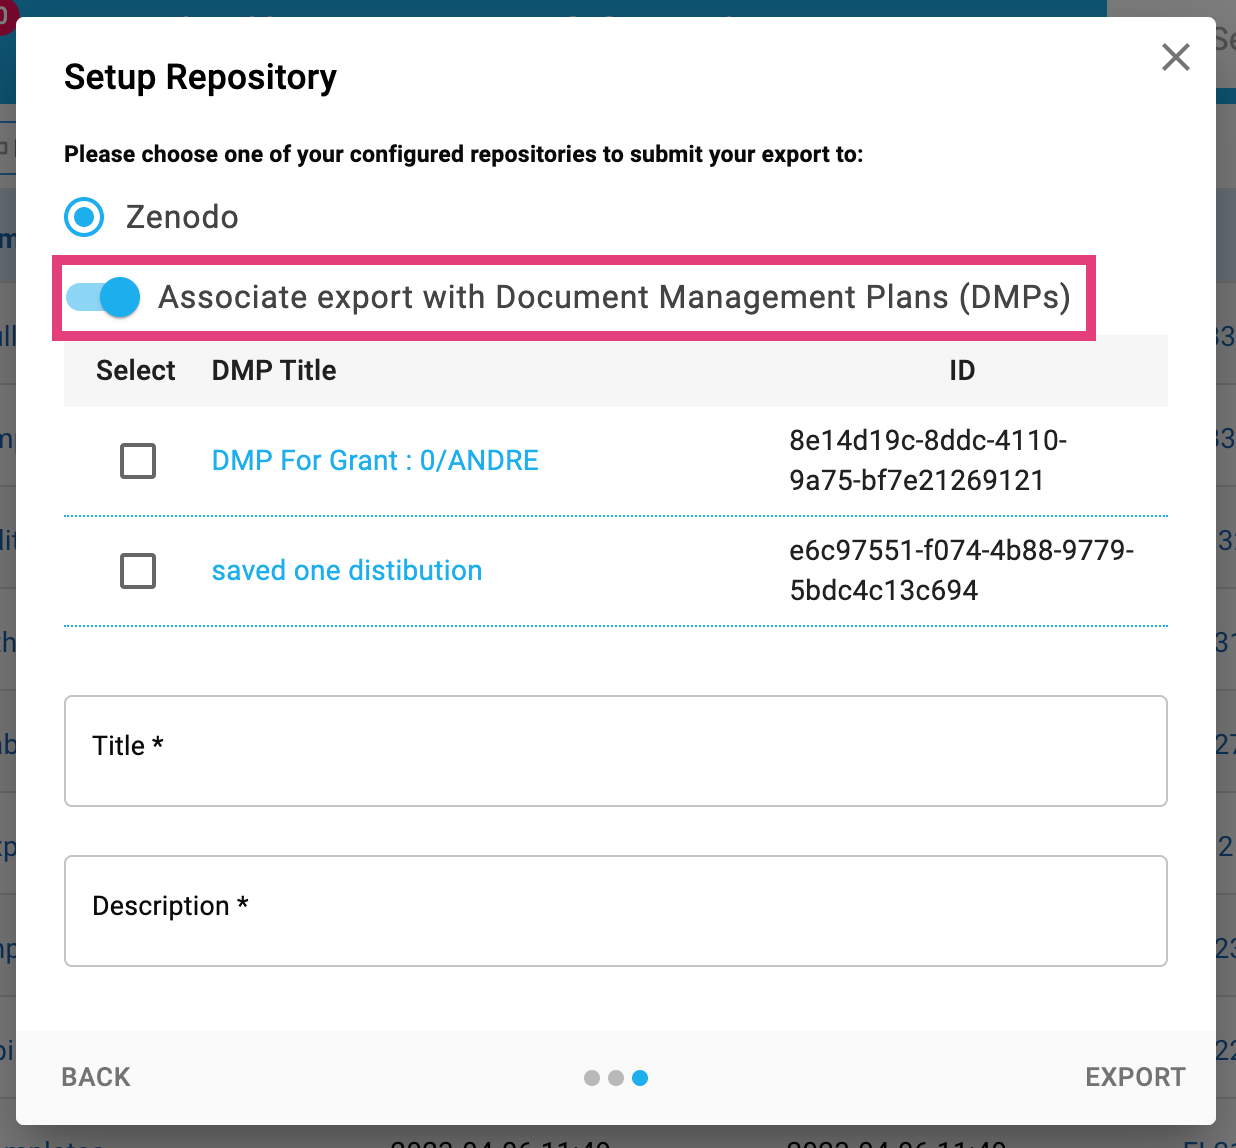
- Choose the DMP and complete the export.
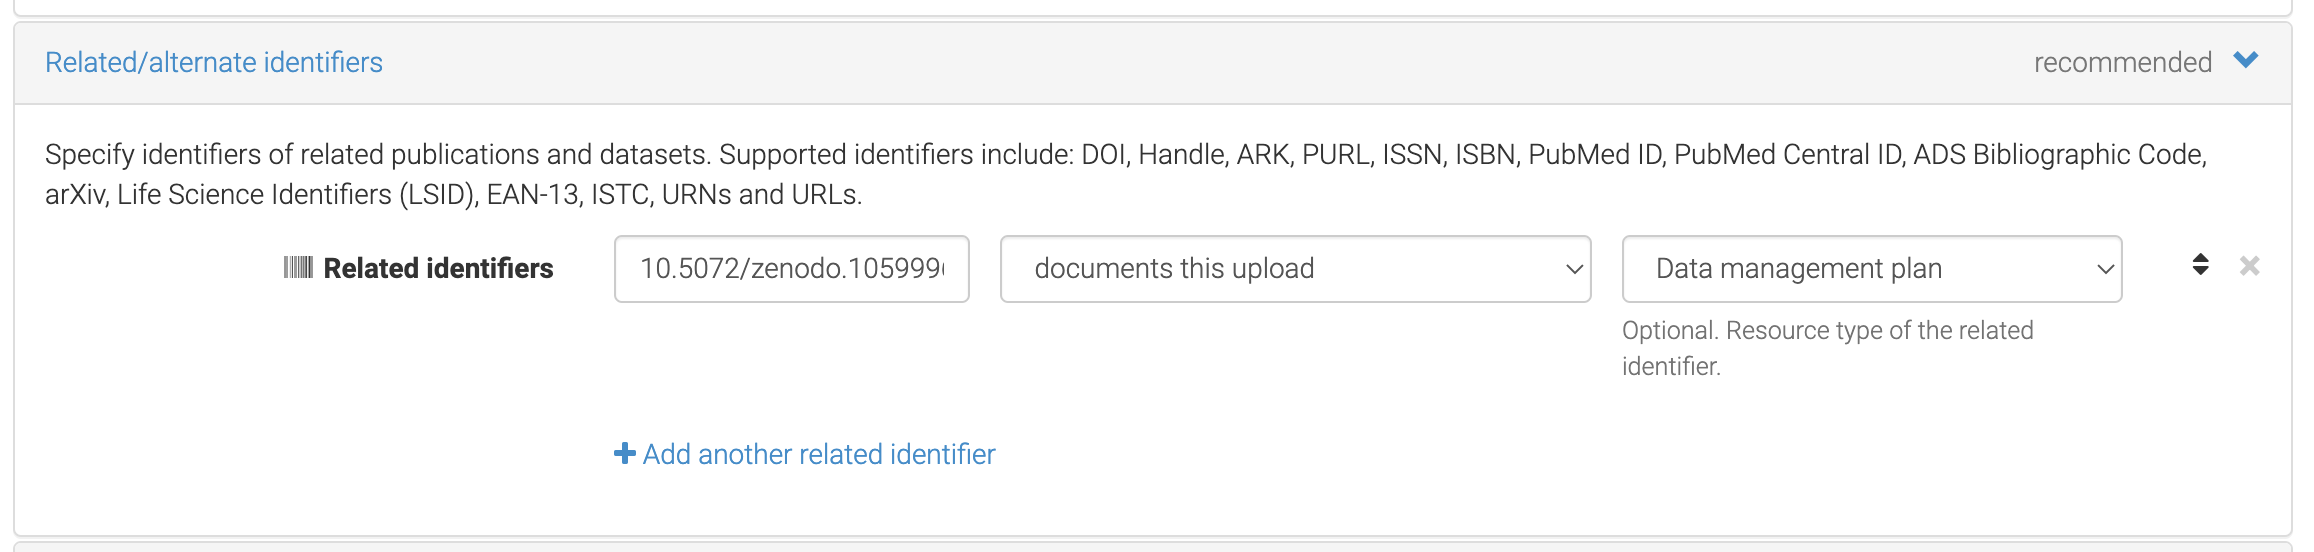
- Visiting Zenodo, you should now see the DMP's DOI referenced in the deposit.
How did we do?
Data Stewardship Wizard (DSW) / FAIR Wizard Integration
PyRAT Integration